Unfortunately we are having trouble with our phone system this morning. If you need to reach the school please use our backup number of 01736 756915. Thank you.

  • Contact Us

Headteacher
Chris Coyle-Chislett

Email the Office
secretary@penpol.cornwall.sch.uk

Telephone Number
01736 753472

Our Address
2 St George’s Road, Hayle,
Cornwall, TR27 4AH

“Penpol pupils are curious, creative and courageous learners. Our school community believes in authenticity as the foundation of deep-rooted learning. Through our rich and relevant curriculum, we nurture community-minded, forward-facing international citizens of the future.”

Safer Internet Day 2018 at Penpol

Today, February 6th is Safer Internet Day.  It’s a day for everyone to reflect on the power of the internet, both for good and bad.  It’s a day to consider all the amazing things that are possible now which haven’t been in the past – such as talking to family across the world, playing games over the internet with your friends and even being able to watch what your favourite YouTube personalities are doing in their latest vlogs.

But it’s also a day to remember the dangers that the internet can pose.  It’s a day to consider how much information you share online, whether you know all of your virtual friends in real life and whether or not you spend a little bit too much time online.  Today is a day to seek reassurance by talking to adults about any worries you might have.

Today is a day to really think about how safe you are online.

After half term we’ll be starting a project all about staying safe online, but in the meantime I’ve found a couple of useful links which you might be interested in.  Remember, if you’re ever not sure about anything online you can ALWAYS come and speak to me.

– Mr Woolcock


The internet is an amazing place to be creative, chat with friends, and find interesting fun stuff.


Safer Internet Day is being celebrated around the world on Tuesday 6th February 2018. The theme is Create, connect and share respect: a better internet starts with you. Everyone has their p


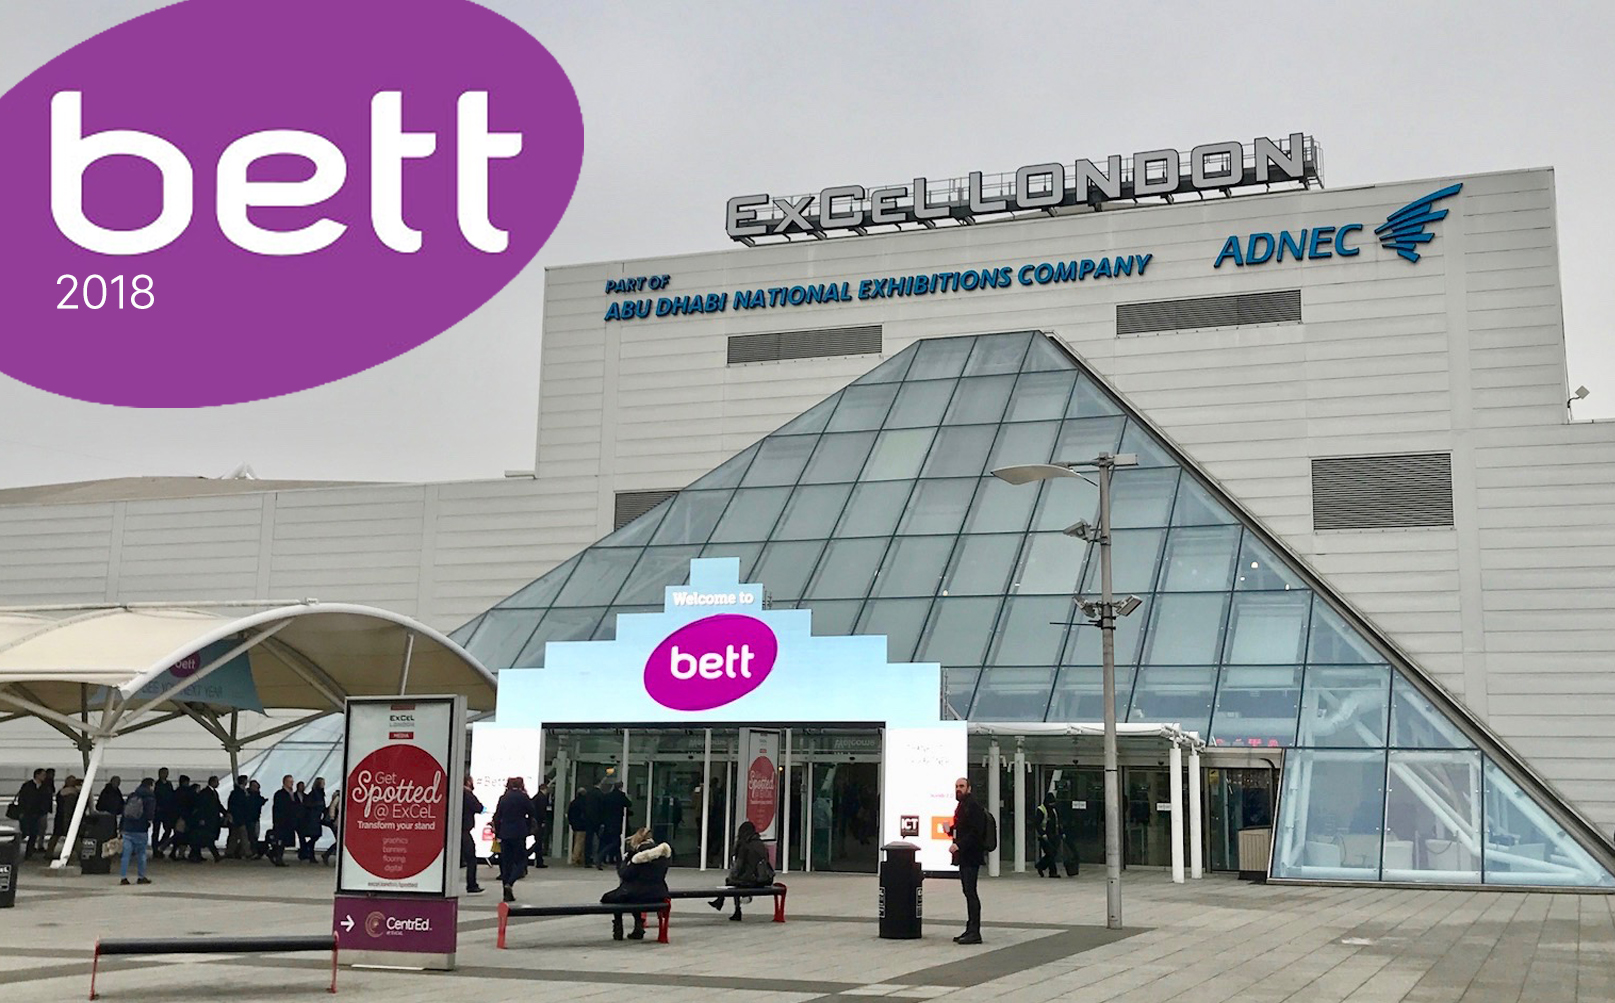
Penpol visit the BETT Show 2018

Last week myself, Mr Doyle and Paul went on a trip up to London to visit the British Educational Training and Technology (BETT) Show.  Once again the show proved to be incredibly inspiring and our visit has seen us return back to Penpol with loads of exciting new ideas and projects for the term ahead.  To show you just how big and interesting the show is, I’ve made a short video of our trip!        – Mr Woolcock

Penpol lead the way with LEGO Robotics!

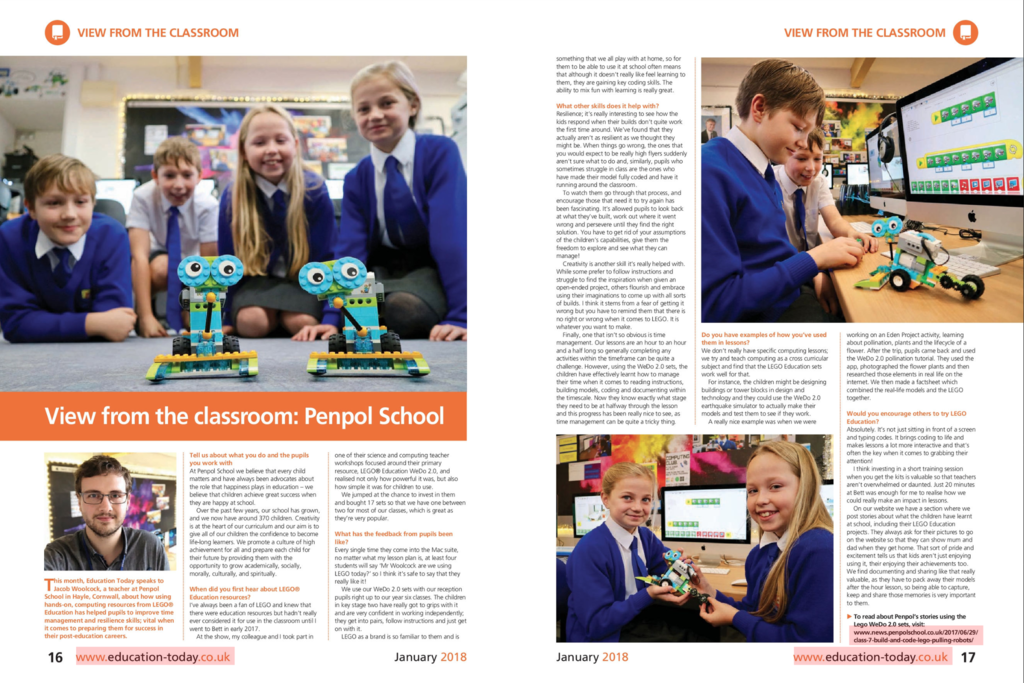
At the end of last year LEGO Education got in touch with Penpol to see how we were getting on with our WeDo 2.0 robotics sets. After a lengthy discussion on the phone the LEGO team were incredibly impressed with how well the staff and pupils at Penpol were embracing and learning through their kits.  They asked if they might be able to use the school as a Case Study for a future article and we thought no more of it.  Until, that is, we spotted this article in the January 2018 issue of Education Today.

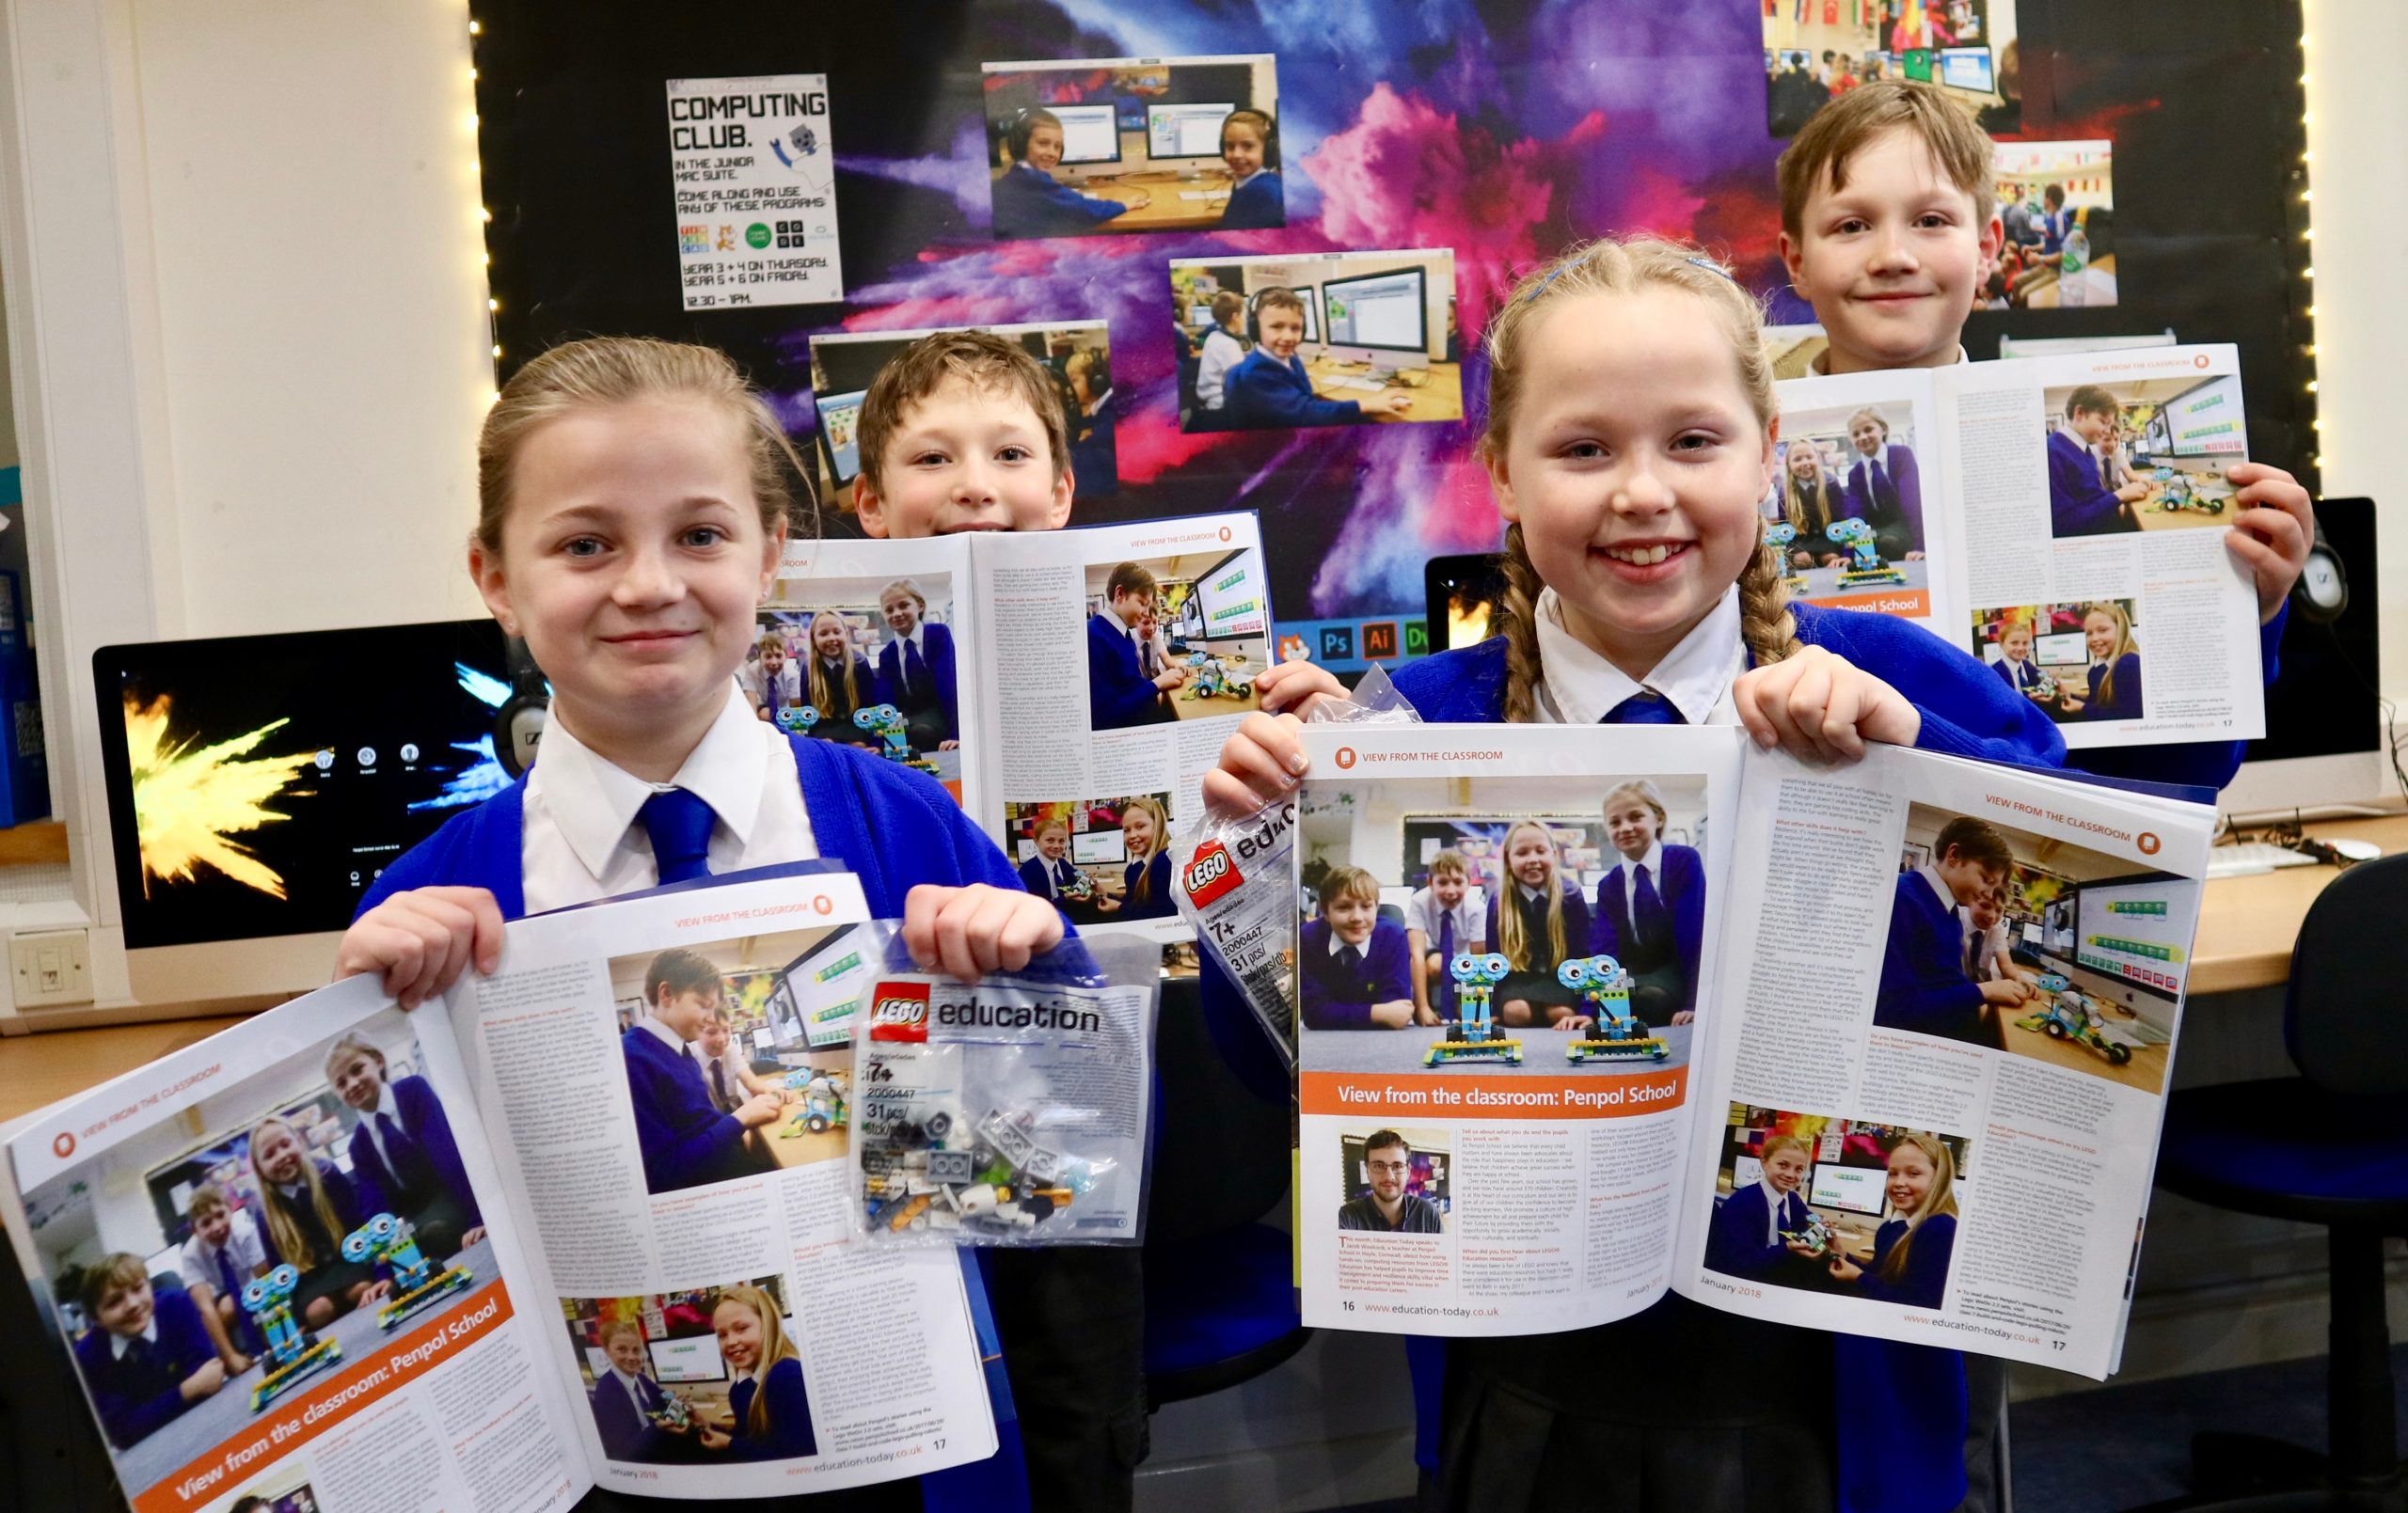
This magazine is sent out to every school in the country and often features a ‘View From The Classroom‘ section.  I’m delighted to say that this months feature is all about Penpol School and our use of the LEGO Robots!  Alongside an interview with myself there are some photos of Will, Alfie, Lily and Freya are featured showing off their creations!

You can read the whole article here: (Click on the article to make it bigger!)

Click article to view it full size

As well as being featured in the magazine, LEGO Education were kind enough to give our four magazine-stars their own ‘Mini Milo’ LEGO pack!  Here’s a photo of the four enjoying their new found fame and free LEGO!


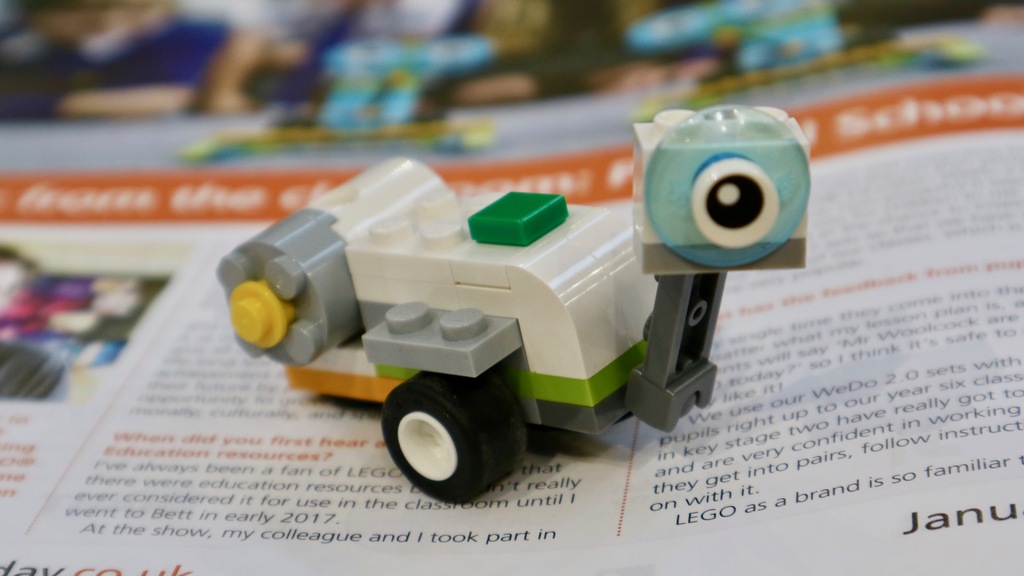
And what exactly does a ‘Mini Milo’ set look like?  I’m glad you asked as they really are quite cute!

Class 3 Have Fun Making Milo

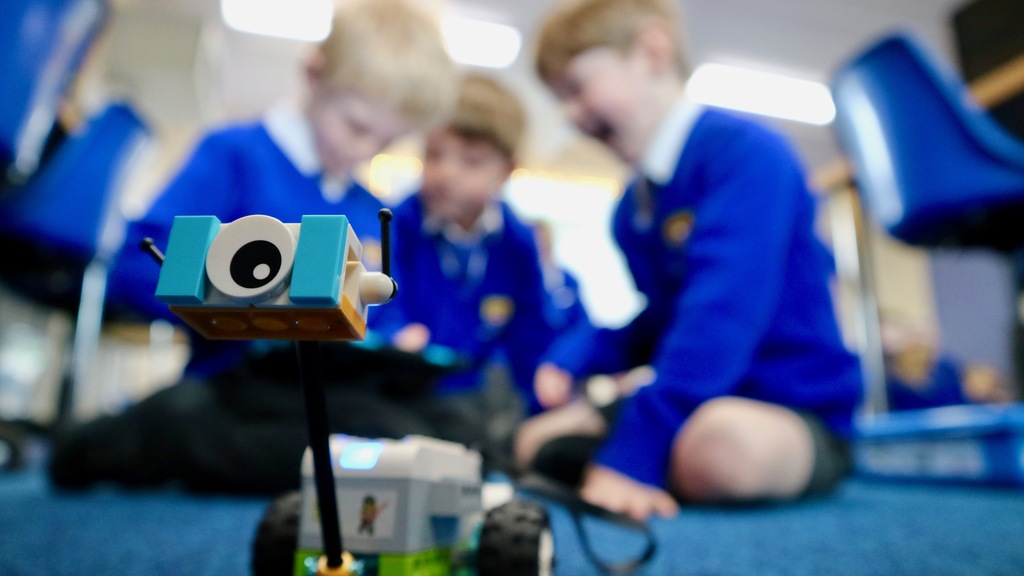
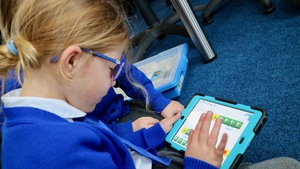
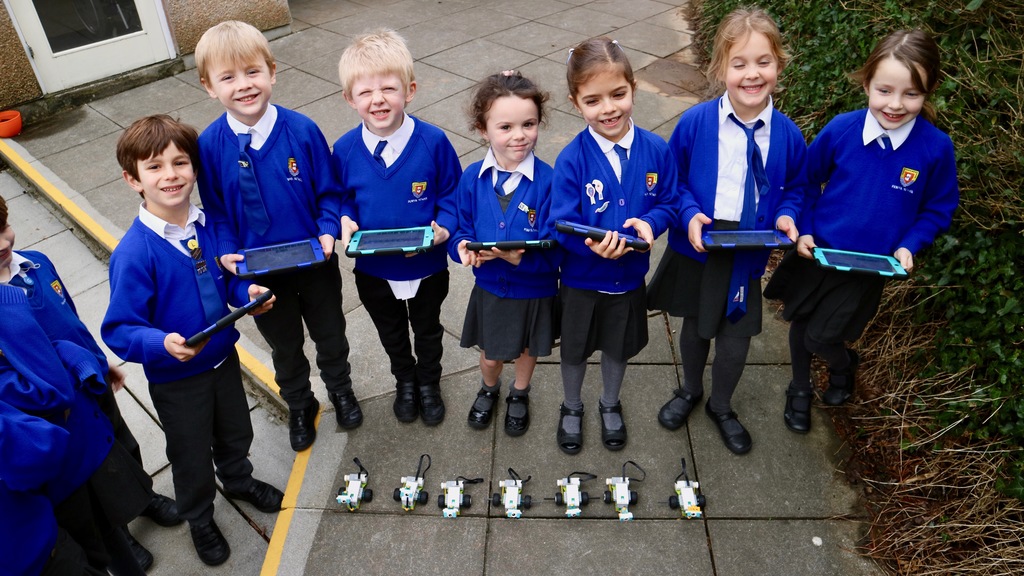
Class 3 have recently started getting to grips with our Lego WeDo 2.0 robotics sets and this week took their skills to a whole new level by building and coding Milo, the explorer robot.  To build this cute little robot the children had to follow a series of building instructions on their iPads, ensuring they worked in a team to locate the pieces required and to build the robot correctly.  Having displayed a great amount of teamwork and excitement, the children then wrote a short program to make their model come to life. By dragging and dropping blocks of code, the children wrote a set of instructions to move the robot forwards and backwards.  Some groups even found a way to have Milo make noises as he moved around.

“I really liked racing the robots, our one didn’t move very much but it was really fun.  The band wasn’t on right on my robot but we fixed it and it worked in the end” – Ada, Amelia, Amelia

“I liked it when our robot was in the race.  I liked it when it made code so it sounded like it was talking .  I liked it when we started building the robot because we had really good teamwork” – Alex, Louis, Ethan M

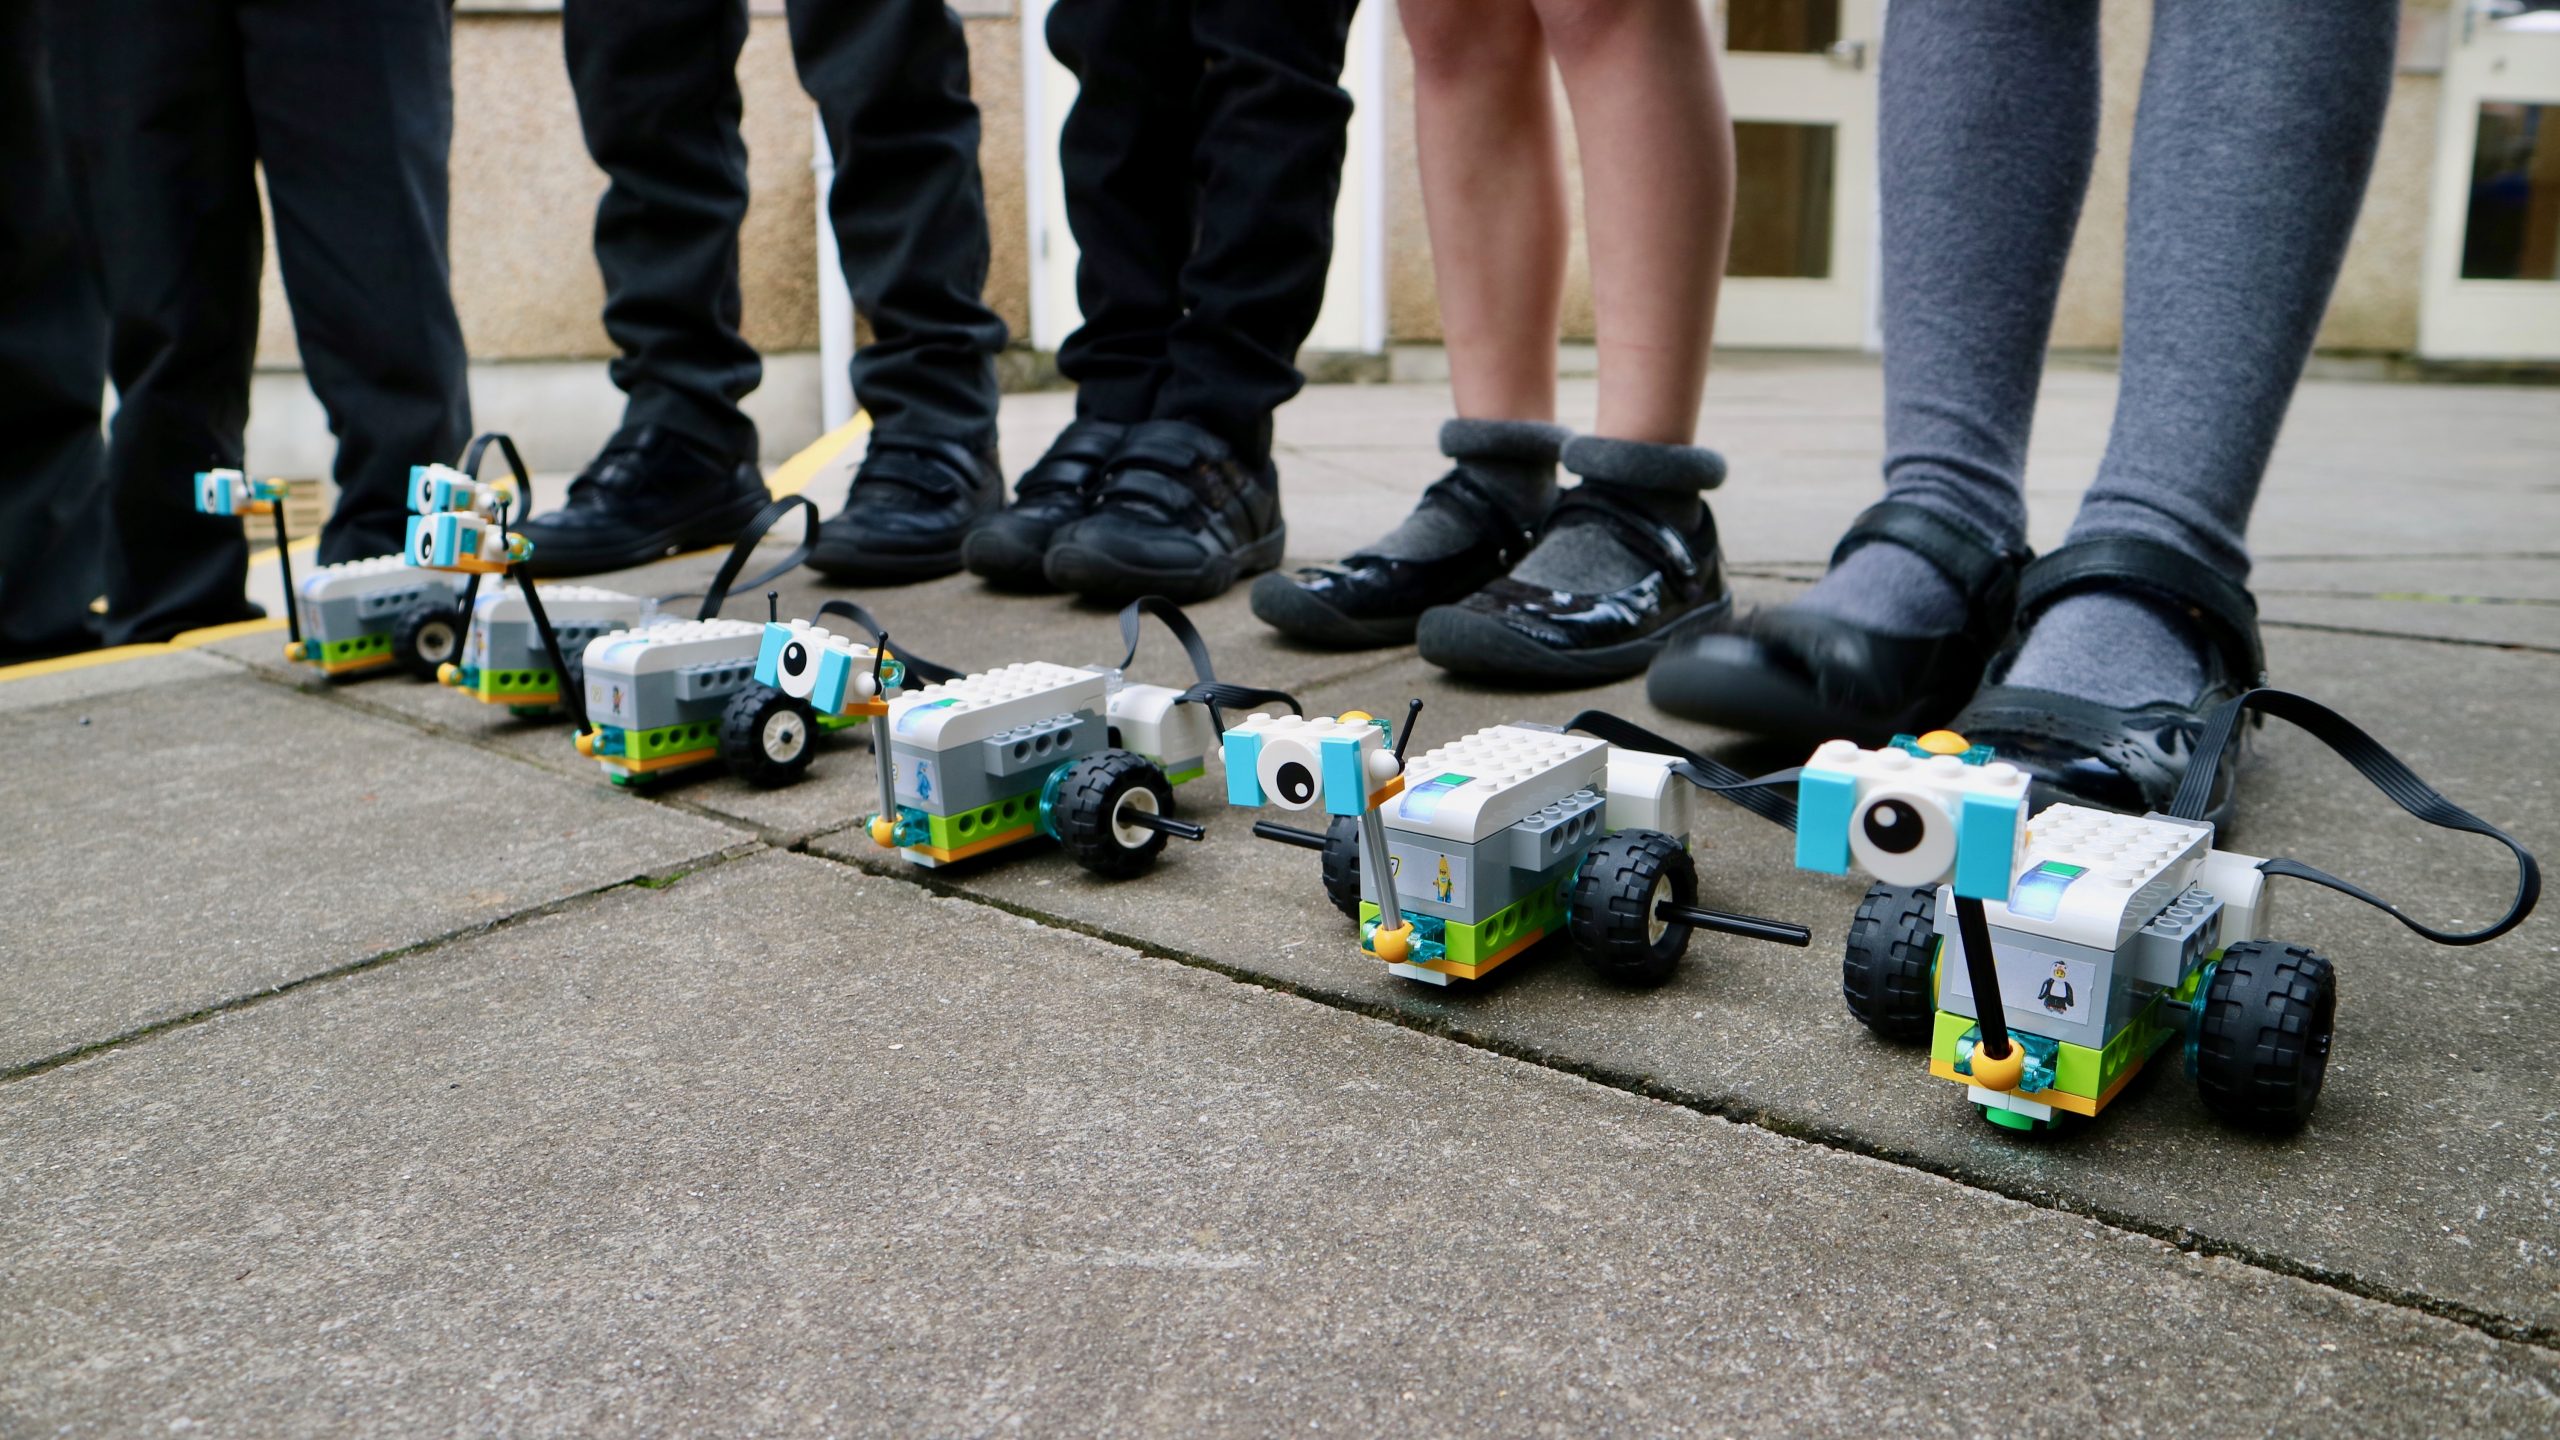
When each group had built and programmed their model we all went outside to have a quick race.  With plenty of cheering and excitement, all of the Milo robots went head-to-head to see which was the fastest.  This thrilling race has been immortalised on film for everyone to relive and enjoy!

How to Build a Computer with Year 5 + 6

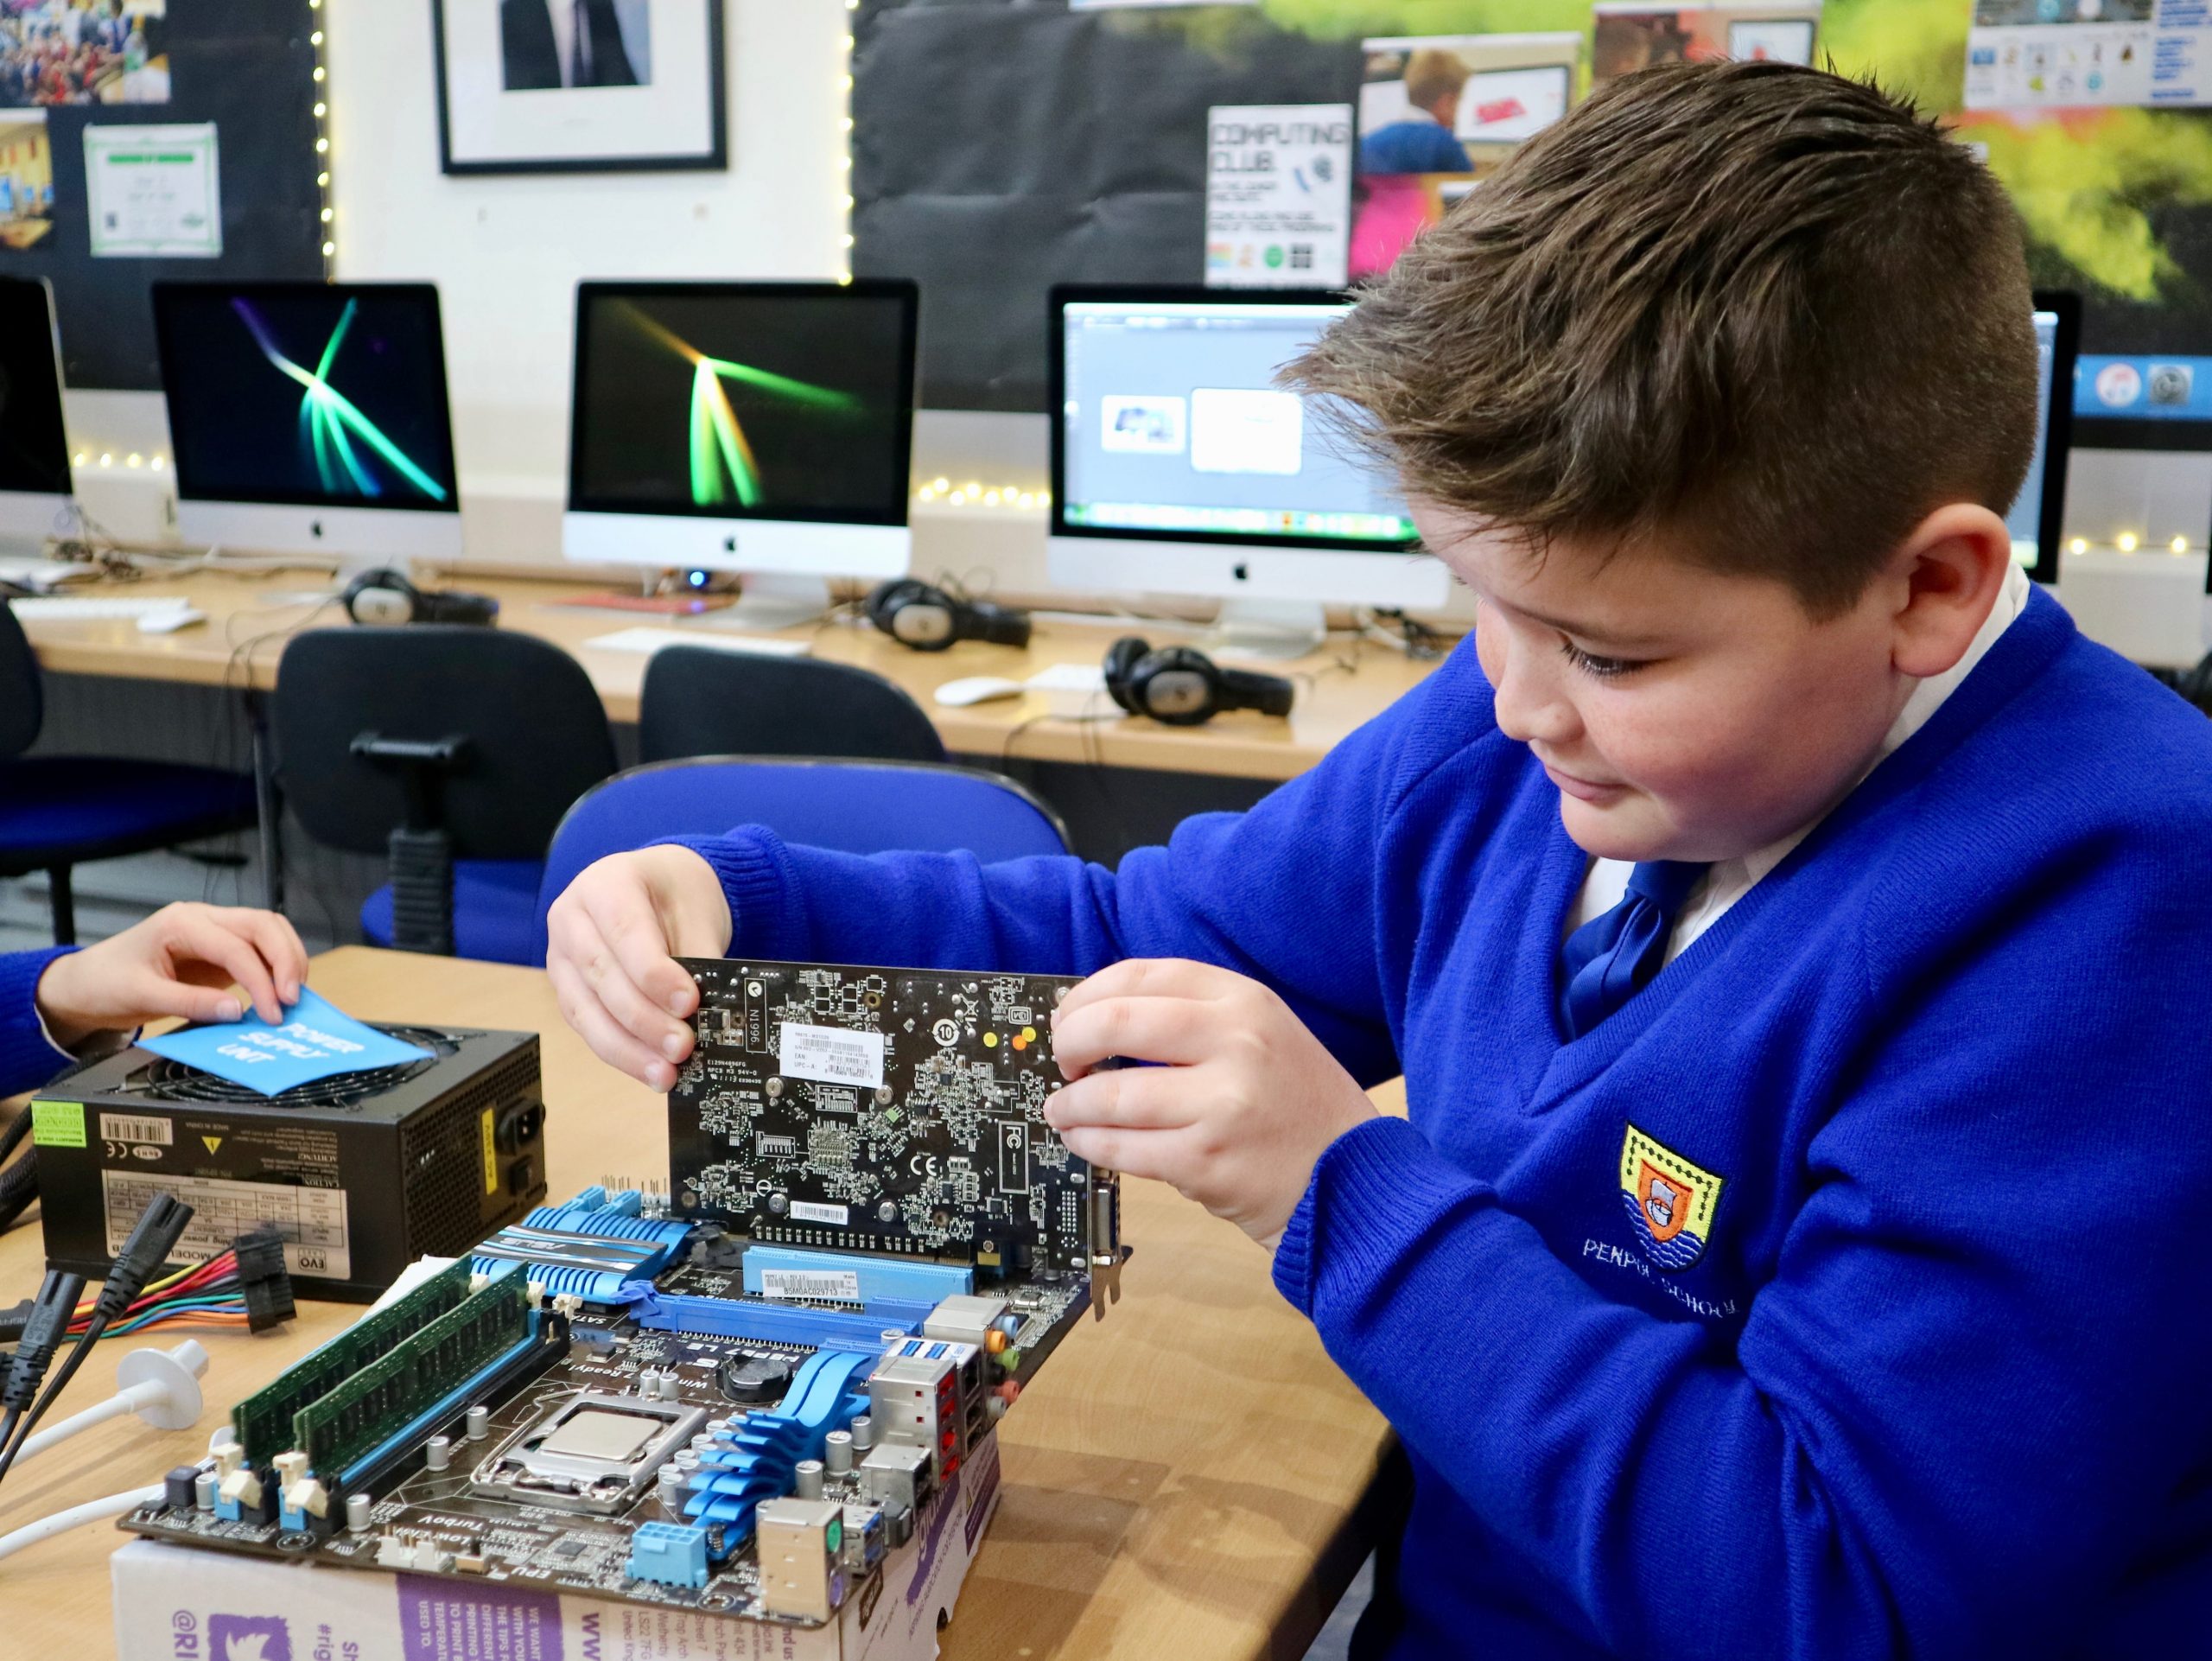
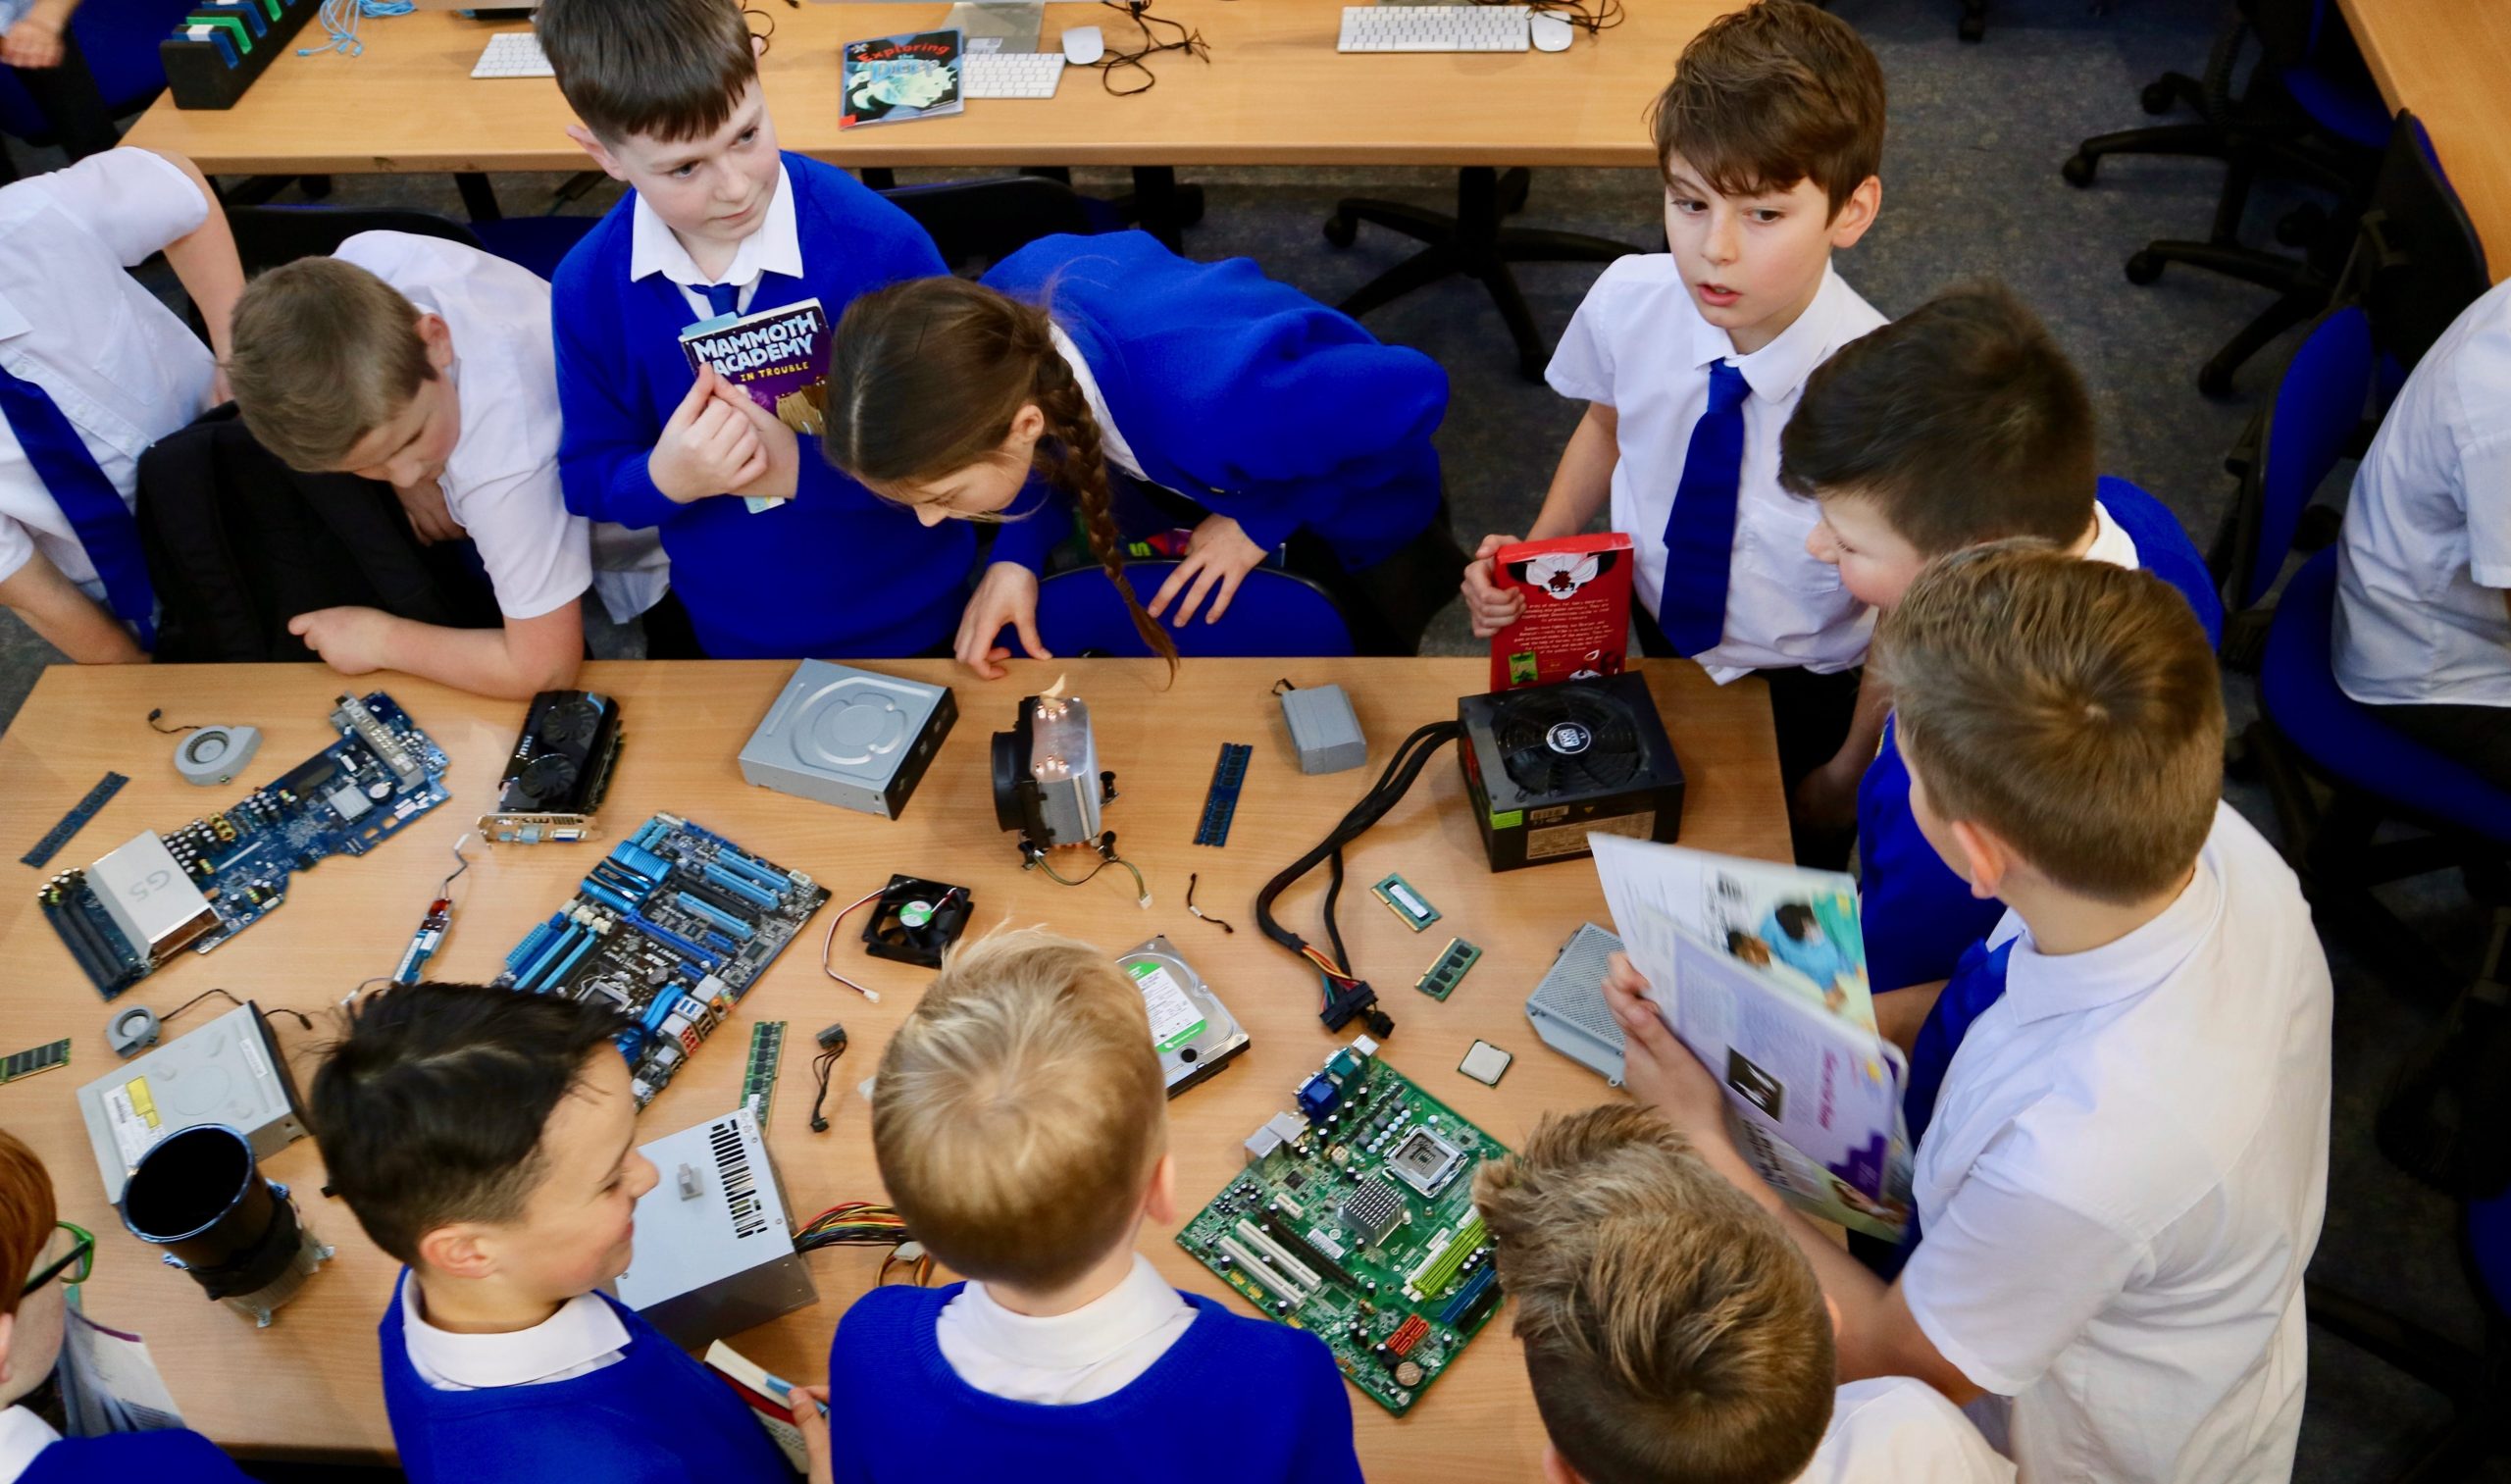
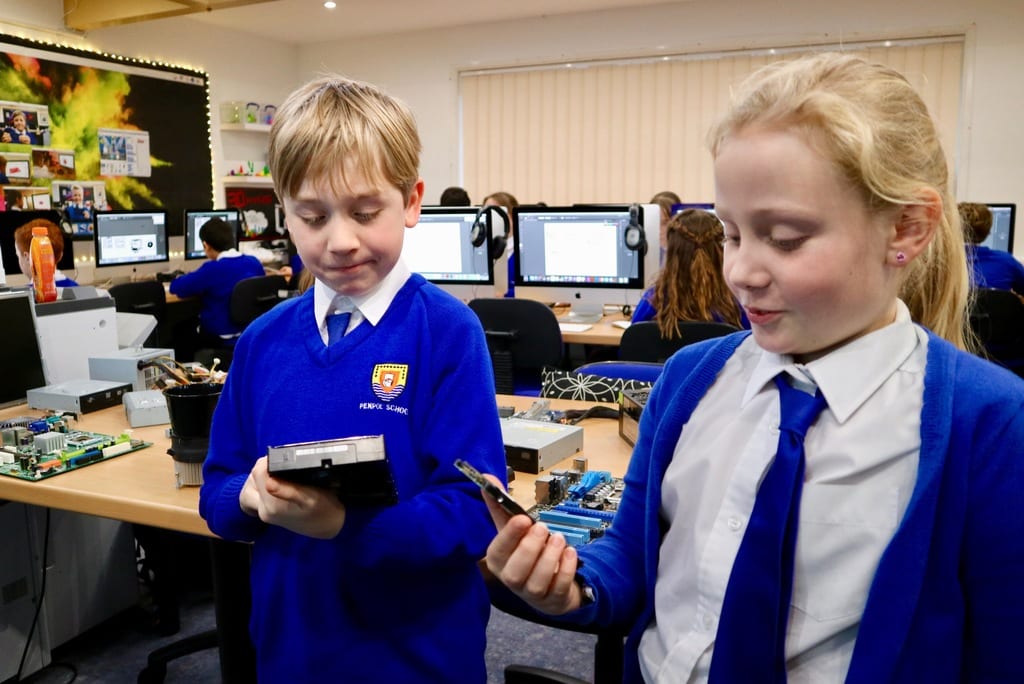
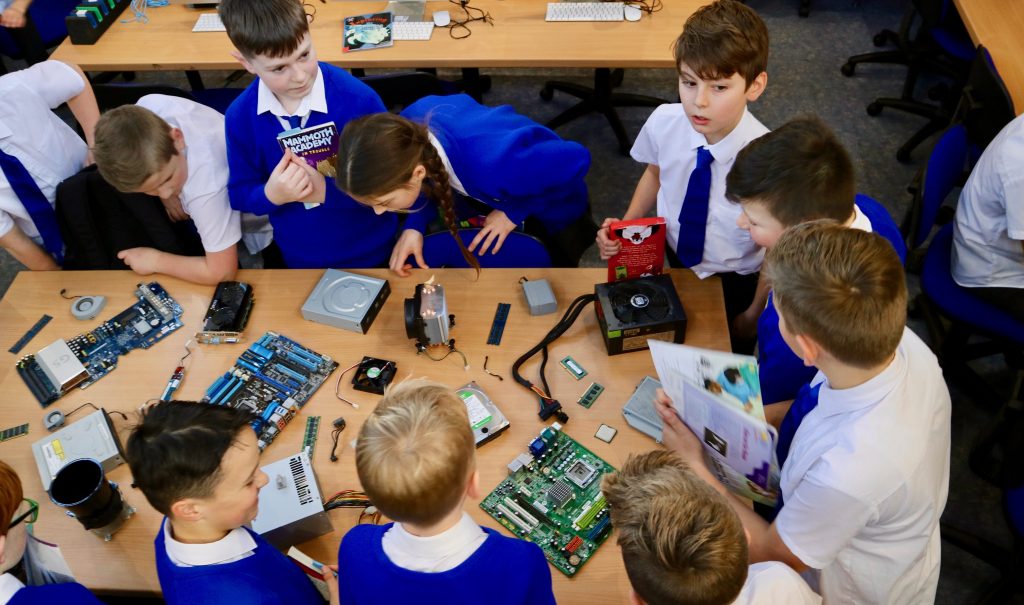
This week our Year 5 and Year 6 classes have all taken it in turns to build their own computers using the assortment of components that they learnt about last week.  Working in small groups (and with the help of Mr Woolcock and Paul) each child learnt where the components went and what they do inside the computer.

Below is a step-by-step to understanding what goes inside a computer, written by our pupils.  Enjoy!


Step 1: Motherboard

“This is the thing which everything else plugs into, for example the power cables and processor.  The motherboard is big and it’s covered in circuits and interesting bits.  You need a motherboard in order to build your own computer.” – Harry, Class 13


Step 2: RAM

“The RAM is a bit like the arms of a computer, it helps the computer to multitask and to juggle lots of things at once.  You need to add the RAM in two slots (which have to be colour matching!) and it must be the right way around.  Push it firmly into place and the clips keep it in.” – Taran, Class 13


Step 3: Processor

“The processor is like the brain of the computer, without it the computer wouldn’t work at all!  We had to line the Processor up in its square holder and gently lower it into place.  We then used the clip thing to lock it into place so it doesn’t go anywhere.” – Ben, Class 13


Step 4: Graphics Card

“It shows the screen what to display and they can be really expensive!  It was quite easy to push it into the slot on the motherboard.” – Kian, Class 11


Step 5: Heatsink

“The heatsink cools the processor down because it gets really hot when it’s working.  It looks like a big fan with a big metal grate on one side.  You had to screw this into the motherboard so it sat firmly on top of the processor otherwise it won’t work.” – Meghan, Class 13


Step 6: Hard Drive and CD/DVD Drive

“It’s been really cool because I learnt how to put things into the computer and what everything was called.  The hard drive was interesting because it’s where you save all the work and that means all of the work that we’ve done is saved on one of them.” – Melissa, Class 11


Step 7: Cables

“I liked putting together the computer and seeing how it worked.  I found it amazing how everything could fit in a small computer and how the cables link everything together on the motherboard.” – Freya, Class 11


Step 8: Power Supply

“It’s important to a computer because it helps to run everything.  You have to plug the power cables into the motherboard and the drives and that gives it power.” – Emma, Class 11


Step 9: Turn it on!

“When everything is plugged in and safe, we turned the power on and you could hear the fans start to spin up as the computer started working.  It’s magic!” – Freya, Class 13


Taking a Look Inside a Computer…

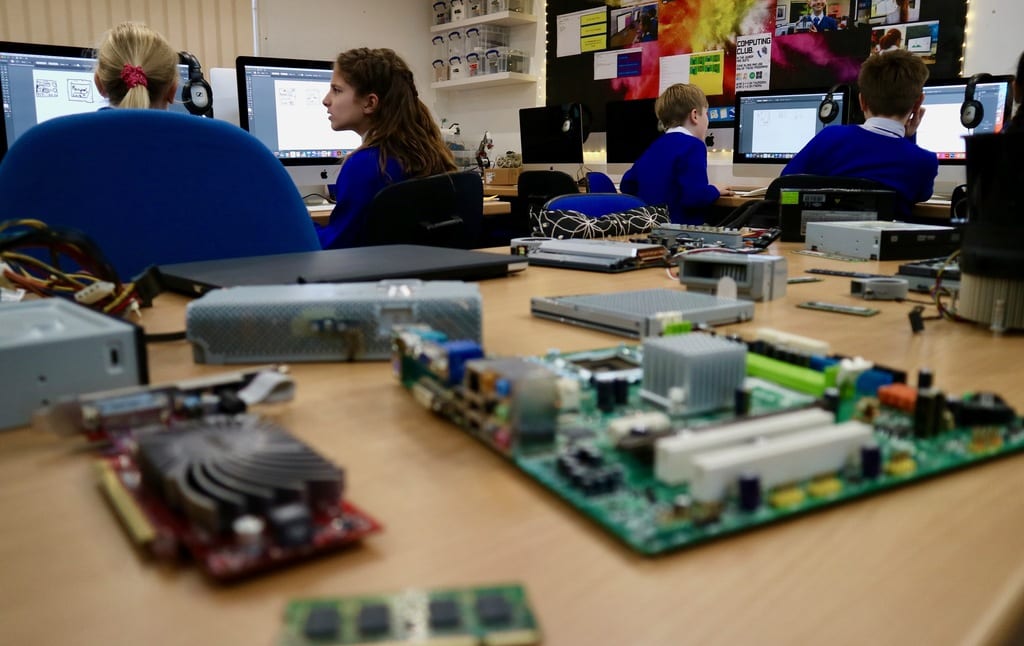
This week in Computing Year 5 and Year 6 have been learning all about the different parts that make up a computer, including the Motherboard, Processor, Hard Drive, RAM, Graphics Card, Heatsink and the Power Supply Unit.  We learnt how all of these parts are useless by themselves, but when they are all connected up together they can make a fully working computer.

“It was really fun, learning how the motherboard had all these bits where you can plug everything in.  It was really interesting because I was surprised how heavy it was compared to how big it was.” – Alex, Year 6

As well as having a chance to investigate these components, the children were also given the opportunity to hold and draw the objects in order to get a greater understanding of them.

“It was great, because we got to know what was inside a computer.” – Holly, Year 6

Next week each of the groups will have the opportunity to assemble these components with Paul to hopefully build their own working computers.  It’ll be a very exciting project for sure, so check back for more photos on the Penpol Times soon!

“It was quite good because we know how it works now.  I just thought that a computer was one little piece inside a screen but actually it’s a whole network of really weird pieces.” – Eva, Year 6

Space Day For Our Budding Year 5 Scientists

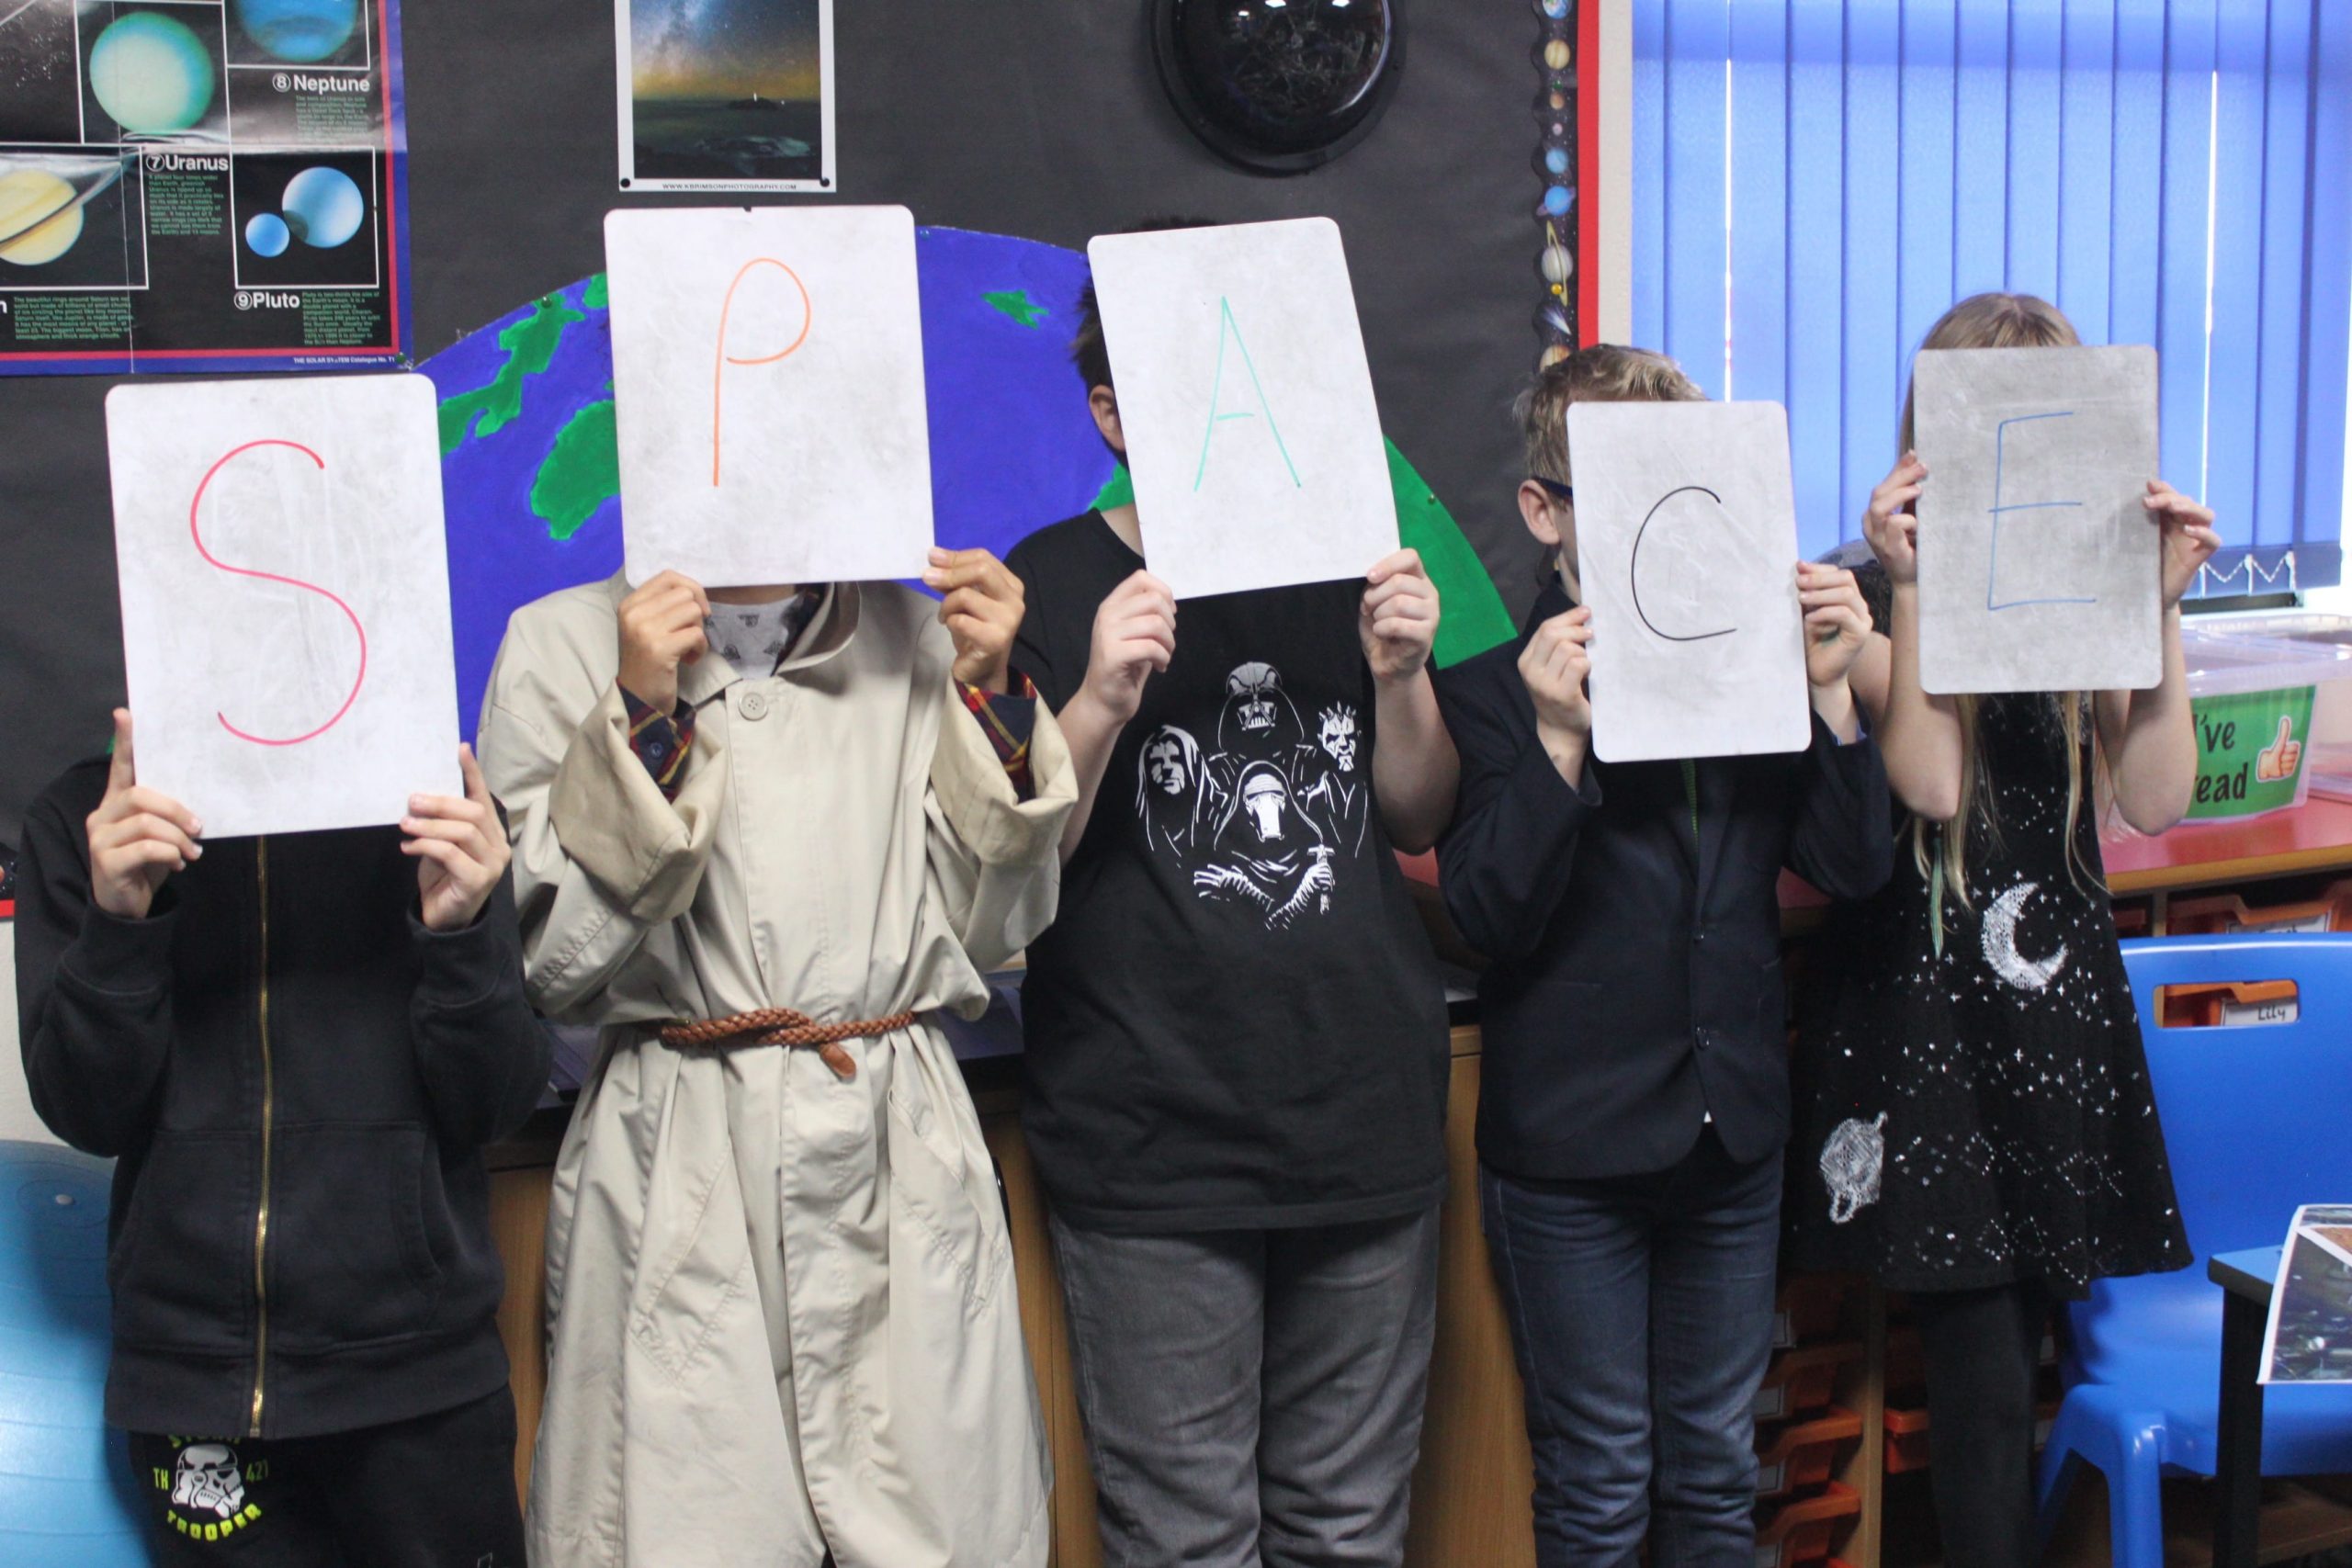
This week the children (and teachers)  in Year 5 have celebrated their learning within science this term by taking part in a Science themed Space day. The day was split into three activities including rocket building, space themed art and movie making.

Working in pairs, the children created an iMovie film sharing what they had learnt over the term. This involved collating facts, pictures and pieces of work before organising them into a short two minute film. The movies included their own music, headings and direction.


I loved using the iPads to make movies, I’m definitely downloading the app on my iPad at home! – Emi – Class 12

Whilst some of the children were busy planing and directing their own short movie, the rest were designing and building working rockets, which are set to be launched next week. Using lots of recycled bottles, tubes and pieces of cardboard, the children ‘junk modelled’ rockets which will be powered by water and air pressure.

I tried to make my rocket as streamlined as possible so it had the least amount of air resistance possible, and it worked! – Sam – Class 11

What was particularly pleasing was the effort children put into making their rockets aerodynamic to limit the amount of air resistance, something they had learnt about in their previous science topic on forces.

Due to poor weather, the launching of the children rockets has been postponed until next week where hopefully the conditions will be more favourable.

The third task for our Space Day required the children to ‘Space themselves up’ by adding their photos to a space scene; either in the form of an astronaut on a space walk, or steering a rocket to space. Some examples can be seen in the below.

We rounded off the day with a ‘space walk’ of their very own, down the catwalk as we held Penpol’s first space themed fashion show for the children (and adults) to show off their costumes.


Hour Of Code 2017: A Hero’s Journey

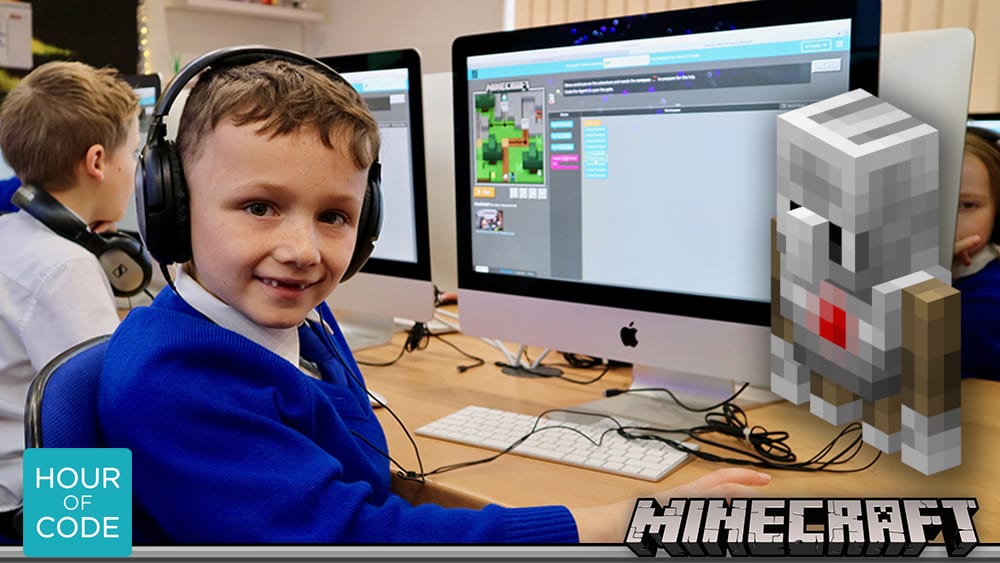
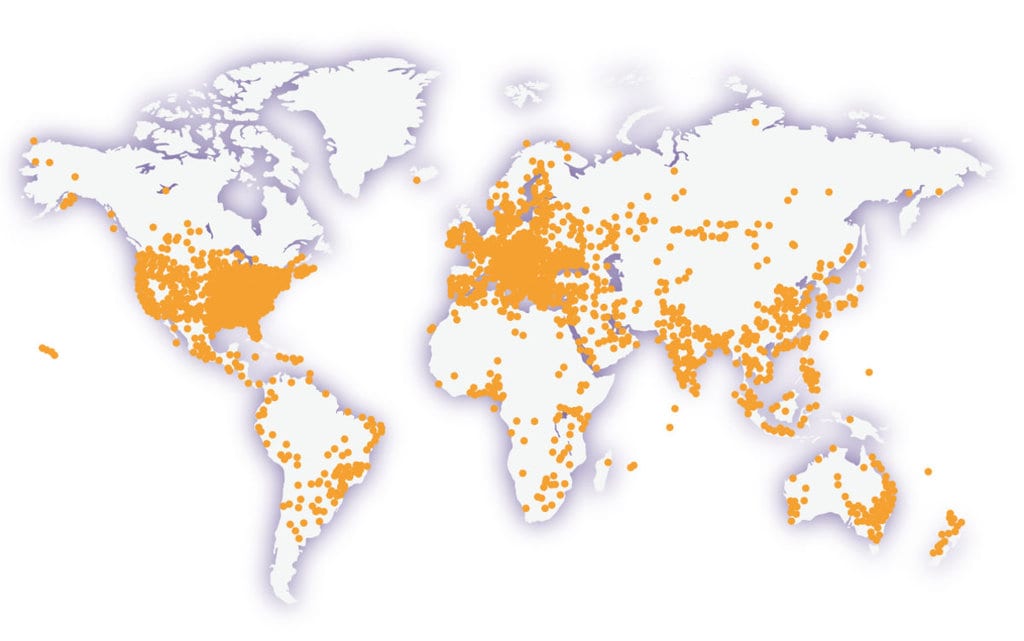
Penpol School have been taking part in the international Hour Of Code this week.  The idea behind the Hour of Code is simple, to get every child around the world spending an hour learning a little bit about computer science and programming.  This year there are over 514 million children taking part in the Hour, from all around the world.


Countries where the Hour of Code is taking place this year


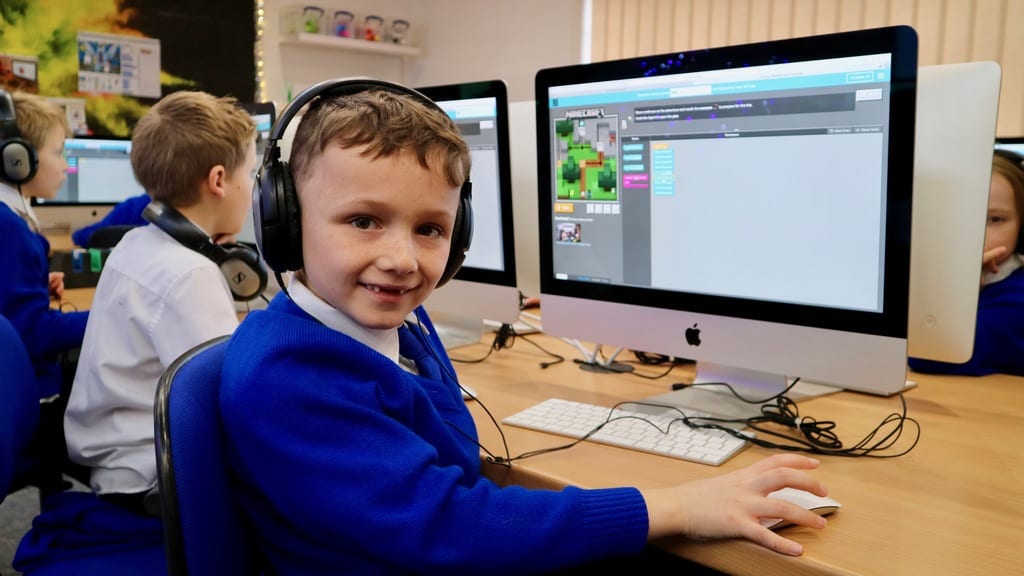
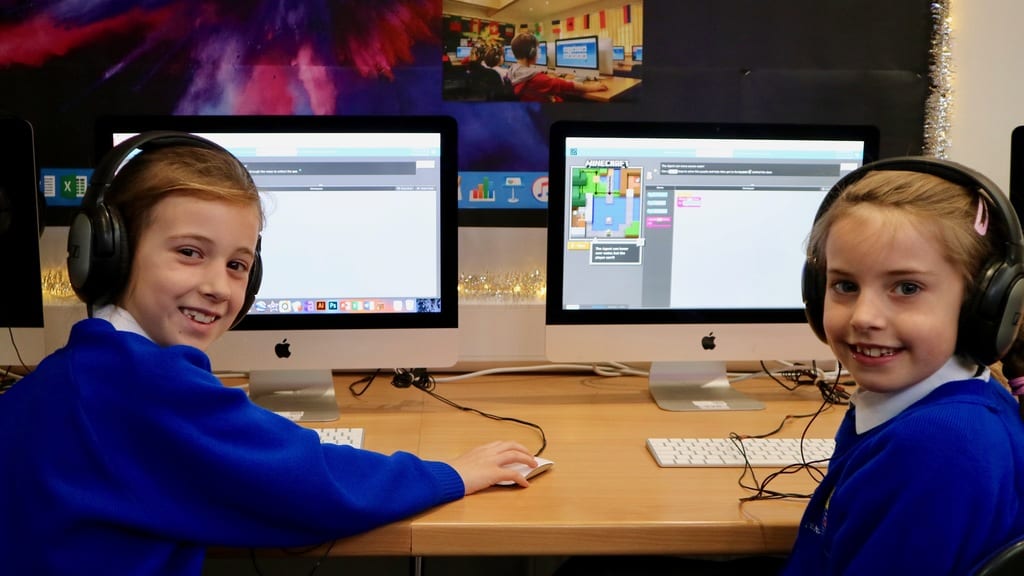
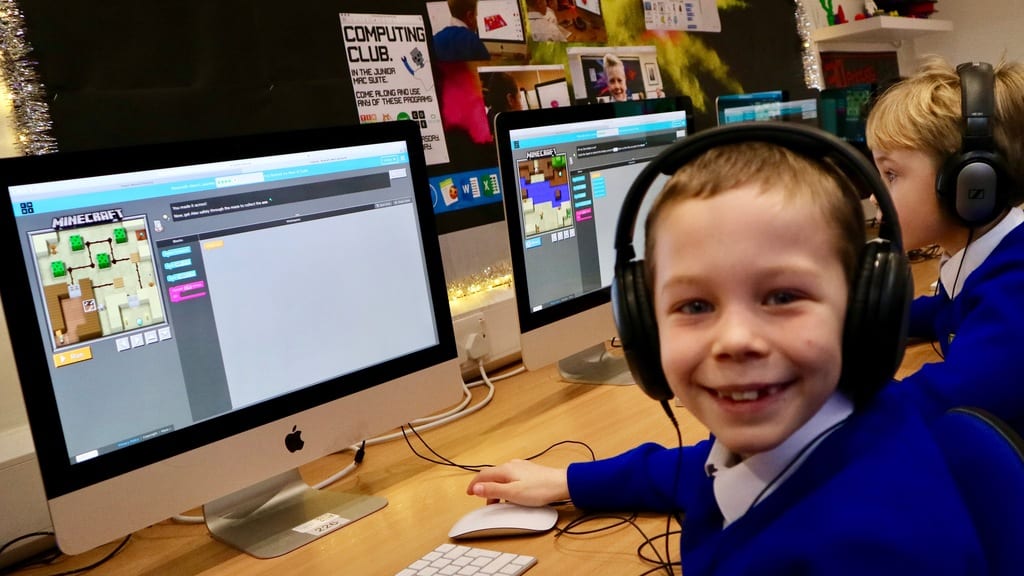
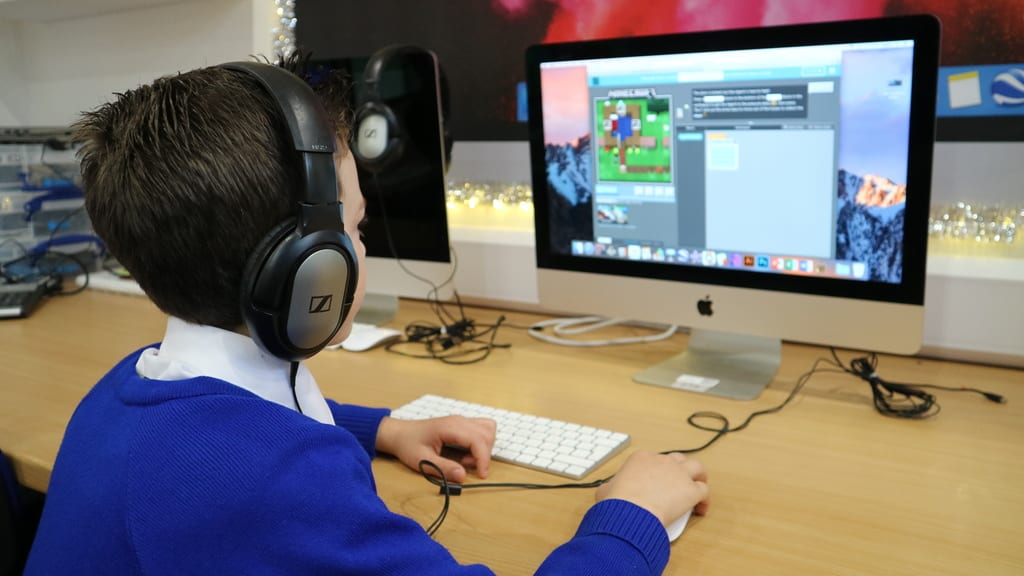
The challenge the children have been undertaking this year has been designed by the team behind Minecraft and is called Hero’s Journey.  On this challenge you have to write your own code to control the robotic ‘Agent’ who can then help your character complete the twelve levels.  You can try it yourself at home here.

Everyone in Key Stage 2 took part in the challenge with some children even going the extra mile to collect the hard-to-reach diamonds on each level.

It was really good fun!  I didn’t know that I could control my character Steve. – George, C14

The Hour of Code follows on nicely from the lessons the children are currently having in Computing where they are learning how a computer works and how we, as users, can write simple instructions to control the computers.  The children are really getting stuck into this logical way of thinking and really deserved their Minecraft inspired treat this week!

Well done Key Stage 2!


You can find out more about the Hour of Code here.

3D Decorations by Key Stage 2

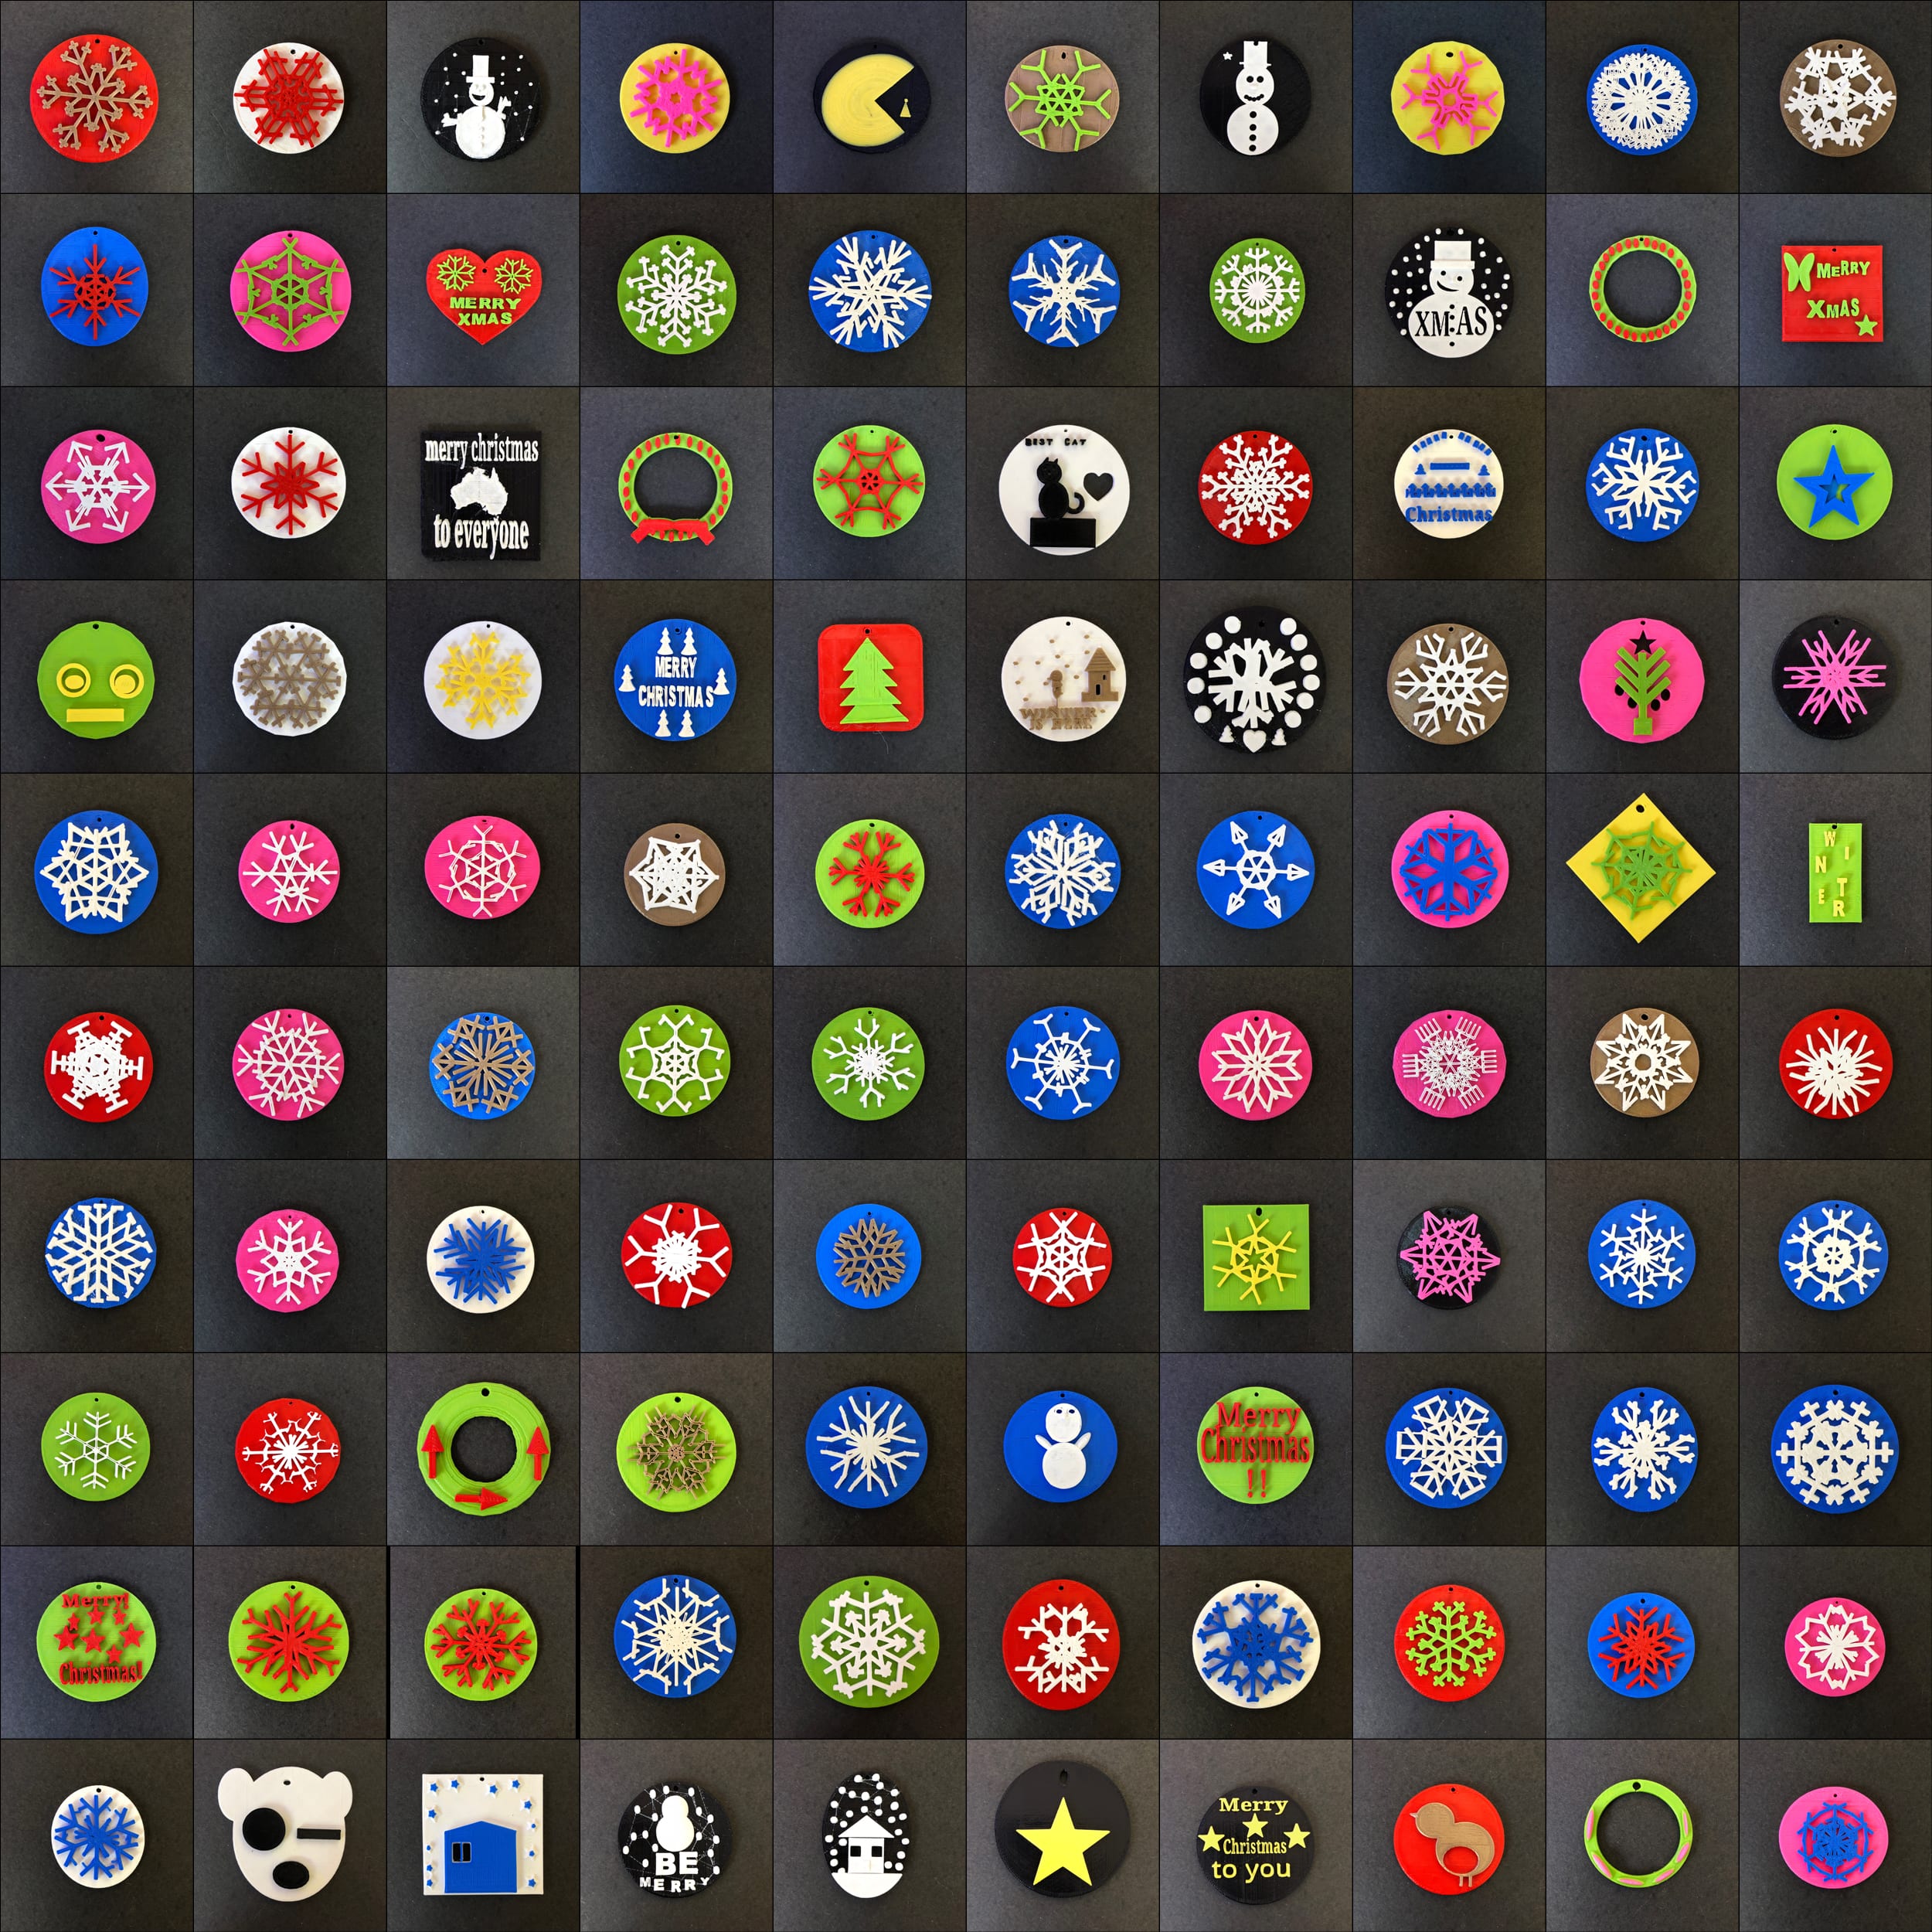
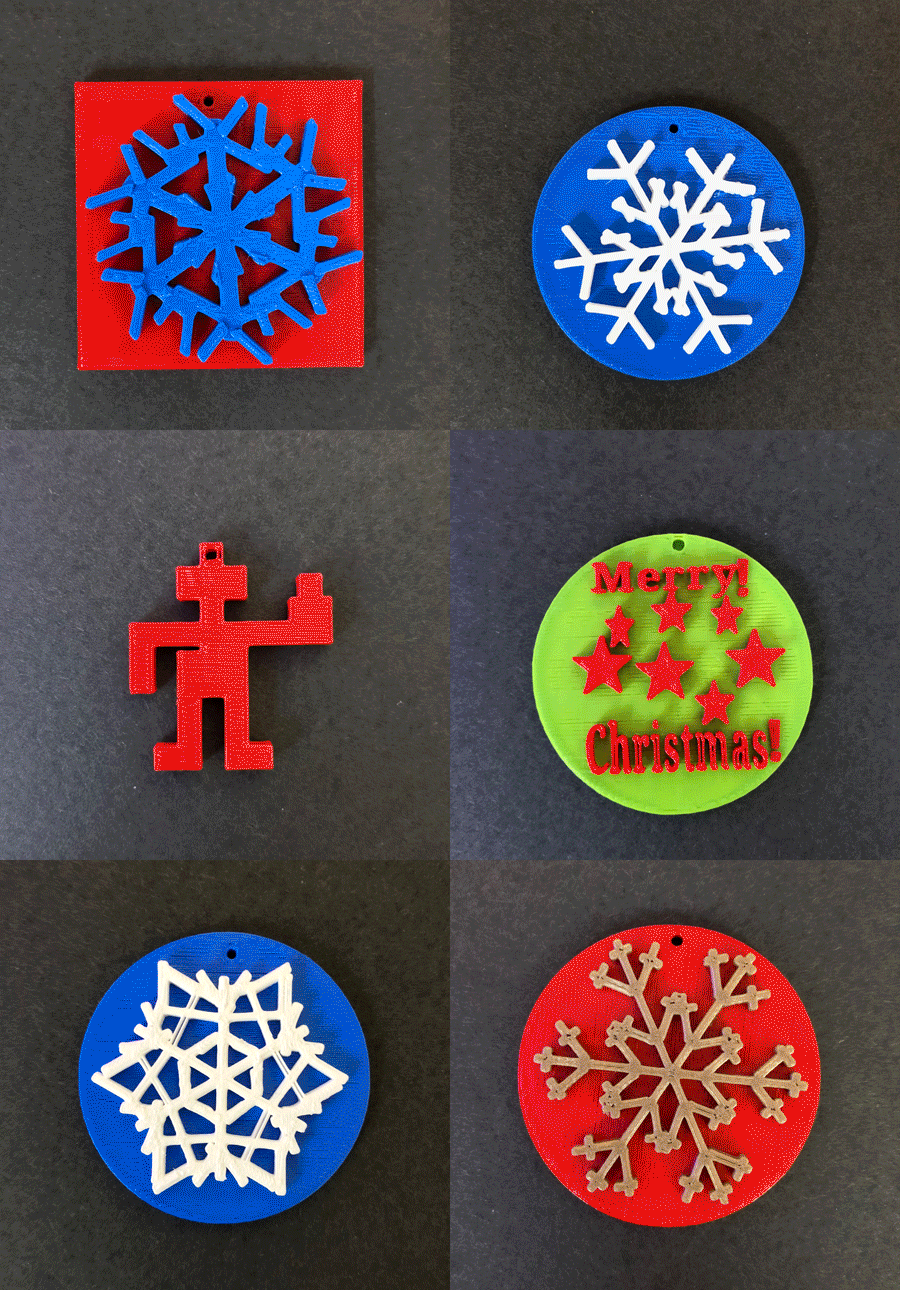
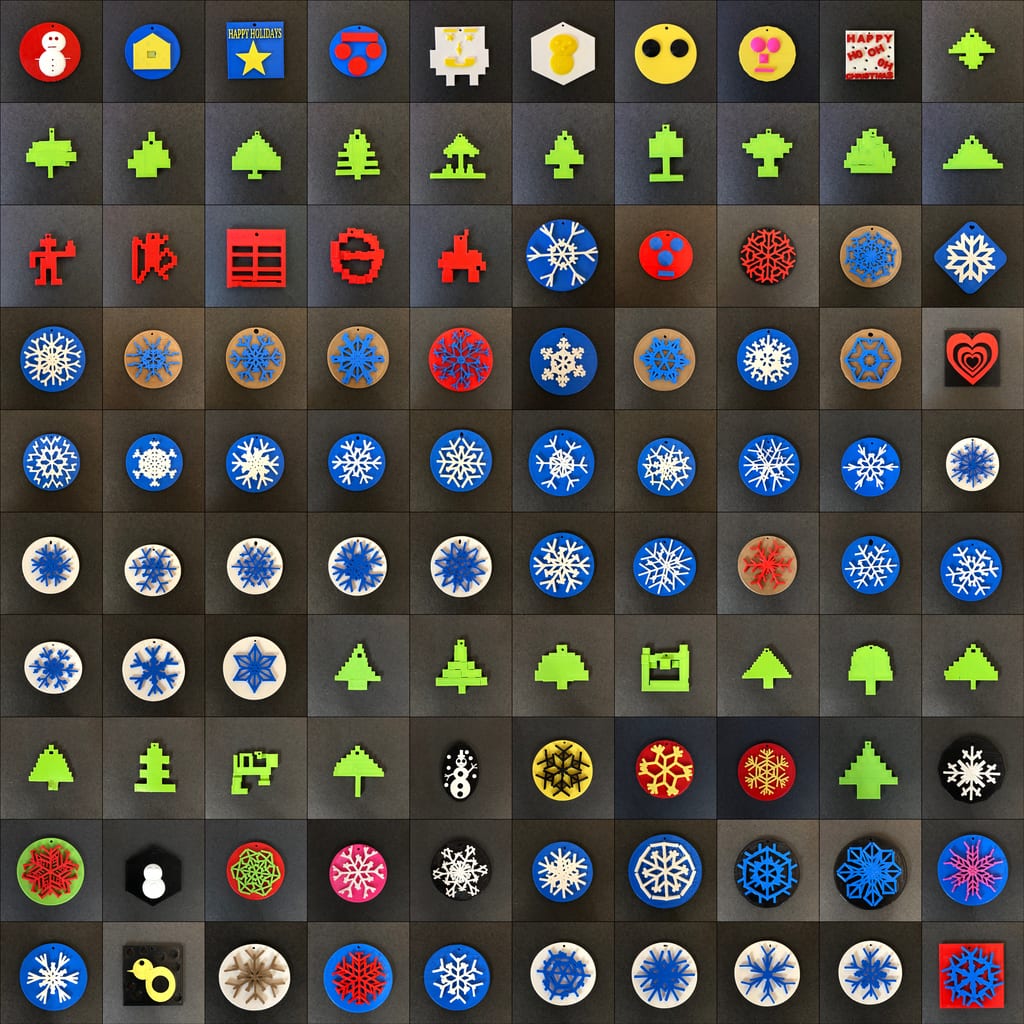
This term every child in Key Stage 2 has made their own 3D printed winter decoration.

To explain how they did it, we’ve created a short video for you to enjoy.


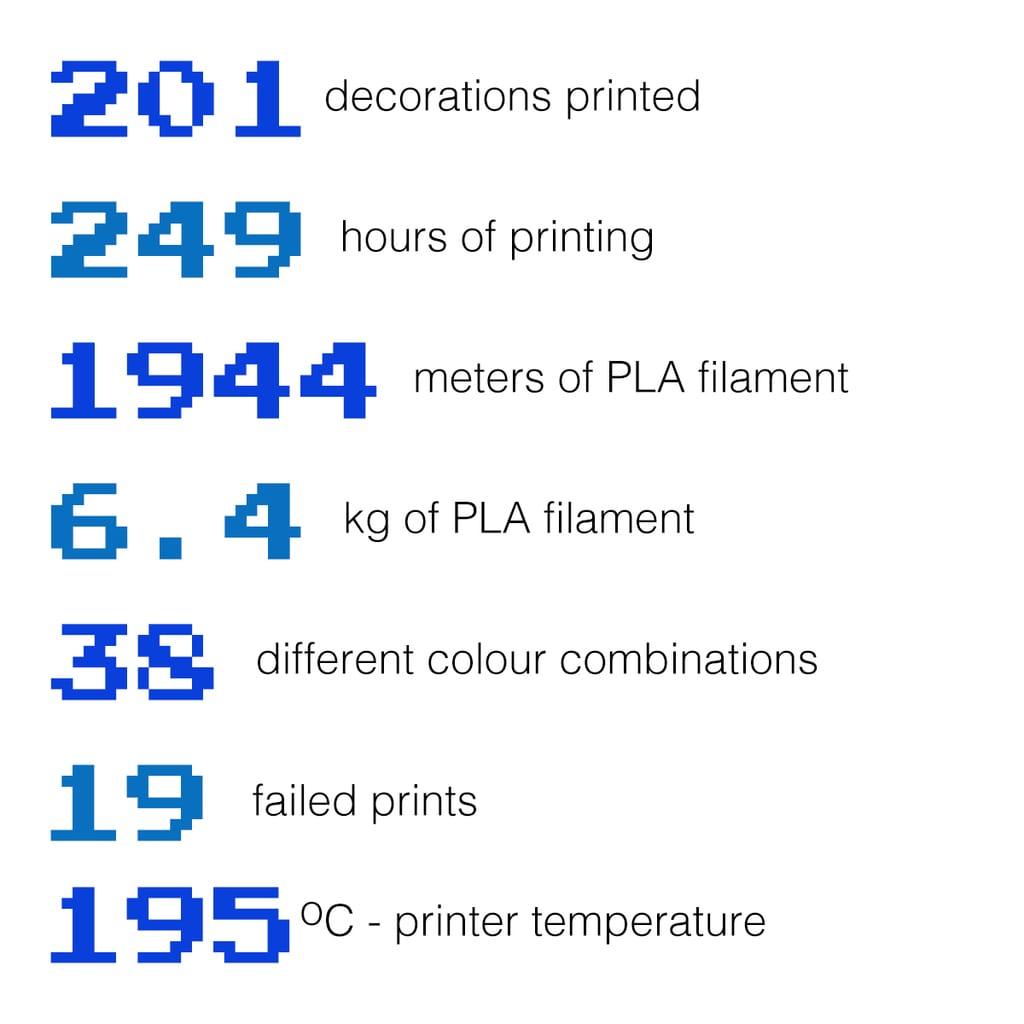
It’s been such a fun process helping each child design and make their decorations and Paul and I have really enjoyed seeing their designs come to life.   It’s taken nearly five weeks to print them all and while we were waiting we’ve compiled some statistics from the project. – Mr Woolcock.

If you’re interested, you can read lots more about the project here:

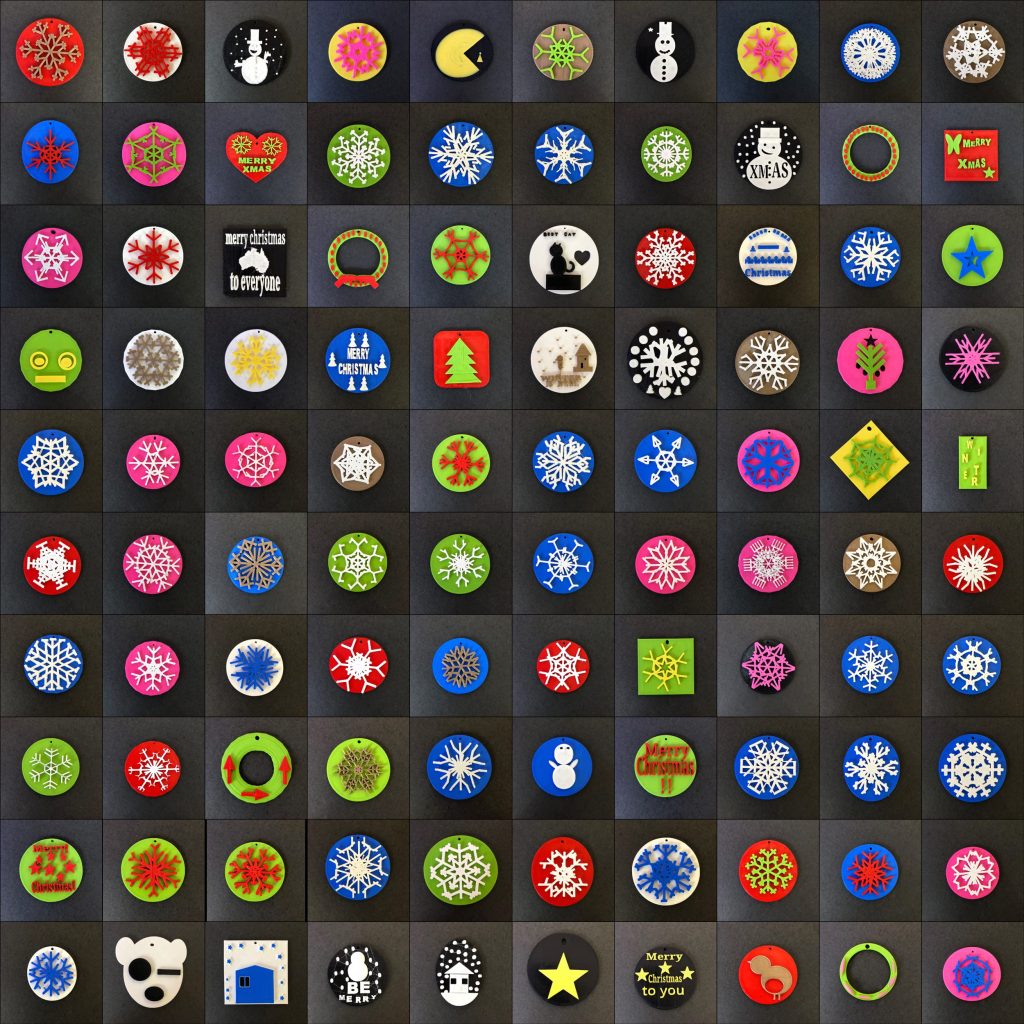
And here they are, all 200 decorations!

What’s that noise coming from the Mac Suite?

Since the beginning of November I’ve been asked the same question time and time again: “What’s that noise coming from the Mac Suite, Mr Woolcock?”

It’s a very valid question as there has indeed been a pretty irritating noise coming from the Mac Suite for the last few weeks.  The machine making the annoying noise isn’t finished yet though, in fact it’s likely to be making that same, annoying noise for a few more weeks yet.

So what is it doing??

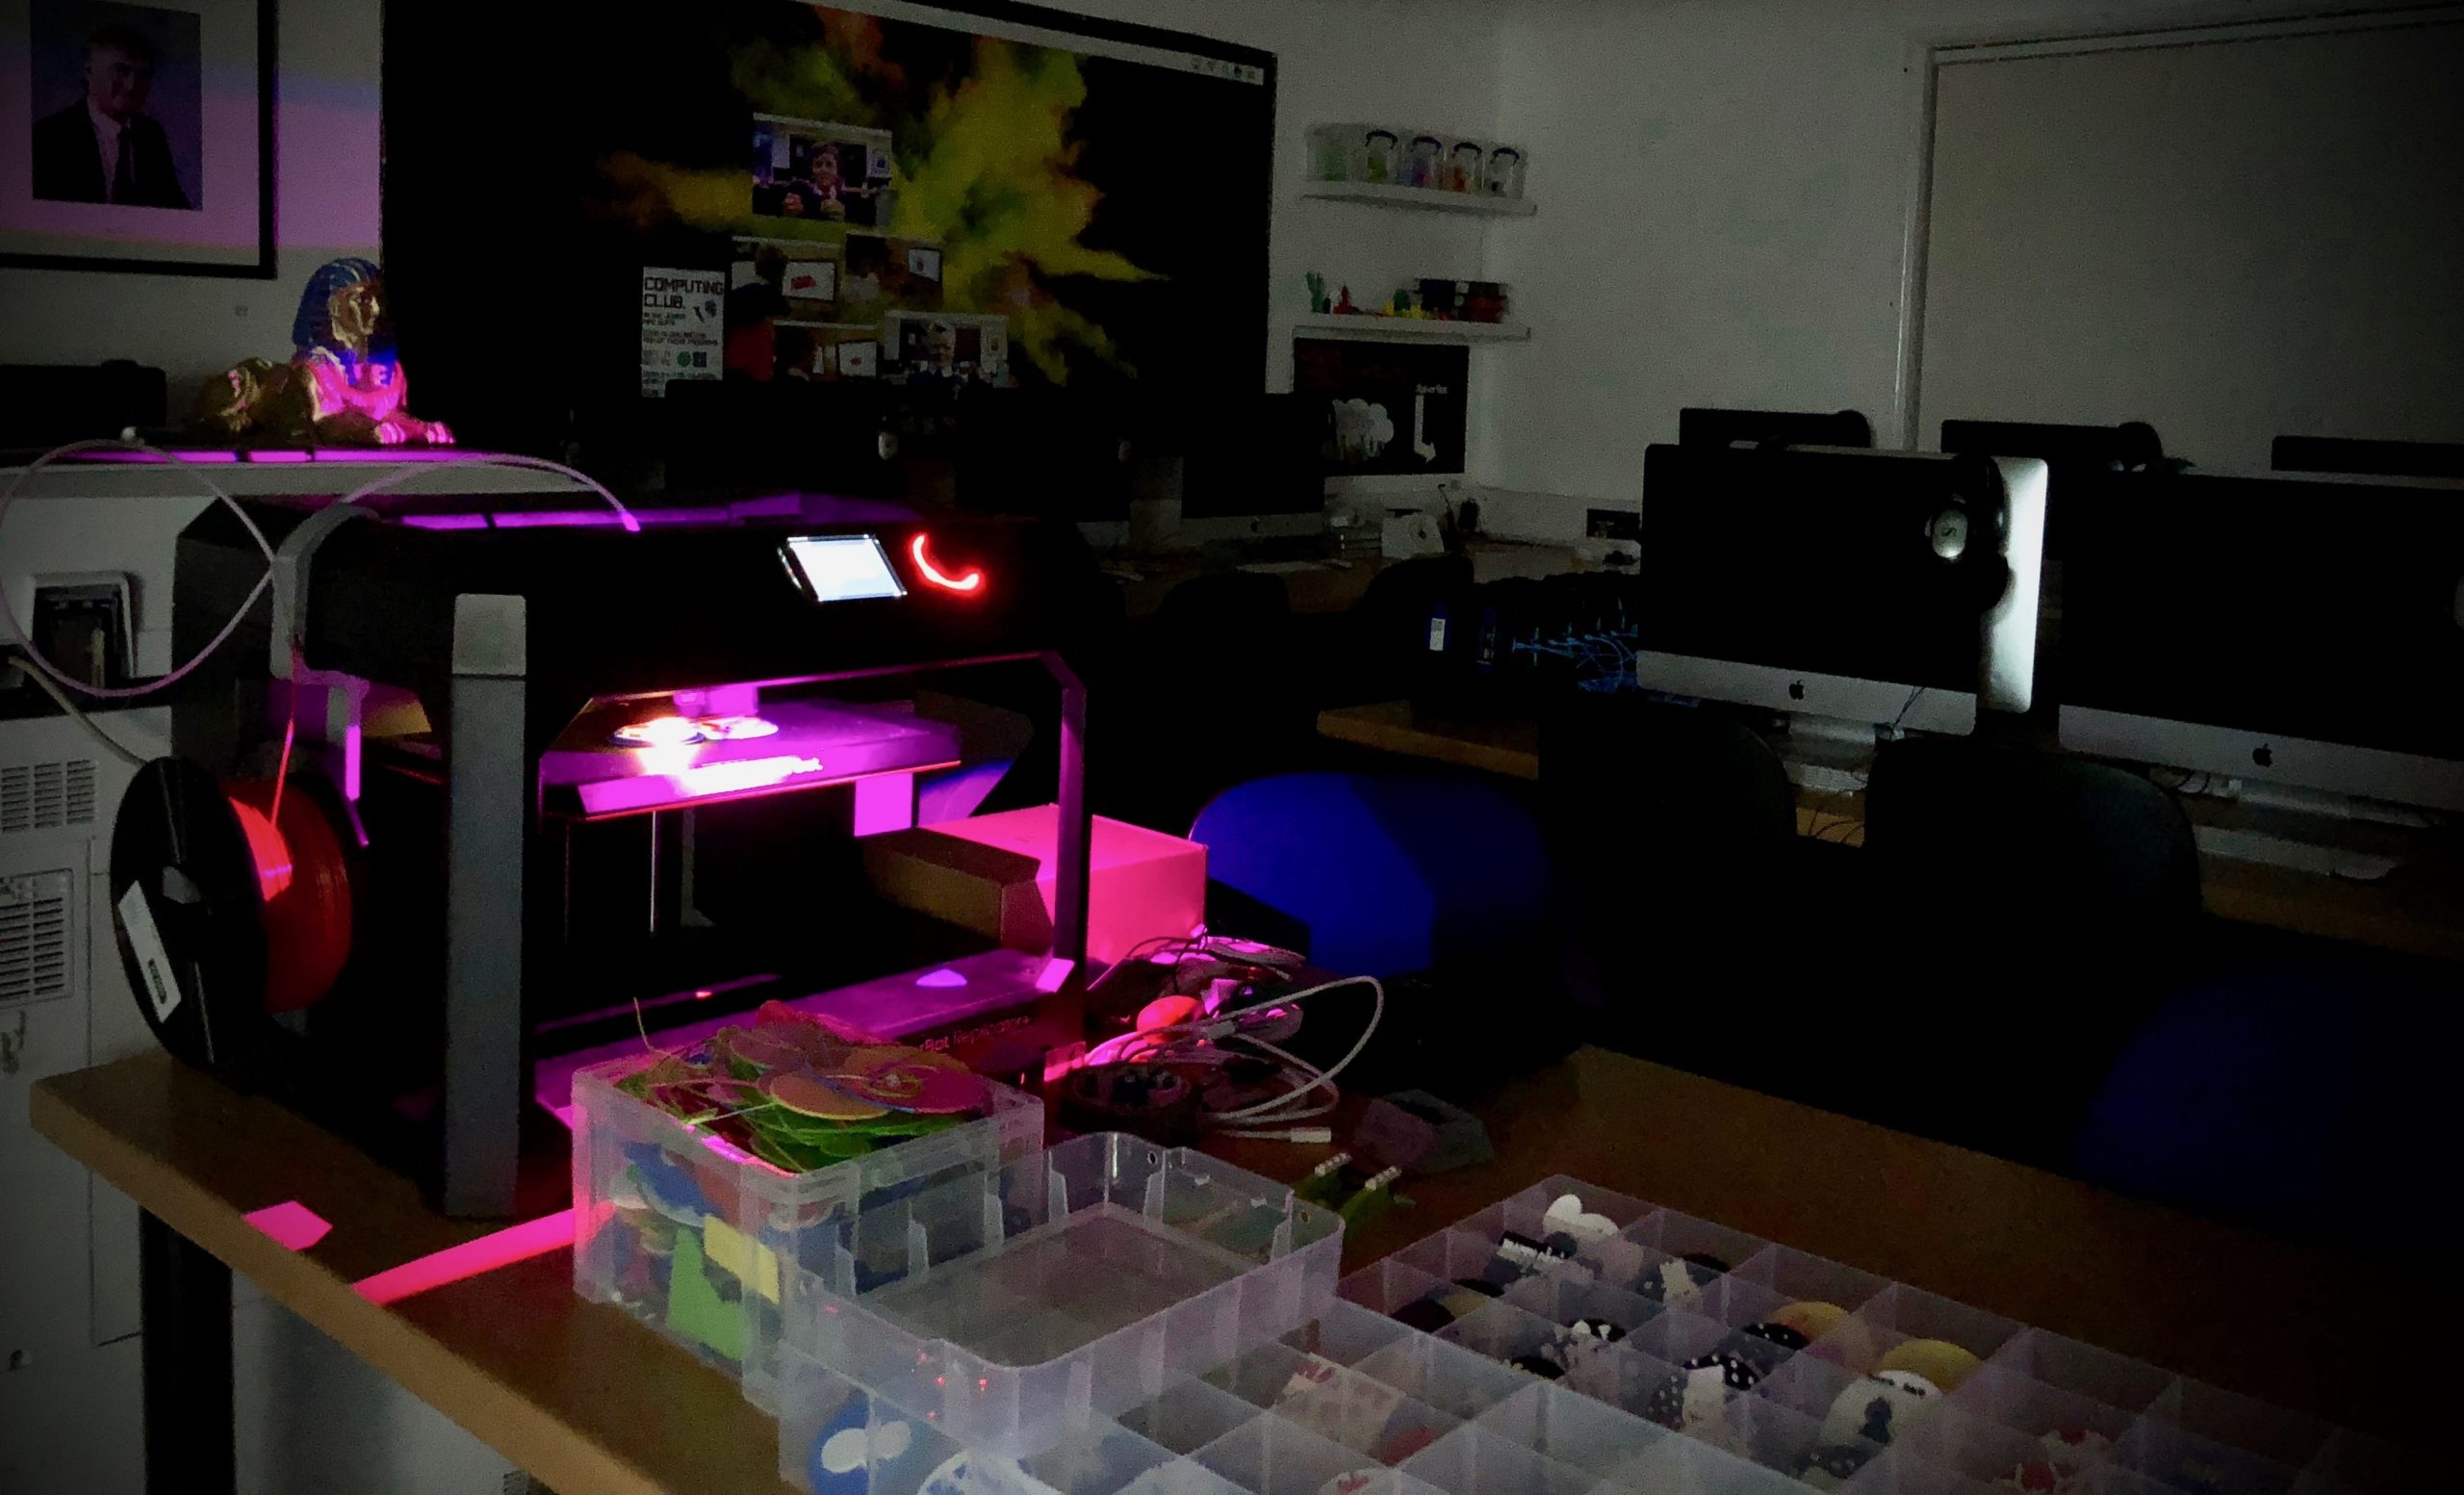
Well, the machine is our Makerbot 3D Printer and it’s currently undertaking the biggest print-run of its life – printing out 200 unique and individual winter decorations which have been designed by the children in Key Stage 2.


Each child in the Juniors has been using an online program called Tinkercad to imagine, design and construct their own decoration, based on any theme they wish.

To get their creative juices flowing I showed each child how they could make a unique and beautiful Snowflake design, which a lot of children actually ended up choosing as their final decoration.  However, each child could also design their own decoration with their own choice of colours too.

Since then, myself and Paul have been busy making sure that all 200 decorations get printed.  It might seem like a simple task, but in reality it’s far from it!  Each 3D model takes around 50 minutes to print and as they all use two colours we also have to stop the printer to change the coloured plastic mid-way through each print.  Sometimes it’s a little easier, for example when five children have all chosen a red base and a white top layer, as all five can be printed at once during a morning.  But for the most part it’s been a case of setting countless alarms, reminding teachers to pause the printers, scrambling under the table to find the next colour plastic and hoping that the 3D printer doesn’t jam after 4 hours of printing (thus ruining the prints!).


Plenty of late nights and early mornings have been spent coming back into the Mac Suite to set more prints off in the dark, but we’re finally getting towards the end.  We’ve now printed over 120 decorations and they are looking INCREDIBLE.

When all the decorations are printed we’ll be giving the children a chance to bring in a small donation of 50p to cover the cost of the plastic filament in return for taking their decoration home to keep forever.  The children are already excited about this!

As to what the decorations actually look like?  Well, you’ll just have to wait until December to find out.  It’d ruin the surprise to share all the photos of them now, but as soon as we’ve got all 200 ready to go we’ll update the Penpol Times so you can see how great they look!

In the meantime, back to the printer for me!

– Mr Woolcock