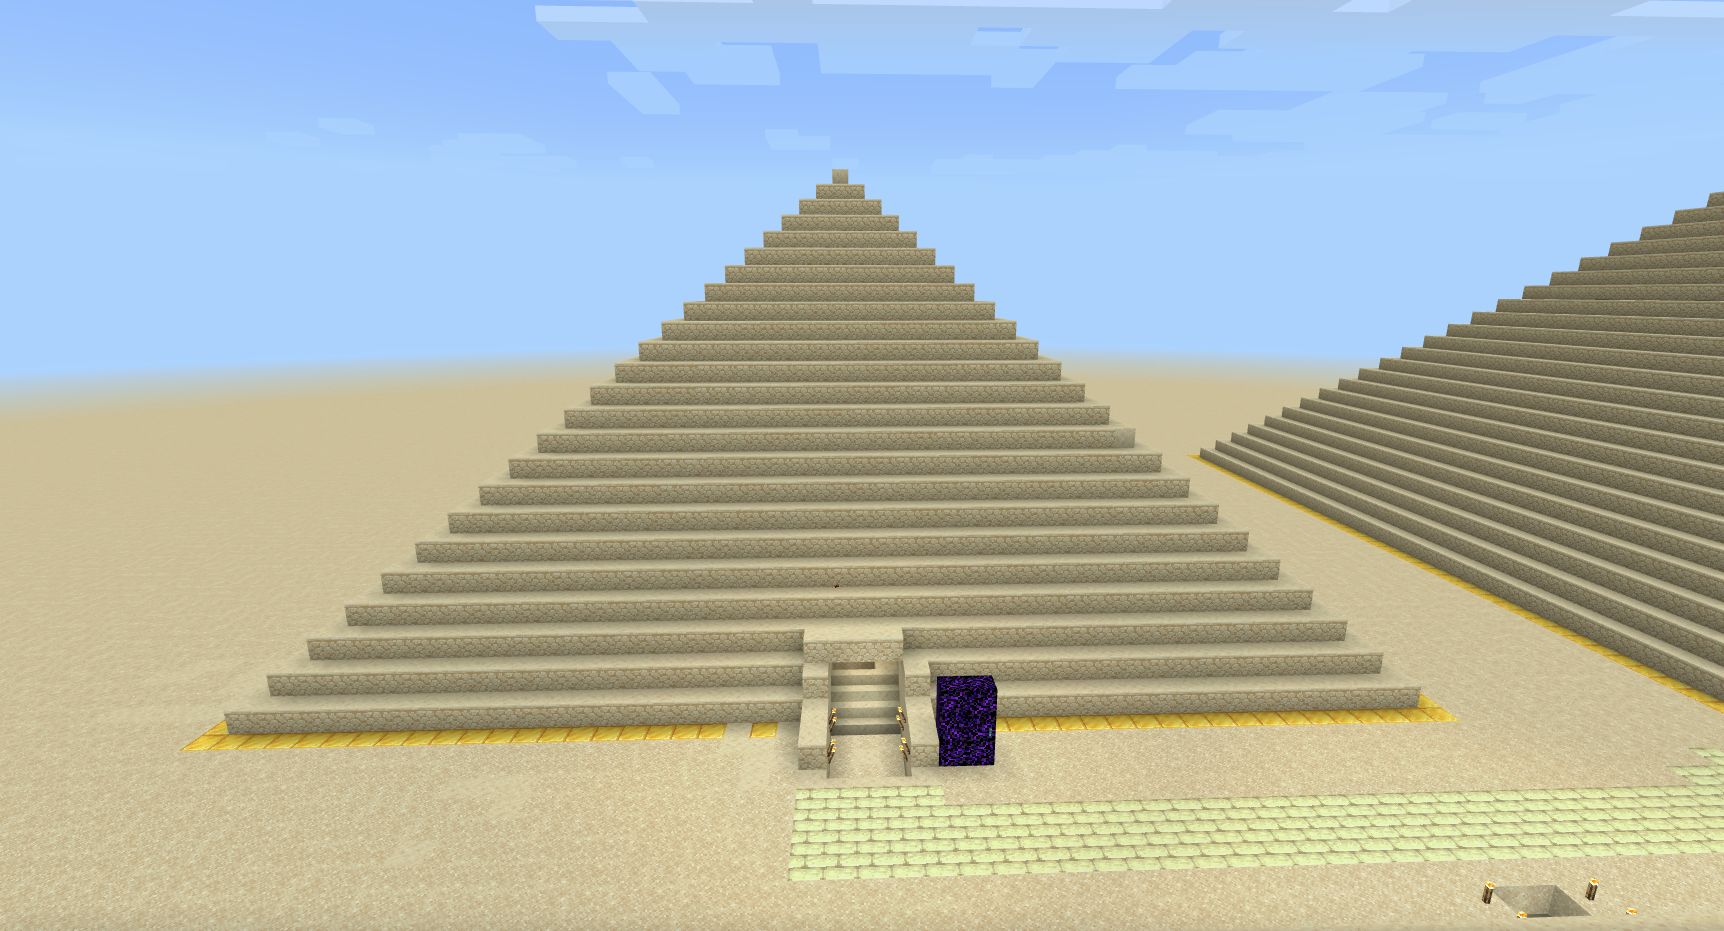
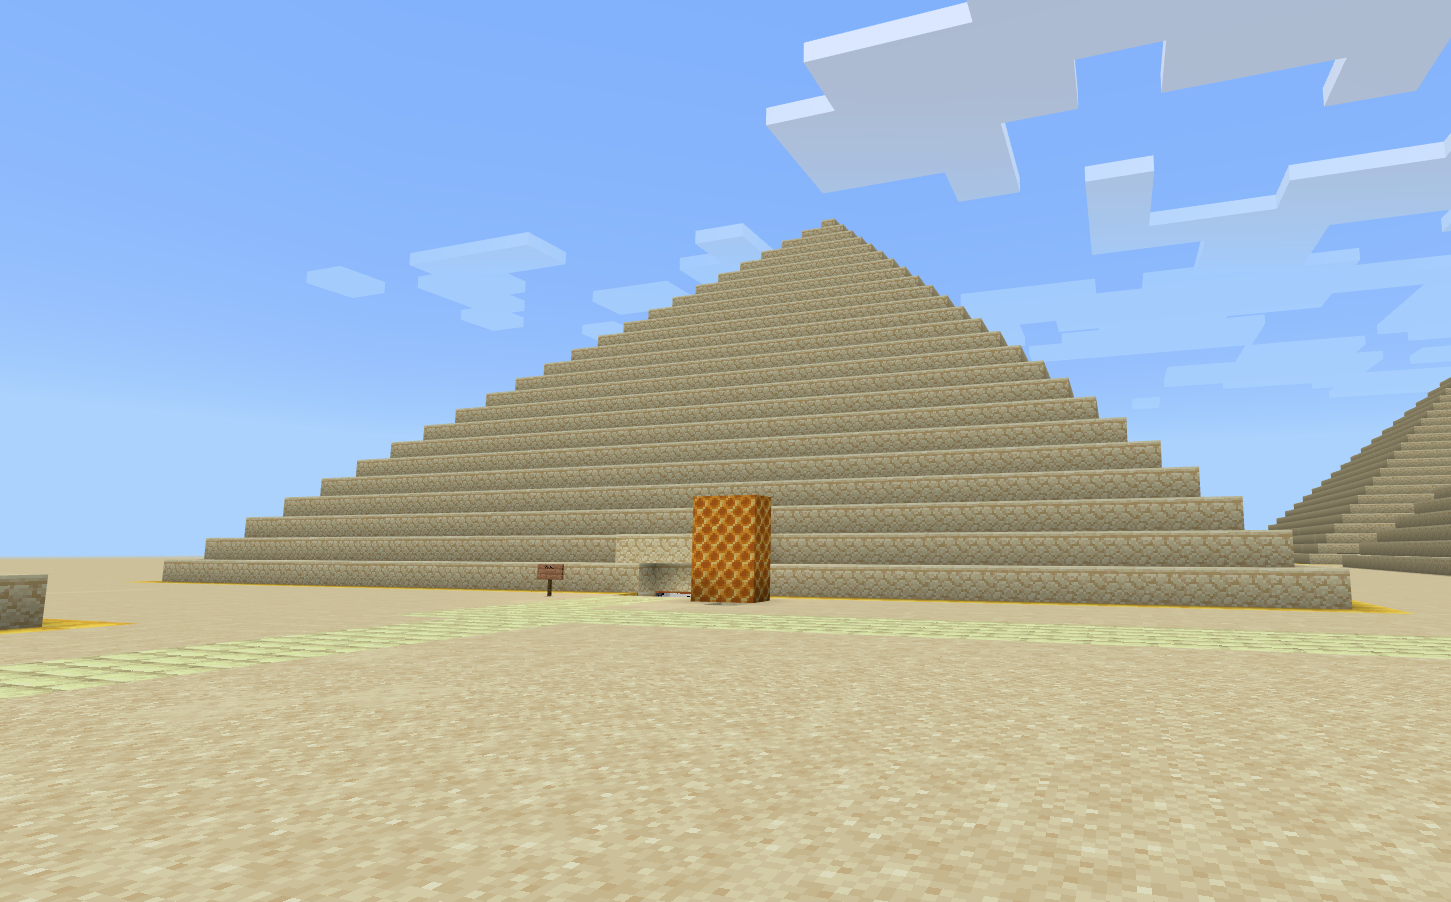
This half term we’ve been building Pyramids in Minecraft Edu in our Computing lessons. Mr Woolcock and Paul have created a shared world where we were all able to work together and build pyramids for our Egyptian Pharaohs. We researched what would be inside a pyramid and learnt about the traps and secret rooms designed to stop thieves and included these in our designs. We even created secret chambers full of canopic jars, golden treasures and scrolls of knowledge for the mummies to take with them into the afterlife.
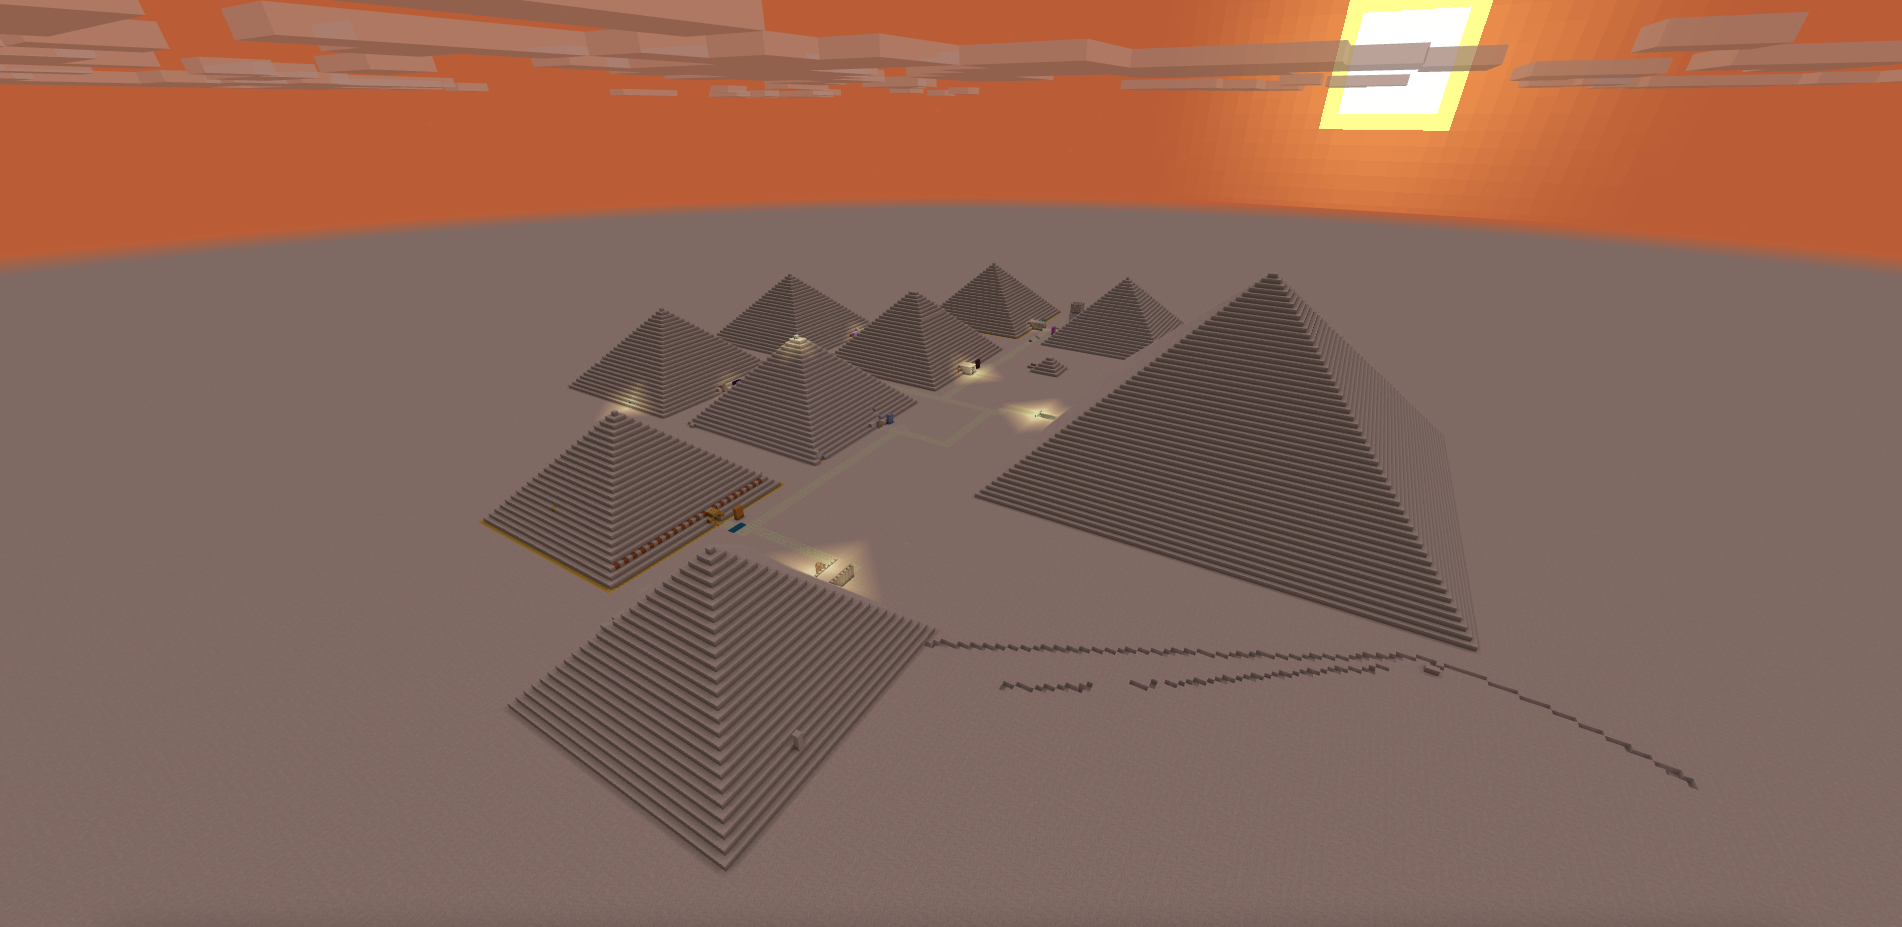
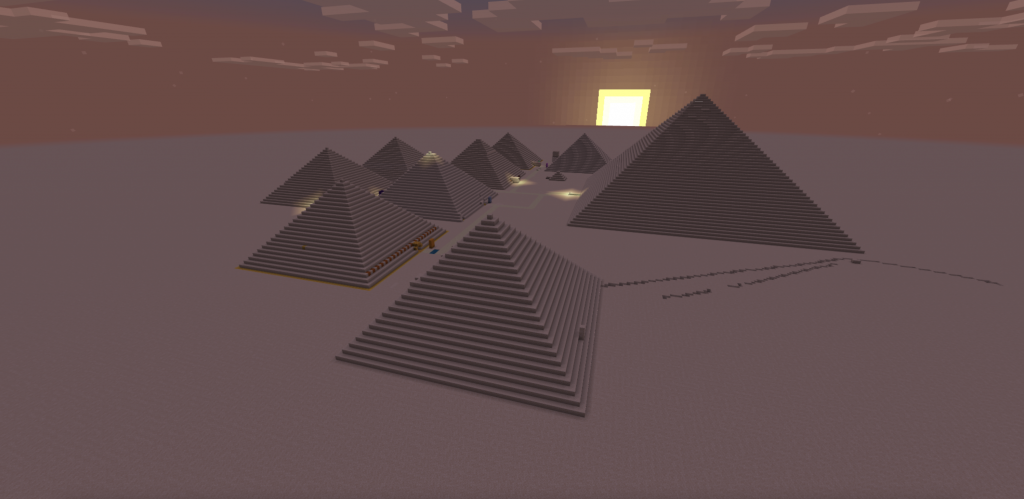
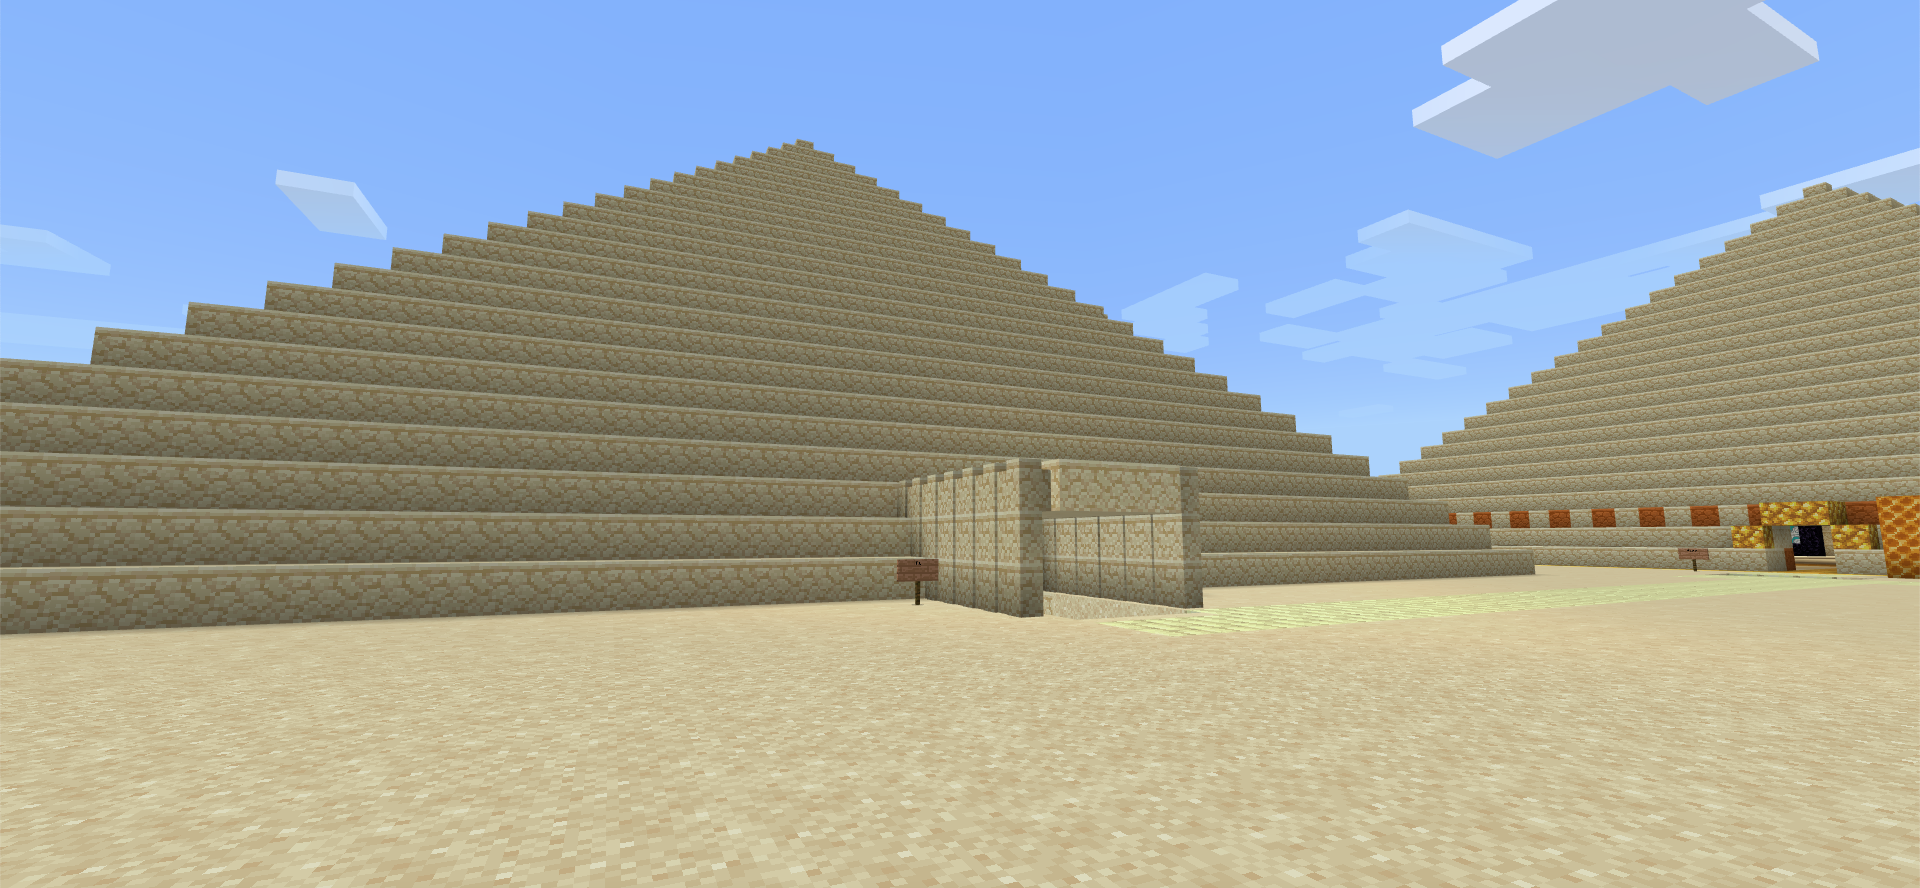
Welcome to our Pyramids!
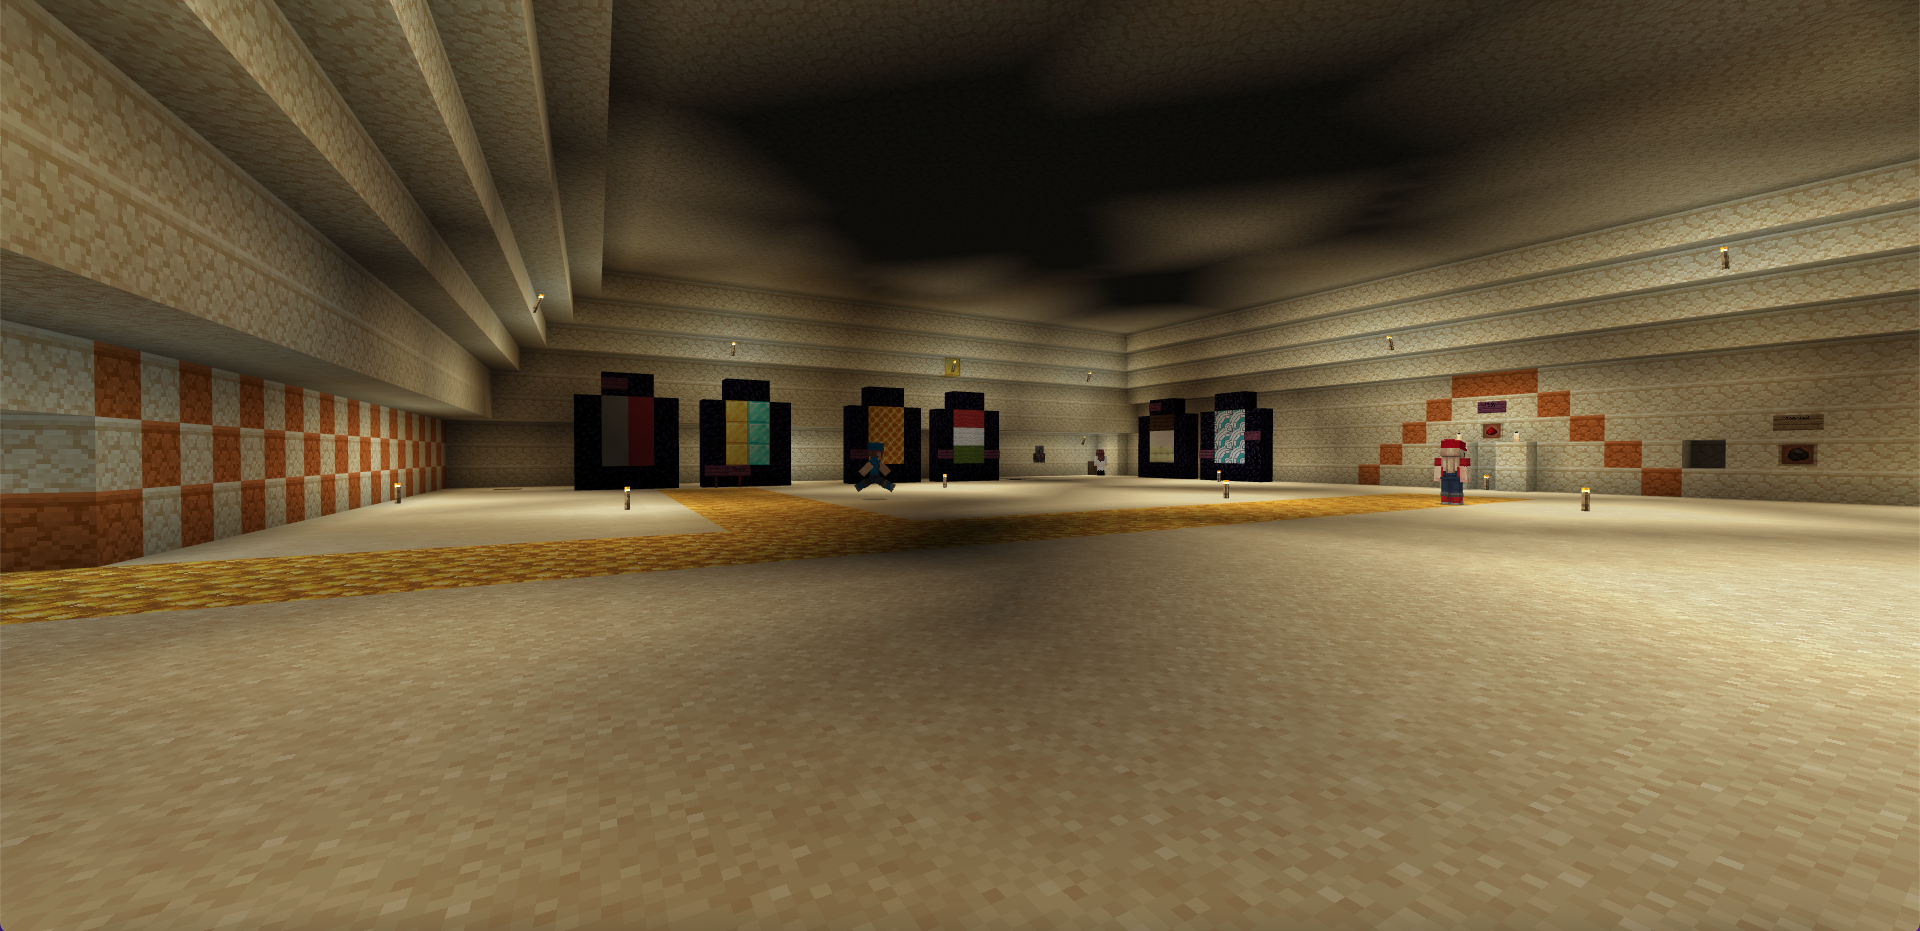
Here are some more photos of all of our pyramids, along with some extra information about each one.
Class 7
Xander, George and Maverick
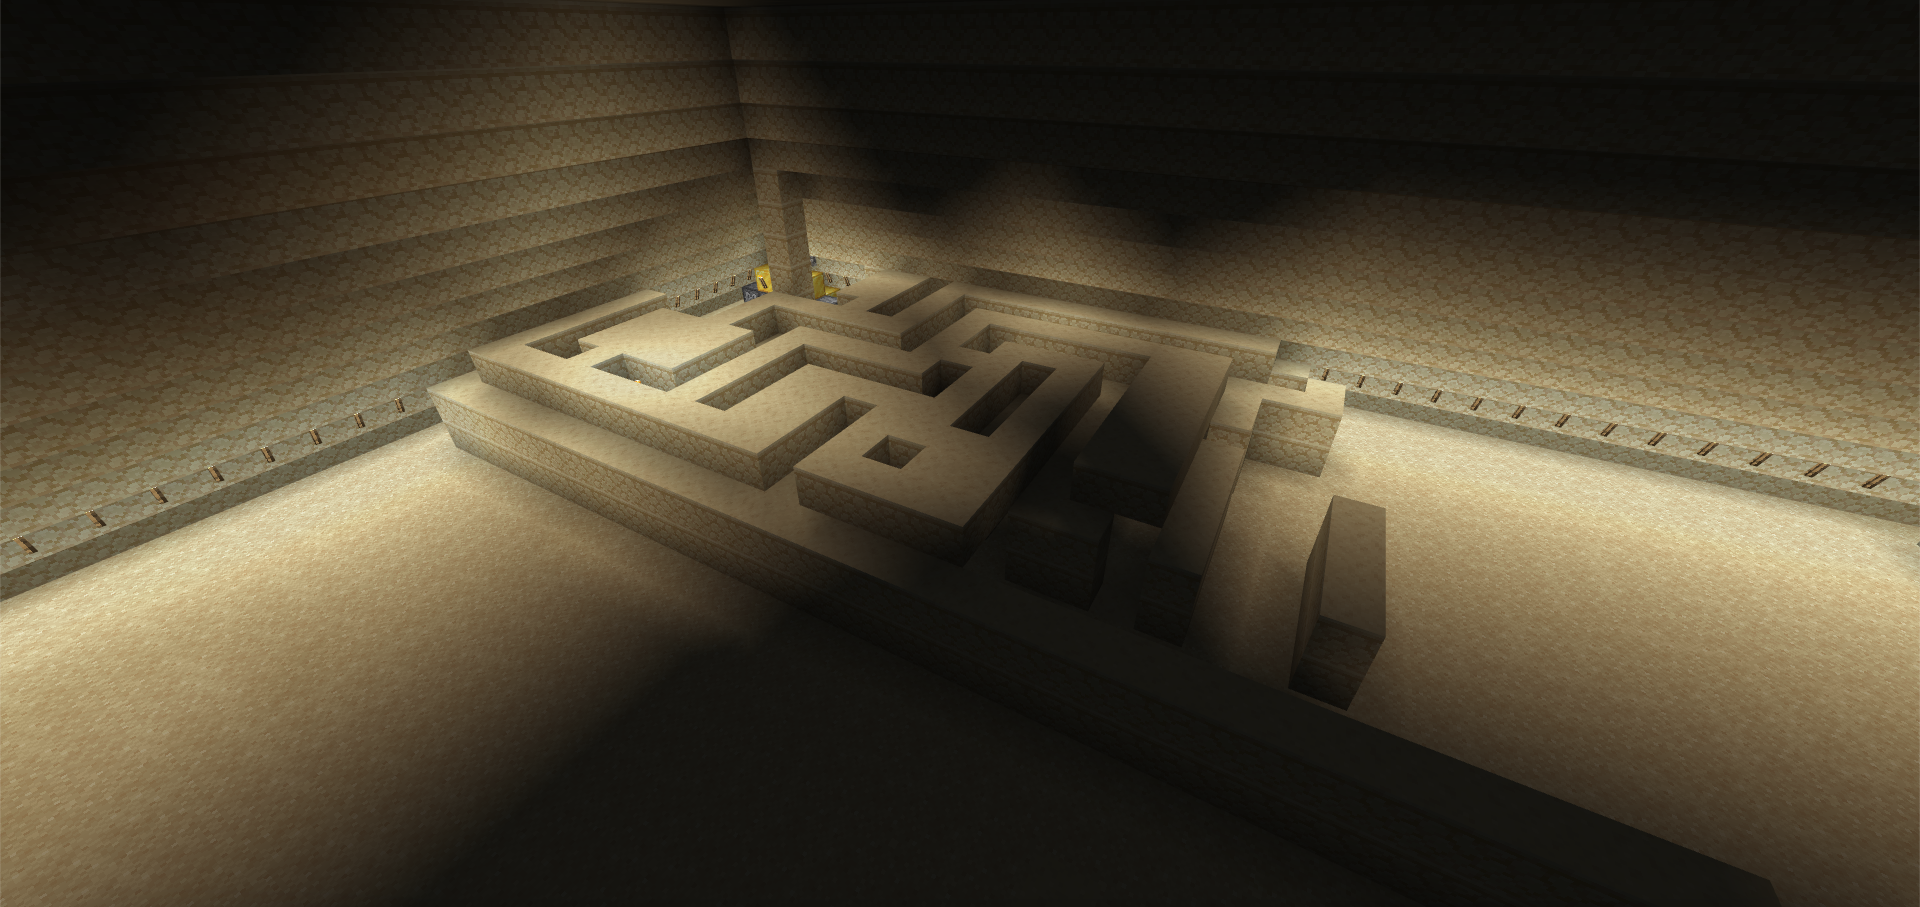
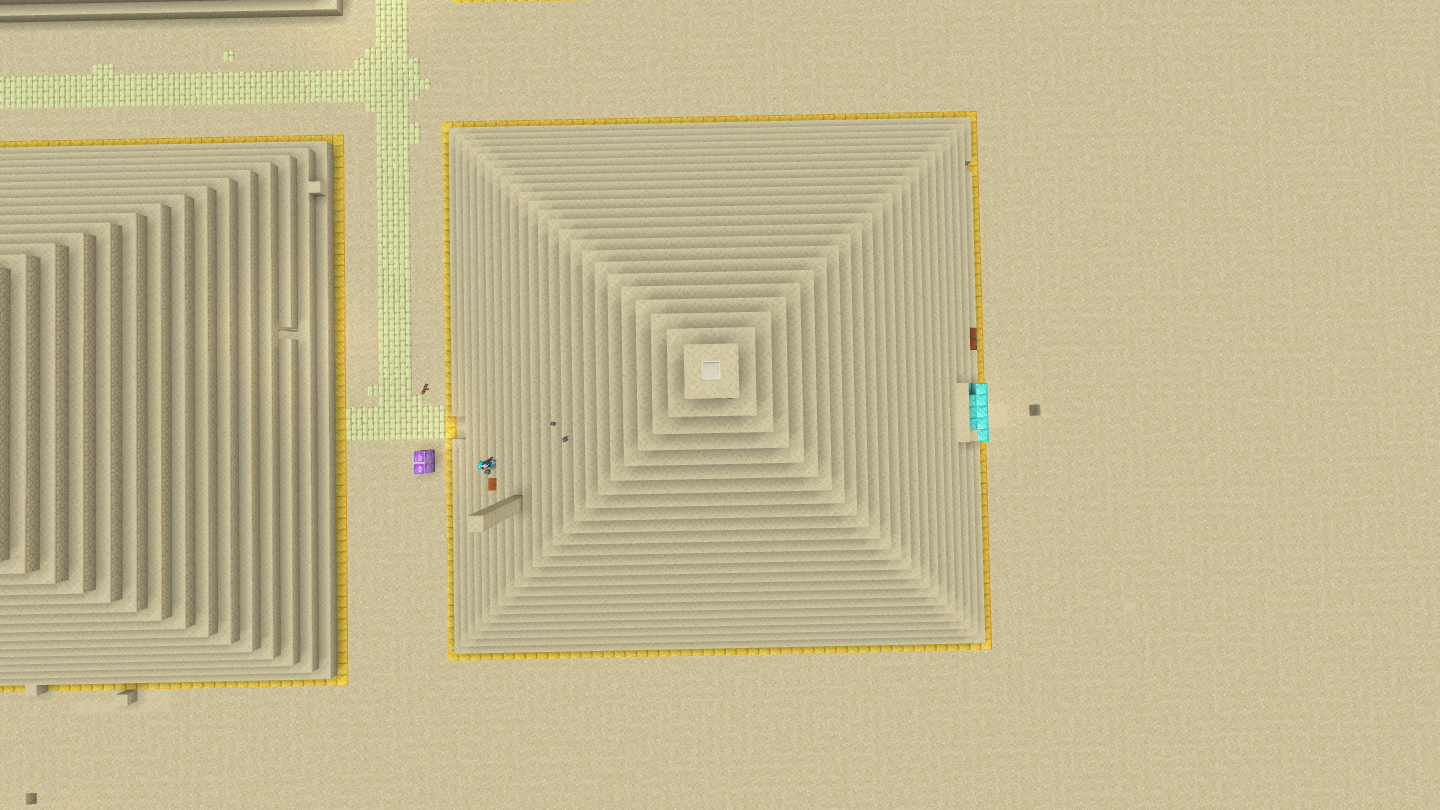
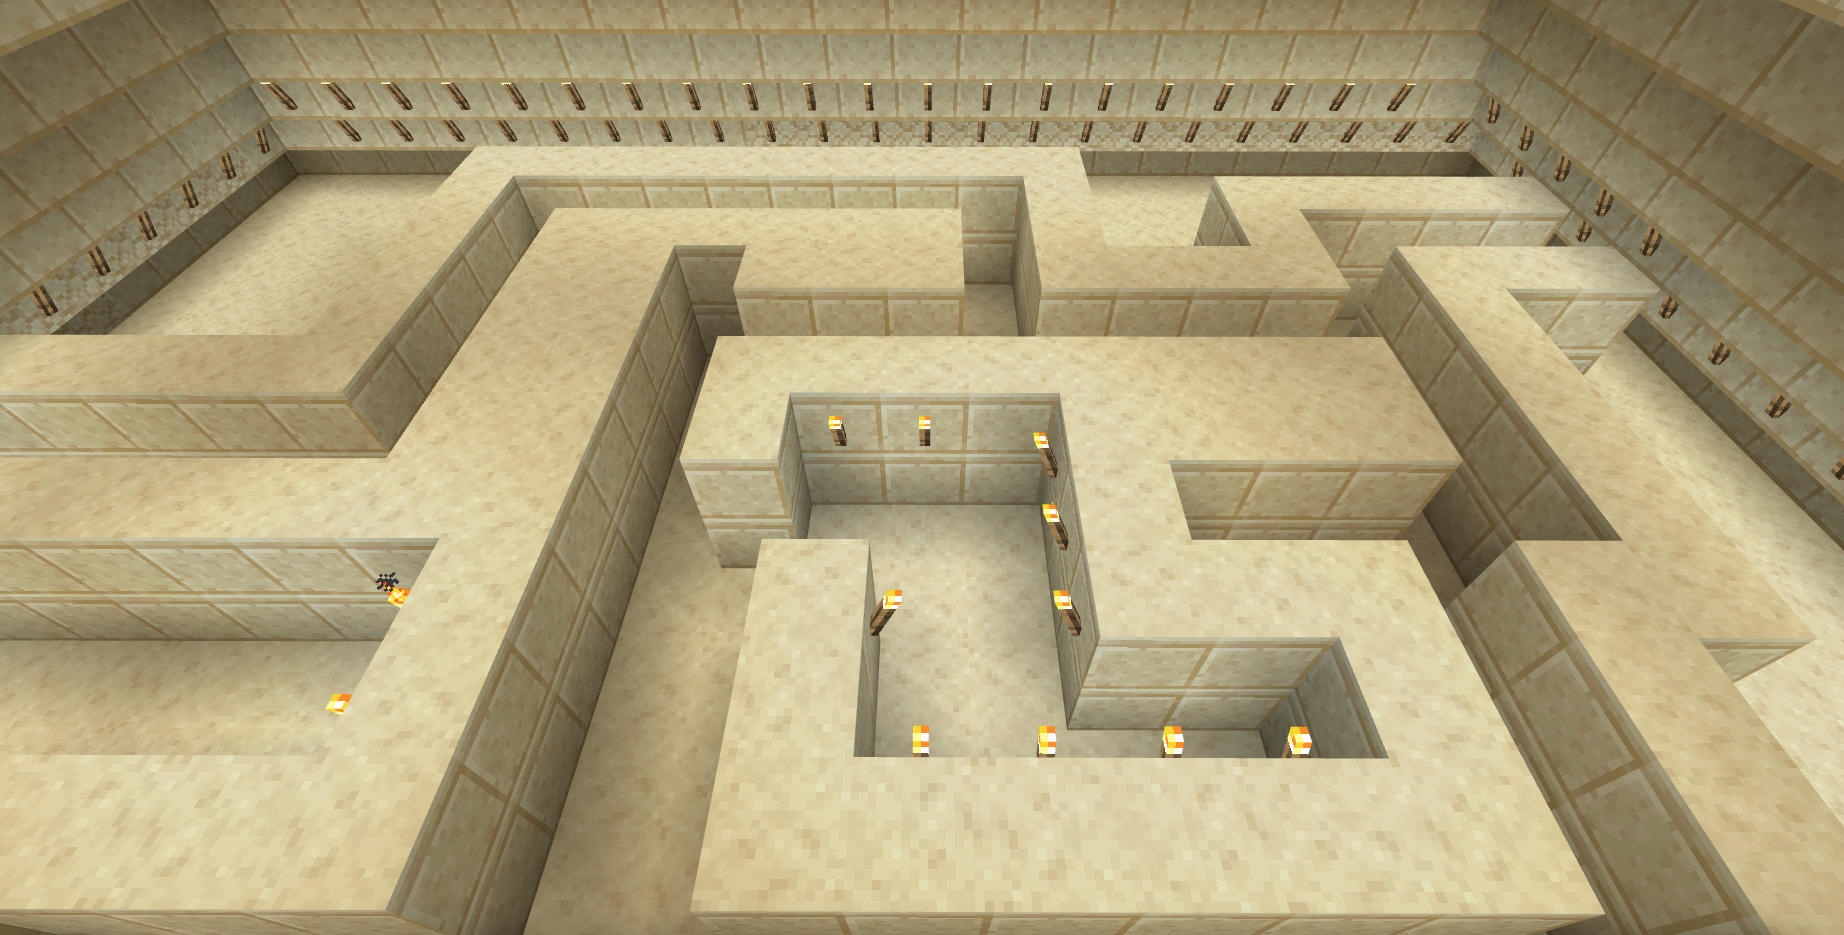
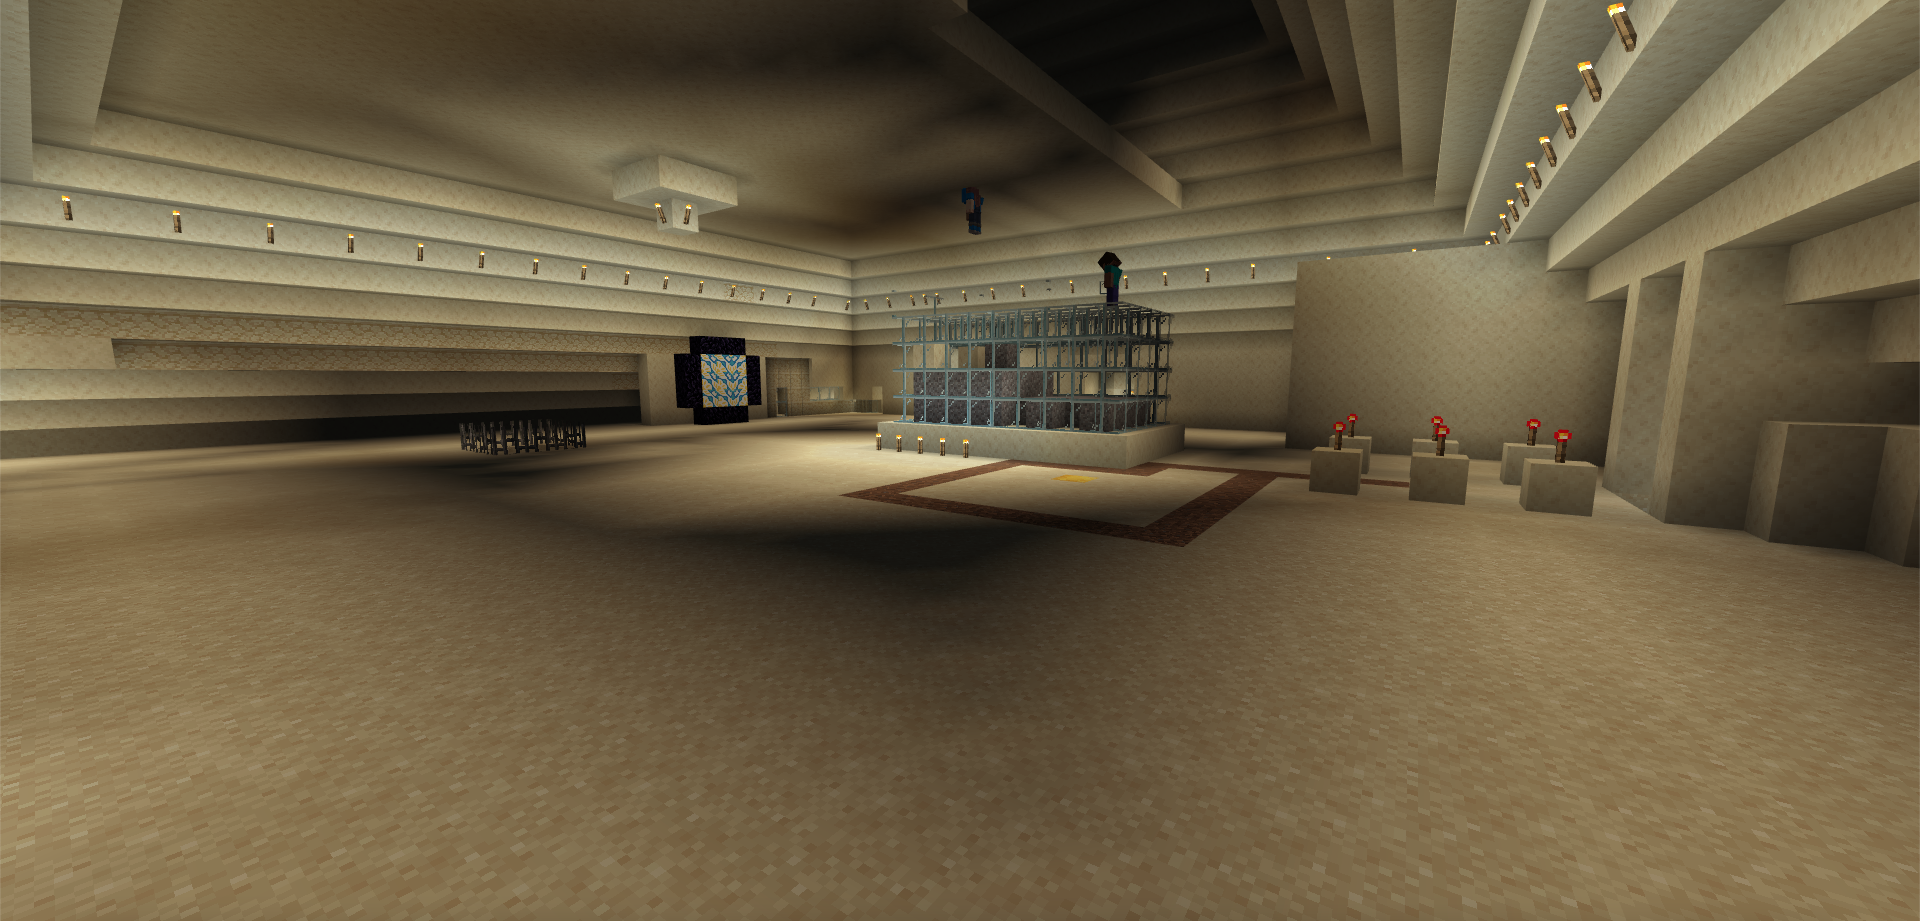
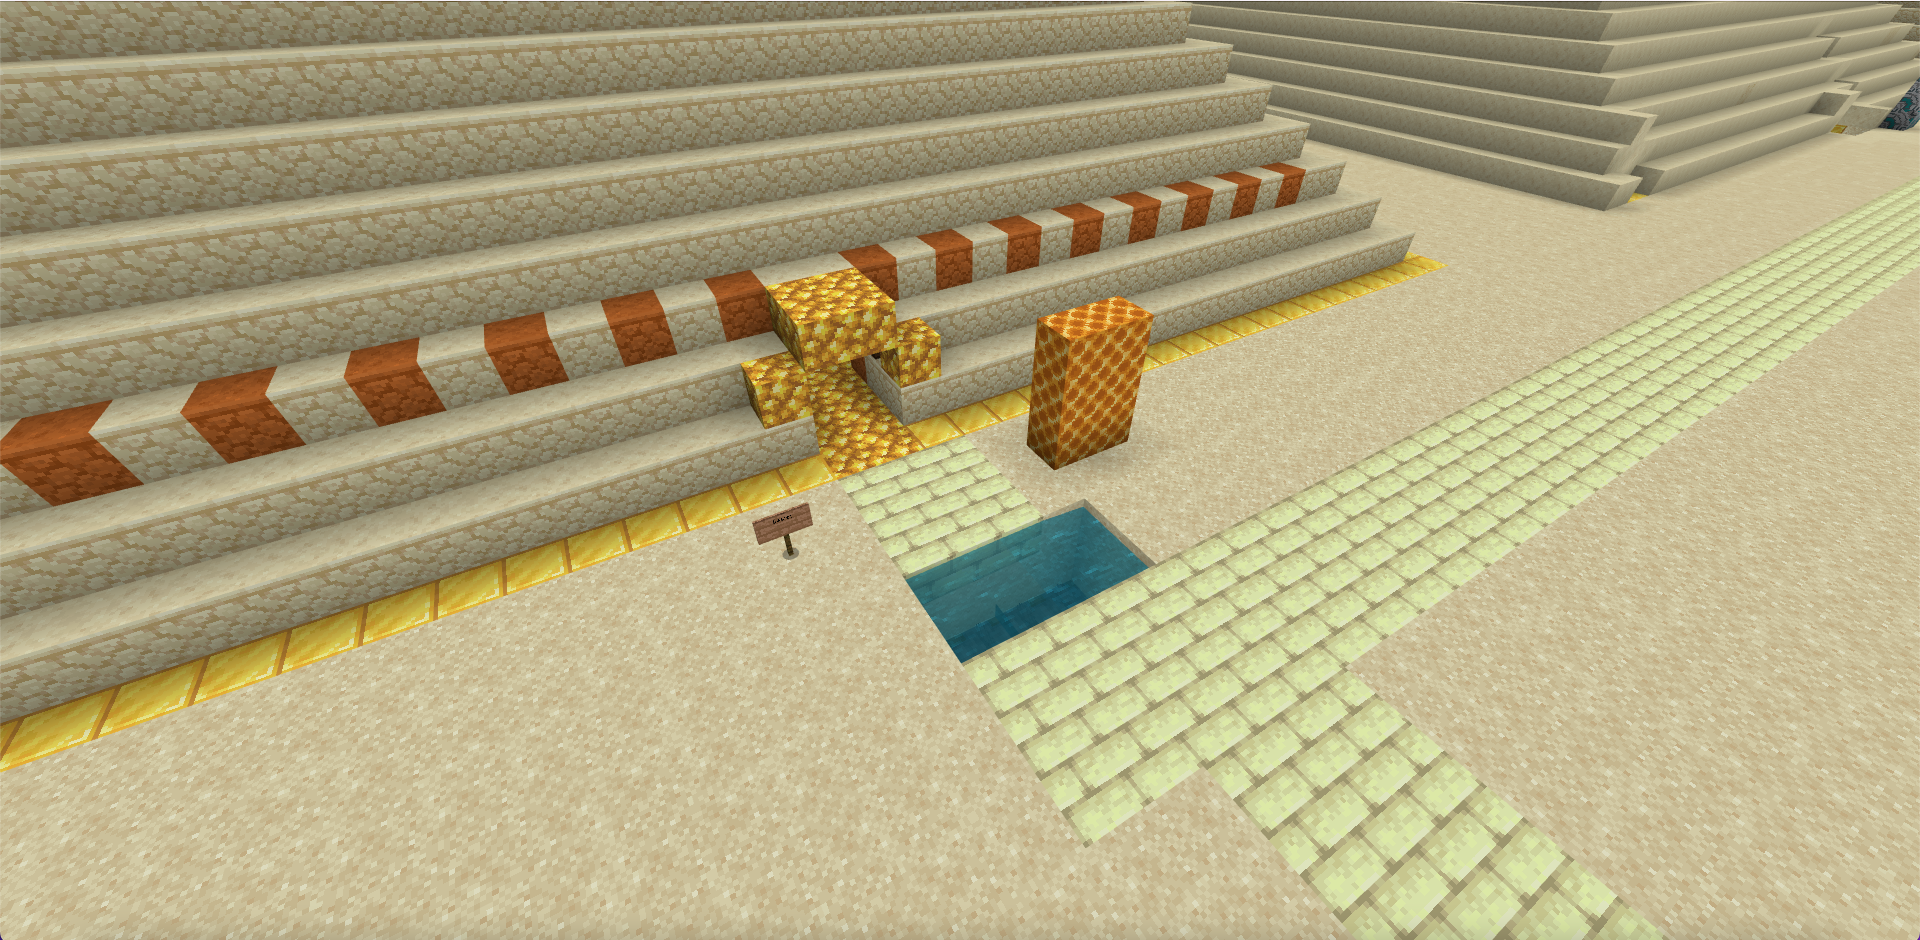
This is a maze which is to trick the people that try and break in and take all the gold. There are pressure plates on the floor and when you step on one they open up a trap door and you fall down! At the centre of the maze there is lots of treasure which was buried with the god Osiris.
Sorrel, luna and noah
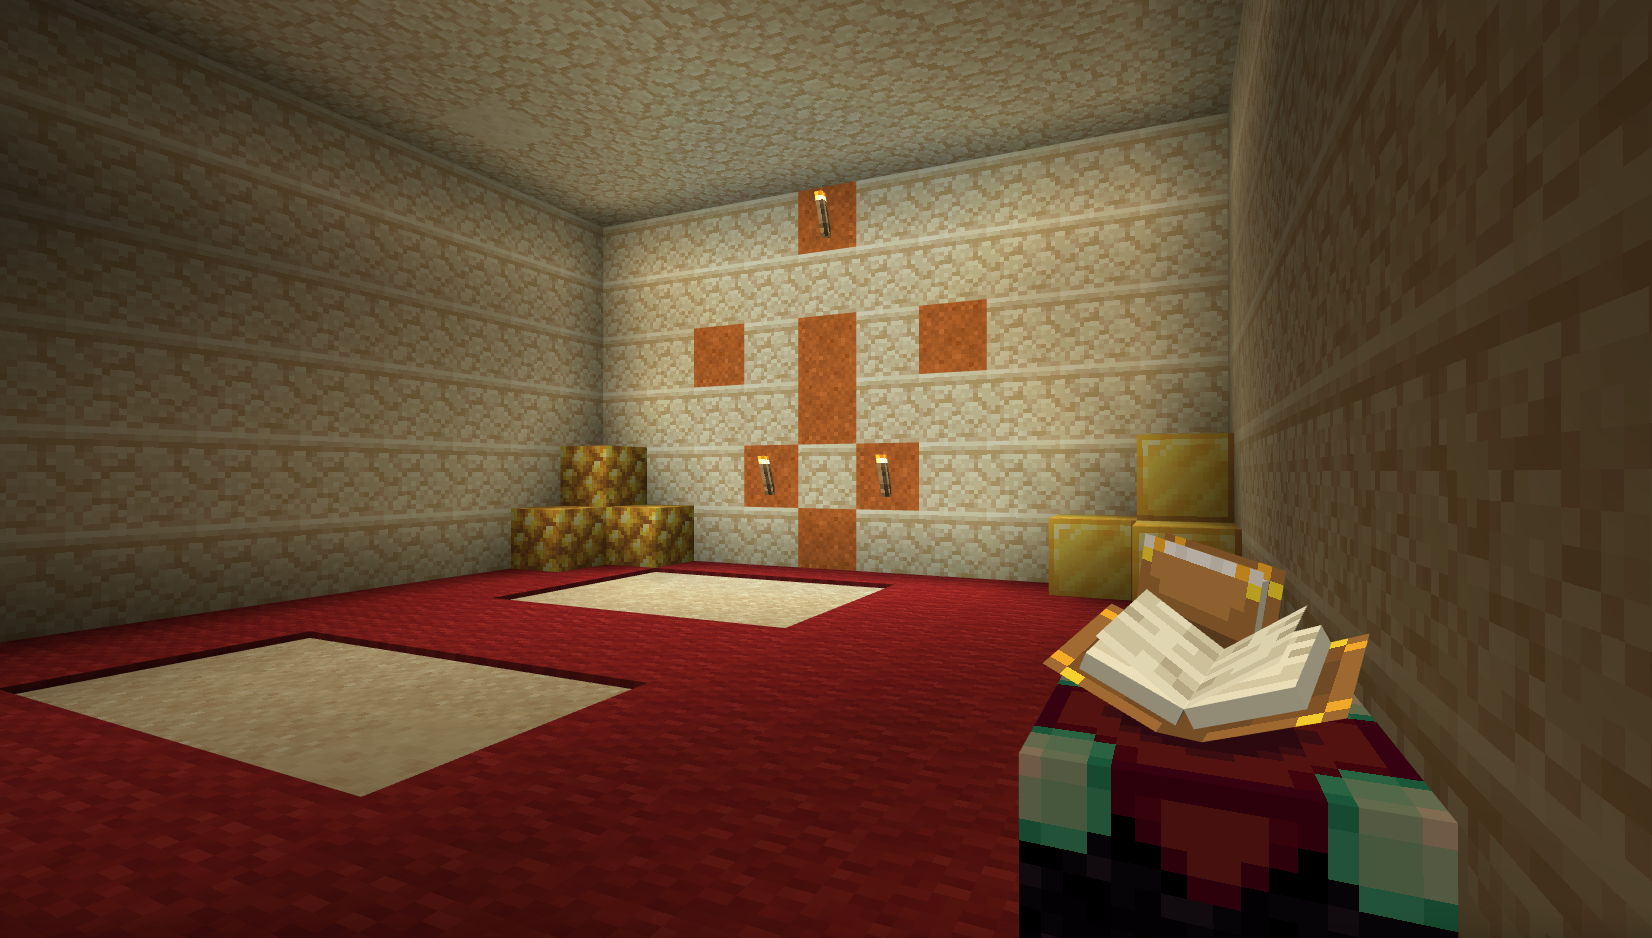
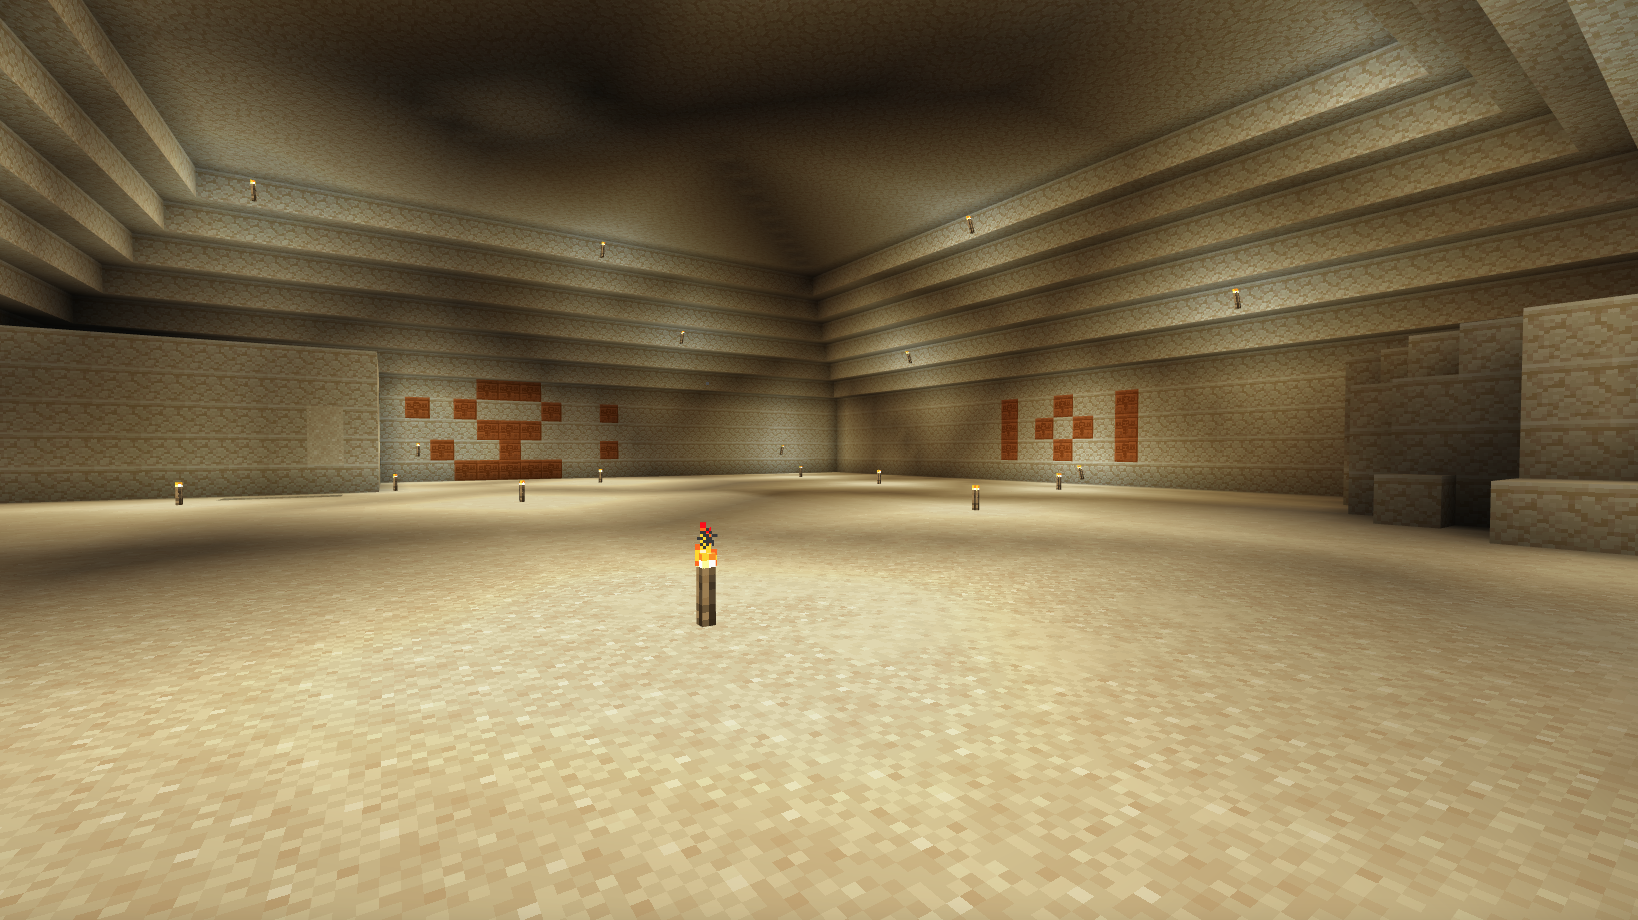
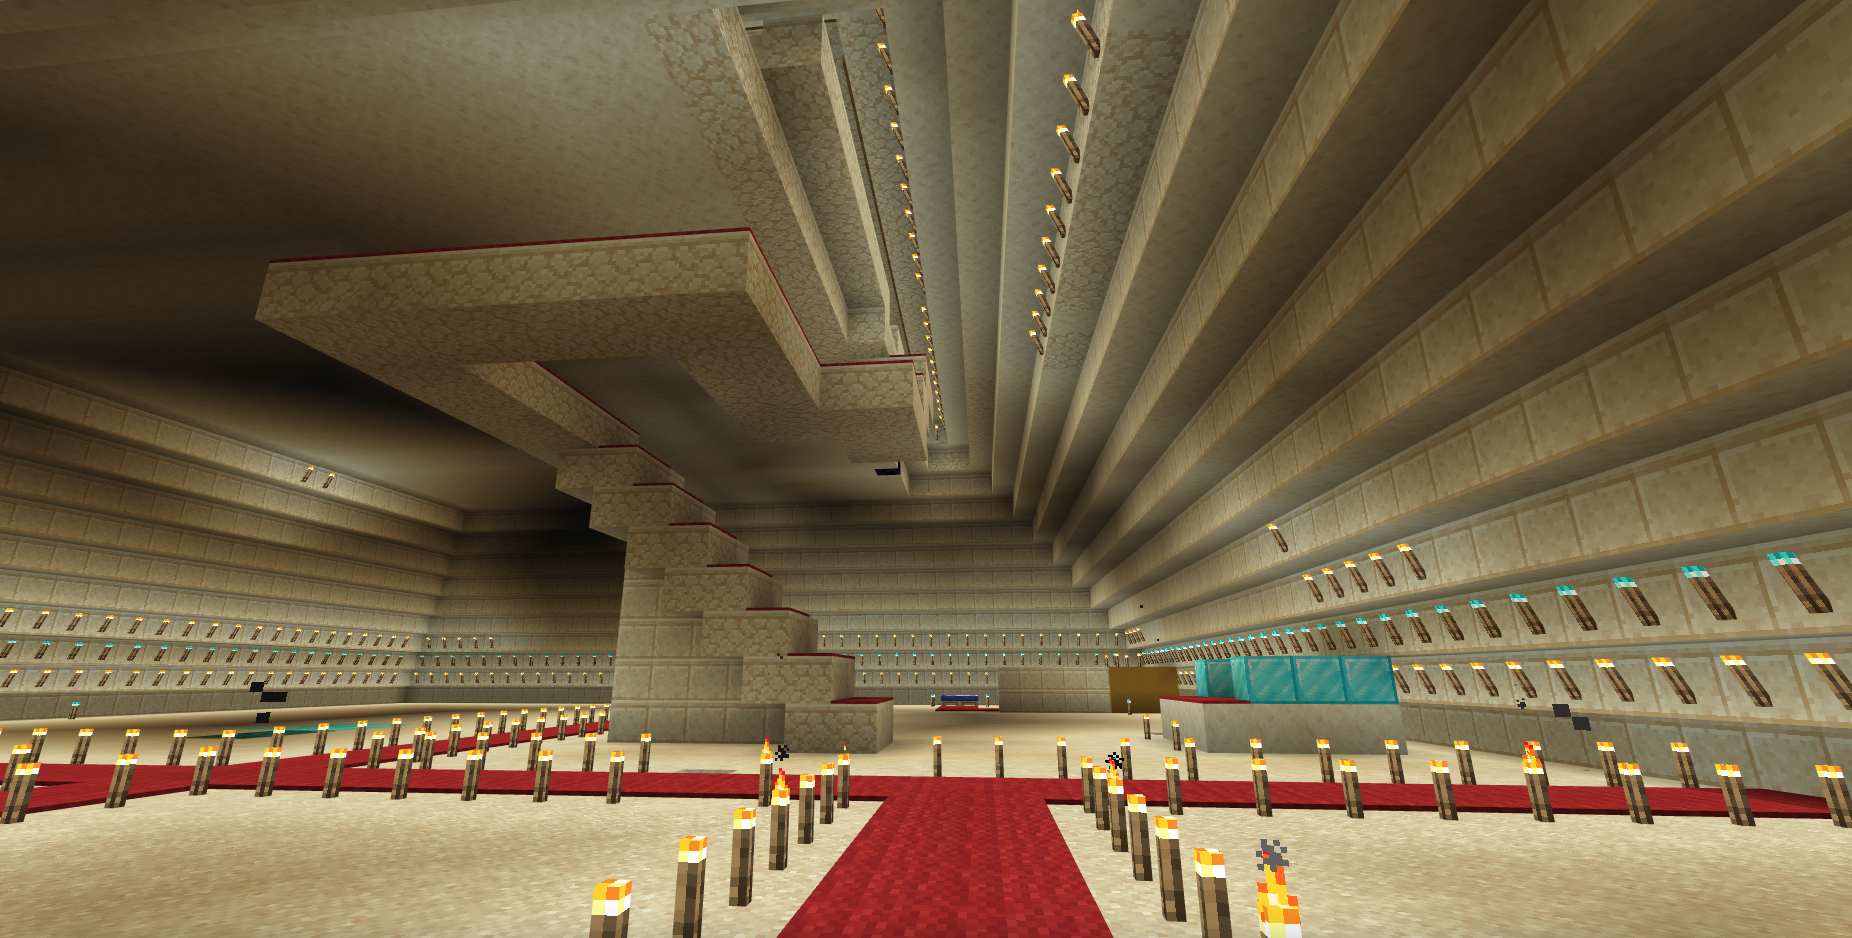
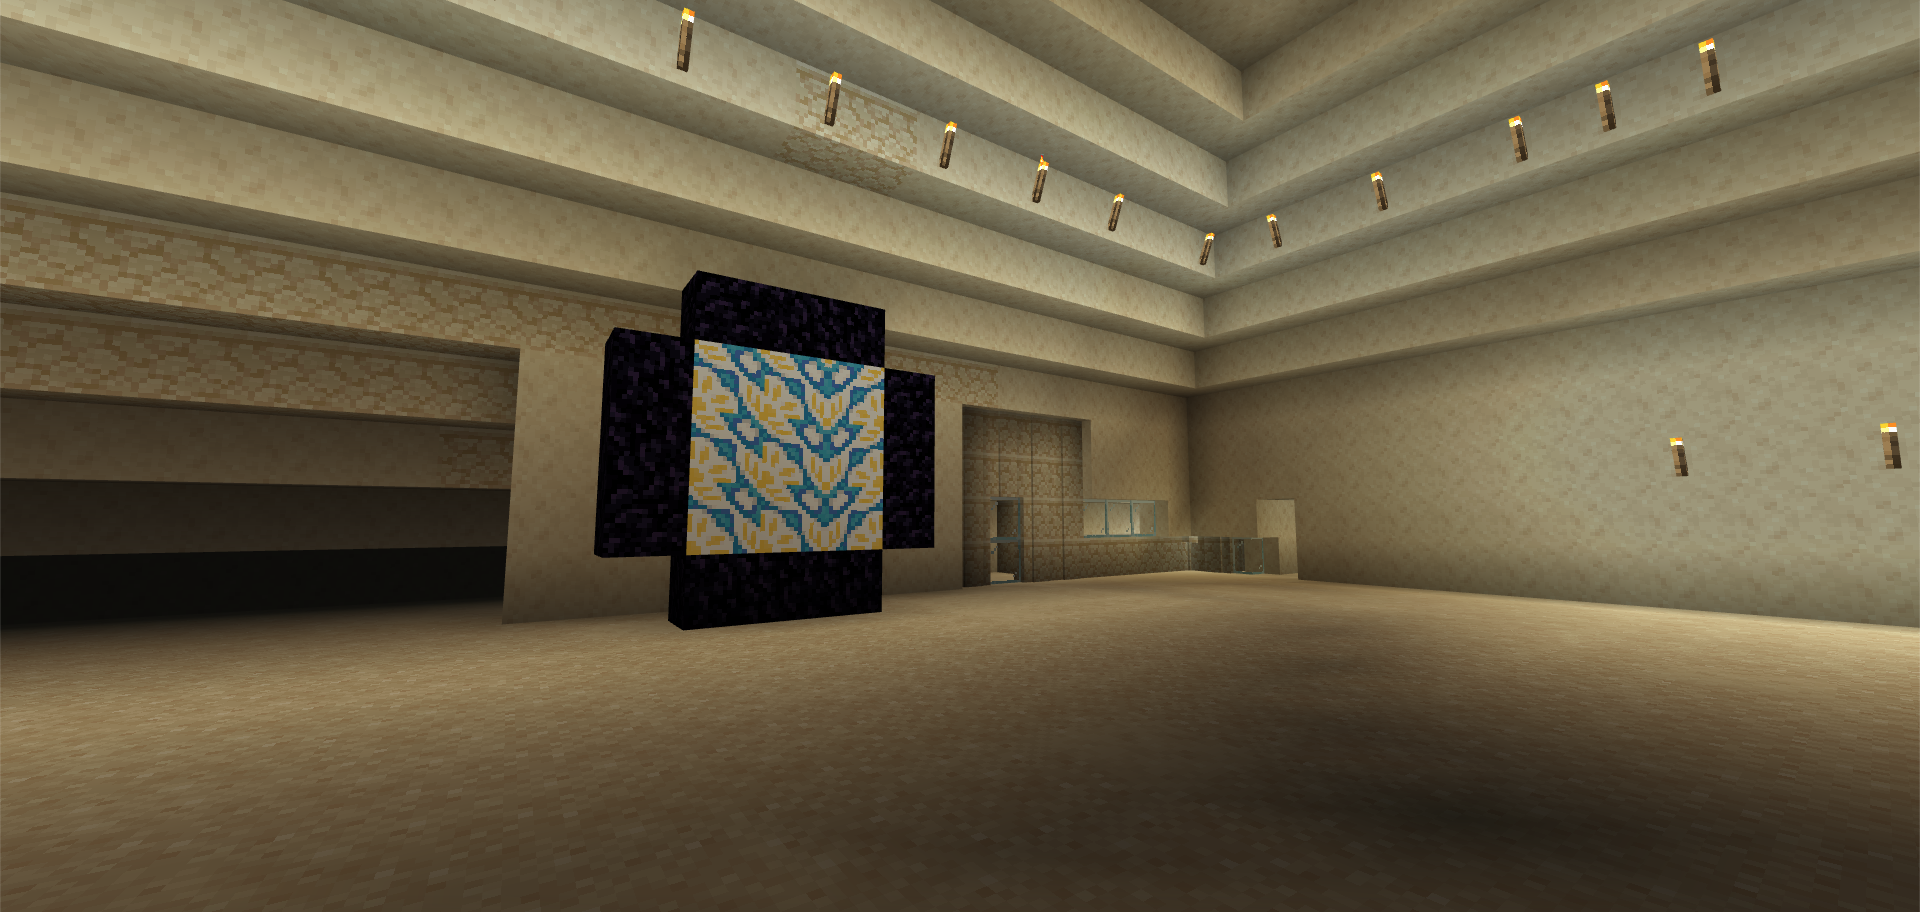
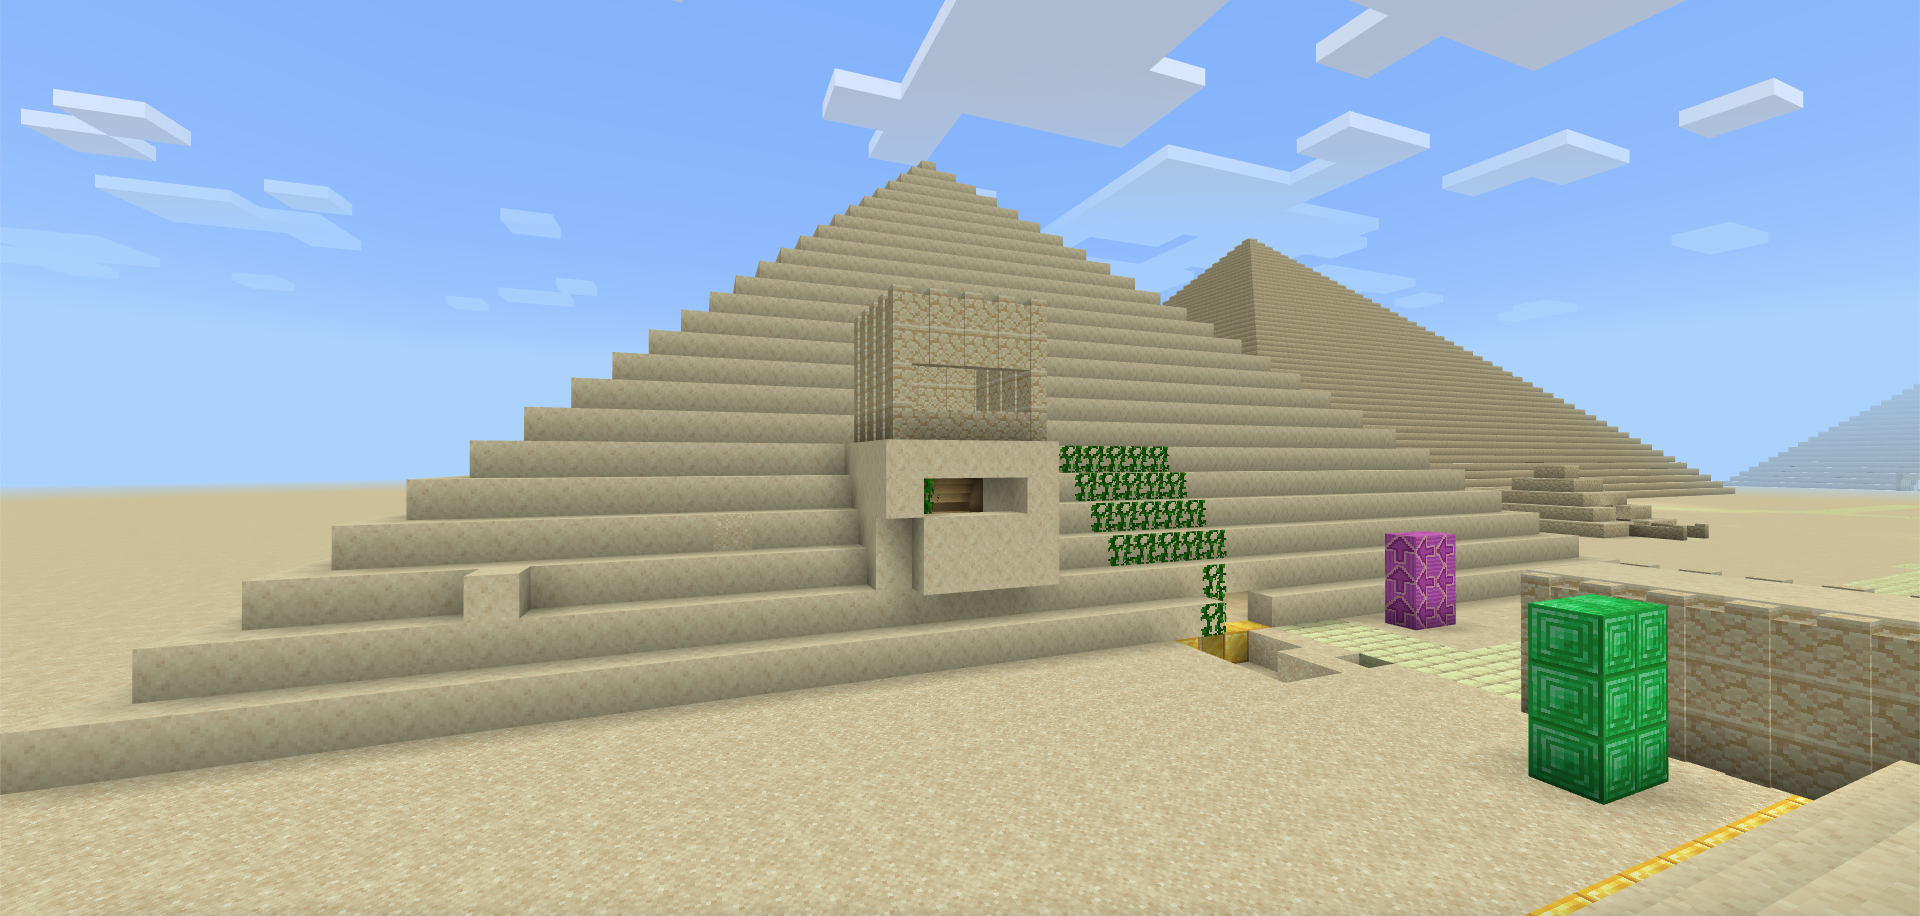
Our pyramid is for Thoth. We made a patten in the wall which was meant to be a hieroglyphic. We’ve added lots of gold and treasures inside our pyramid along with a red carpet which feels very royal. We put some chests in there too with lots of important things in them like precious gems and golden objects.
Lexi, Alice and Alice
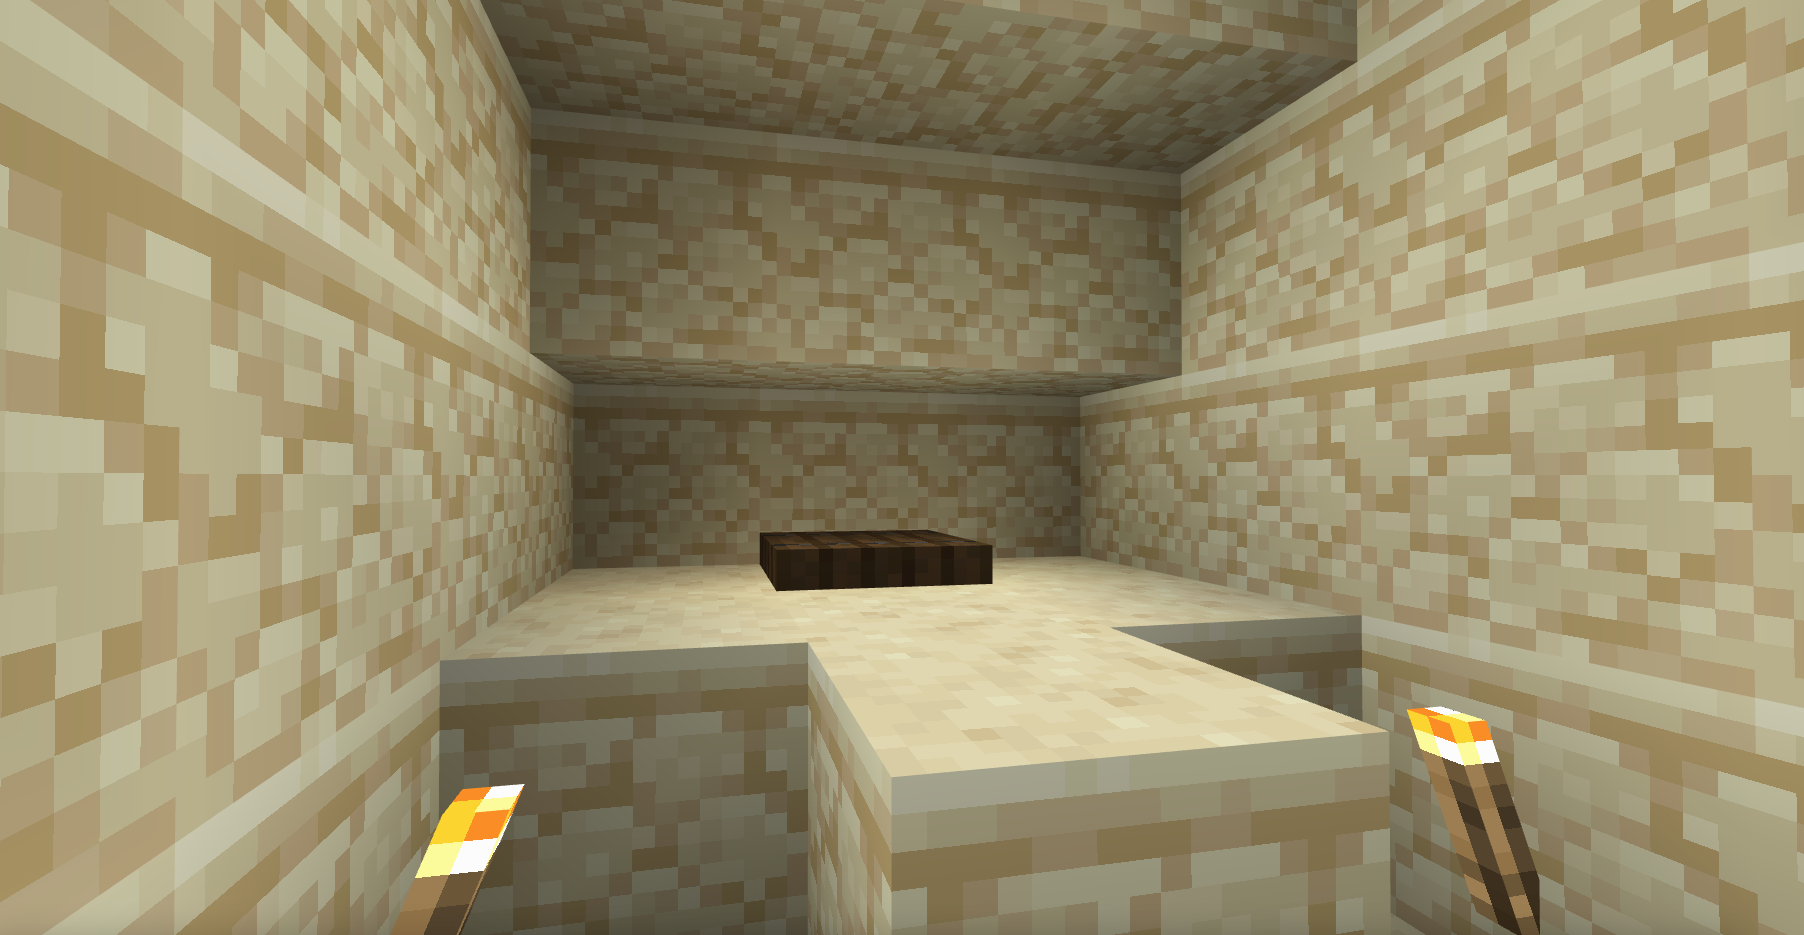
We put two chambers into our pyramid one is full of treasures and is where the sarcophagus is placed. The pharaoh would have been buried with all of their treasure. There are secret tunnels to get into the chambers to stop anyone naughty coming in. It’s designed to be really scary in the tunnels!
Fred, Poppy, Charlie and Darcey
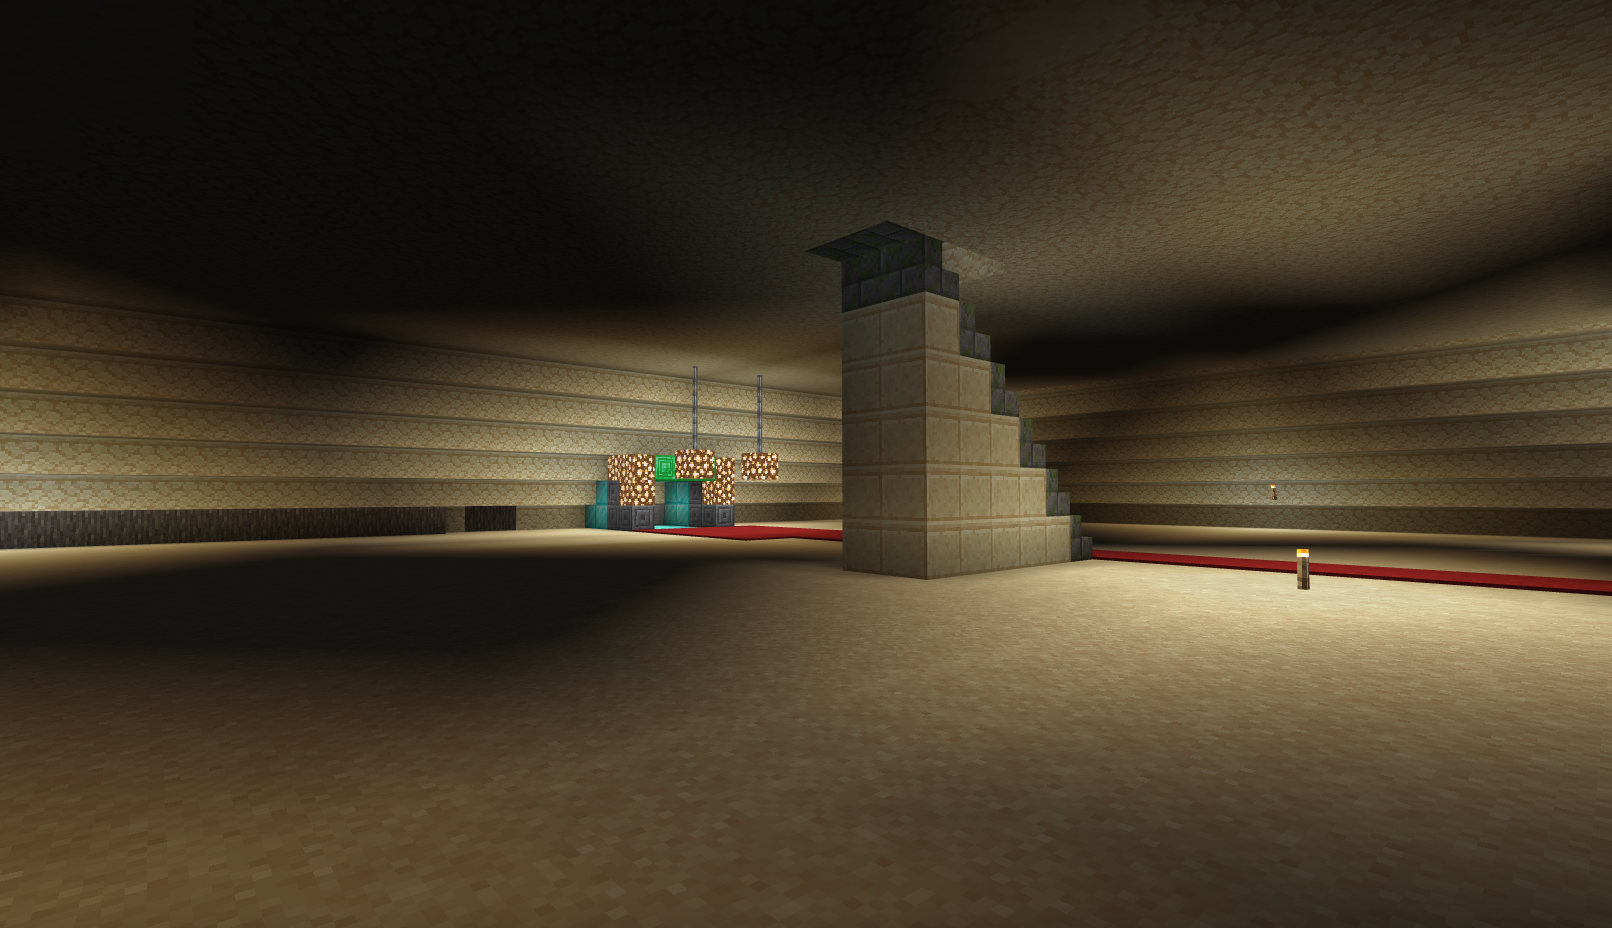
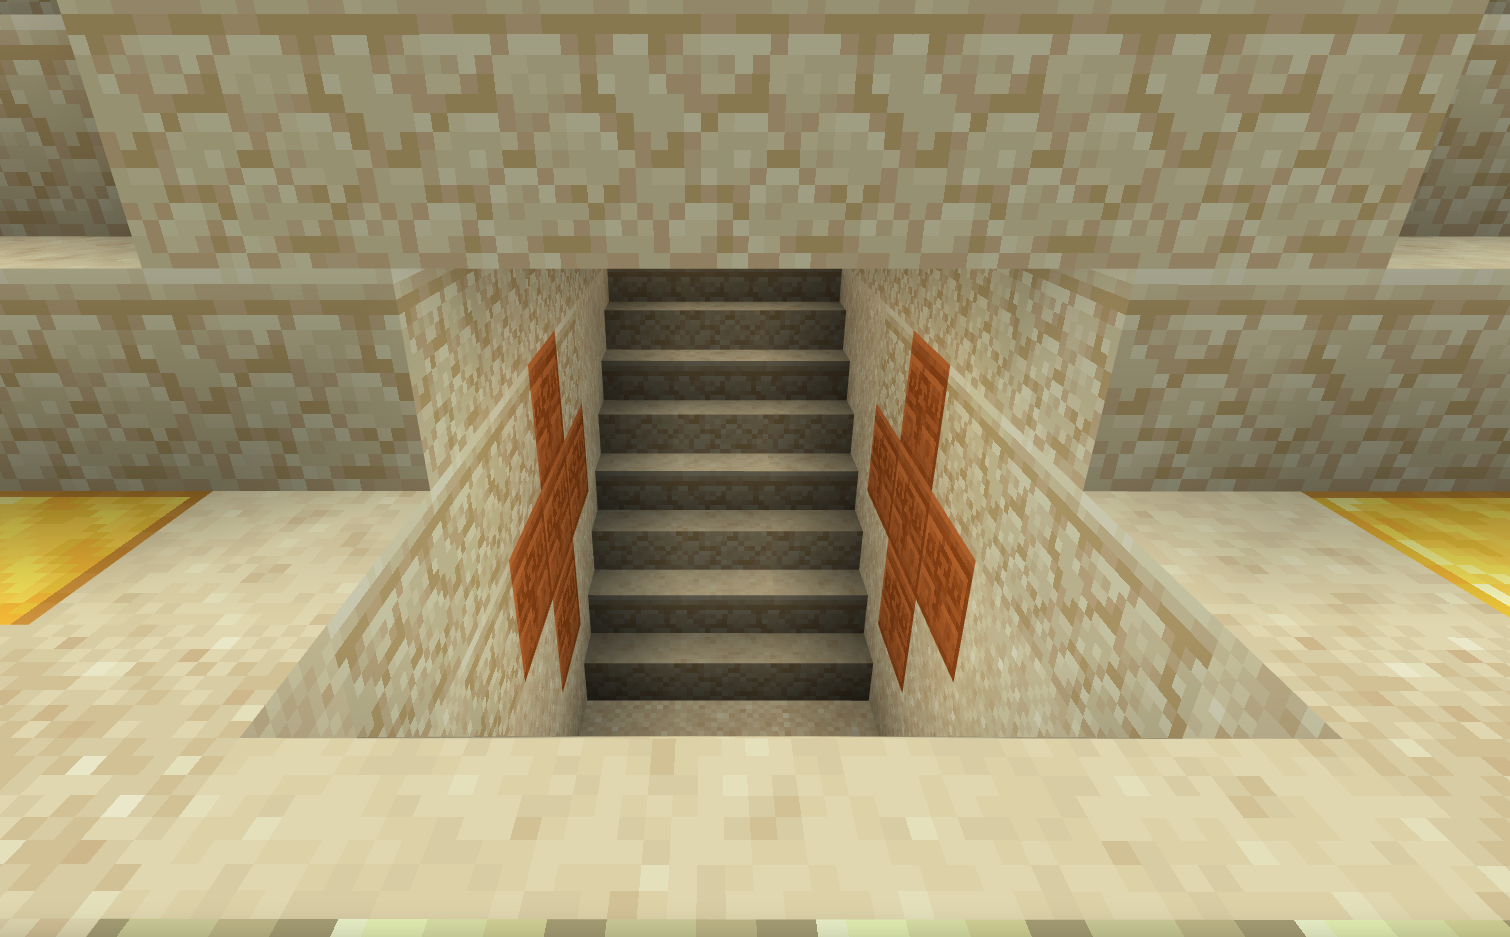
We’ve got a staircase inside the pyramid which takes you up to a large maze where people might think the treasure chests are hidden, but it’s a trap! They’re actually hidden under the pyramid. This traps thieves inside the pyramid. We’re really proud of the fact it has two levels and the fact we’ve added ancient books to give the pharaoh lots of knowledge in the afterlife.
Edwin, Logan and Arthur
It was designed so explorers who come in through the entrance will fall into a trap. There’s an empty chest filled with really rubbish items which will trap the robbers into a chamber. We’ve made it really confusing so nobody can get into steal the mummy or the treasure! It’s full of traps and surprises!
Class 8
Rory, Darcey, Noah and Charlie
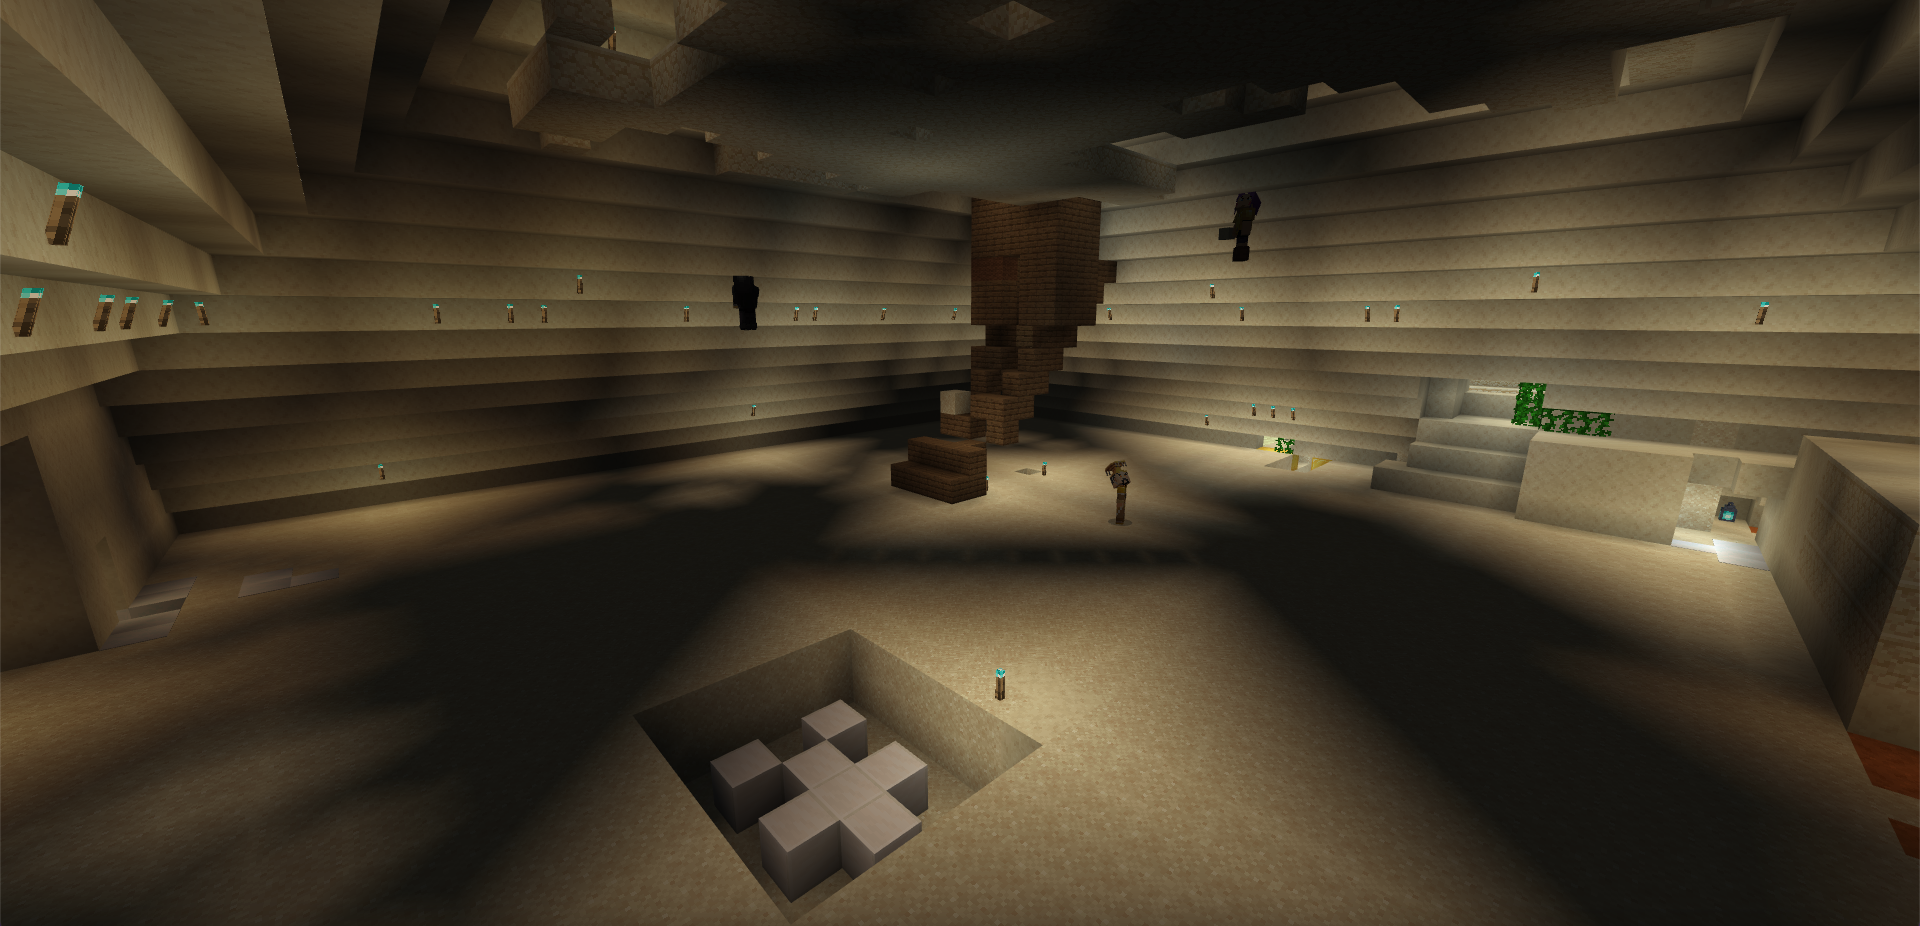
We made an upstairs in the pyramid, but didn’t quite finish it off yet. But there’s also a dungeon room below the main room where there are spider webs, creepy things and stuff like that. Our pharaoh was the god of the underworld so we made his dungeon look like the underworld.
Massimo and Jack
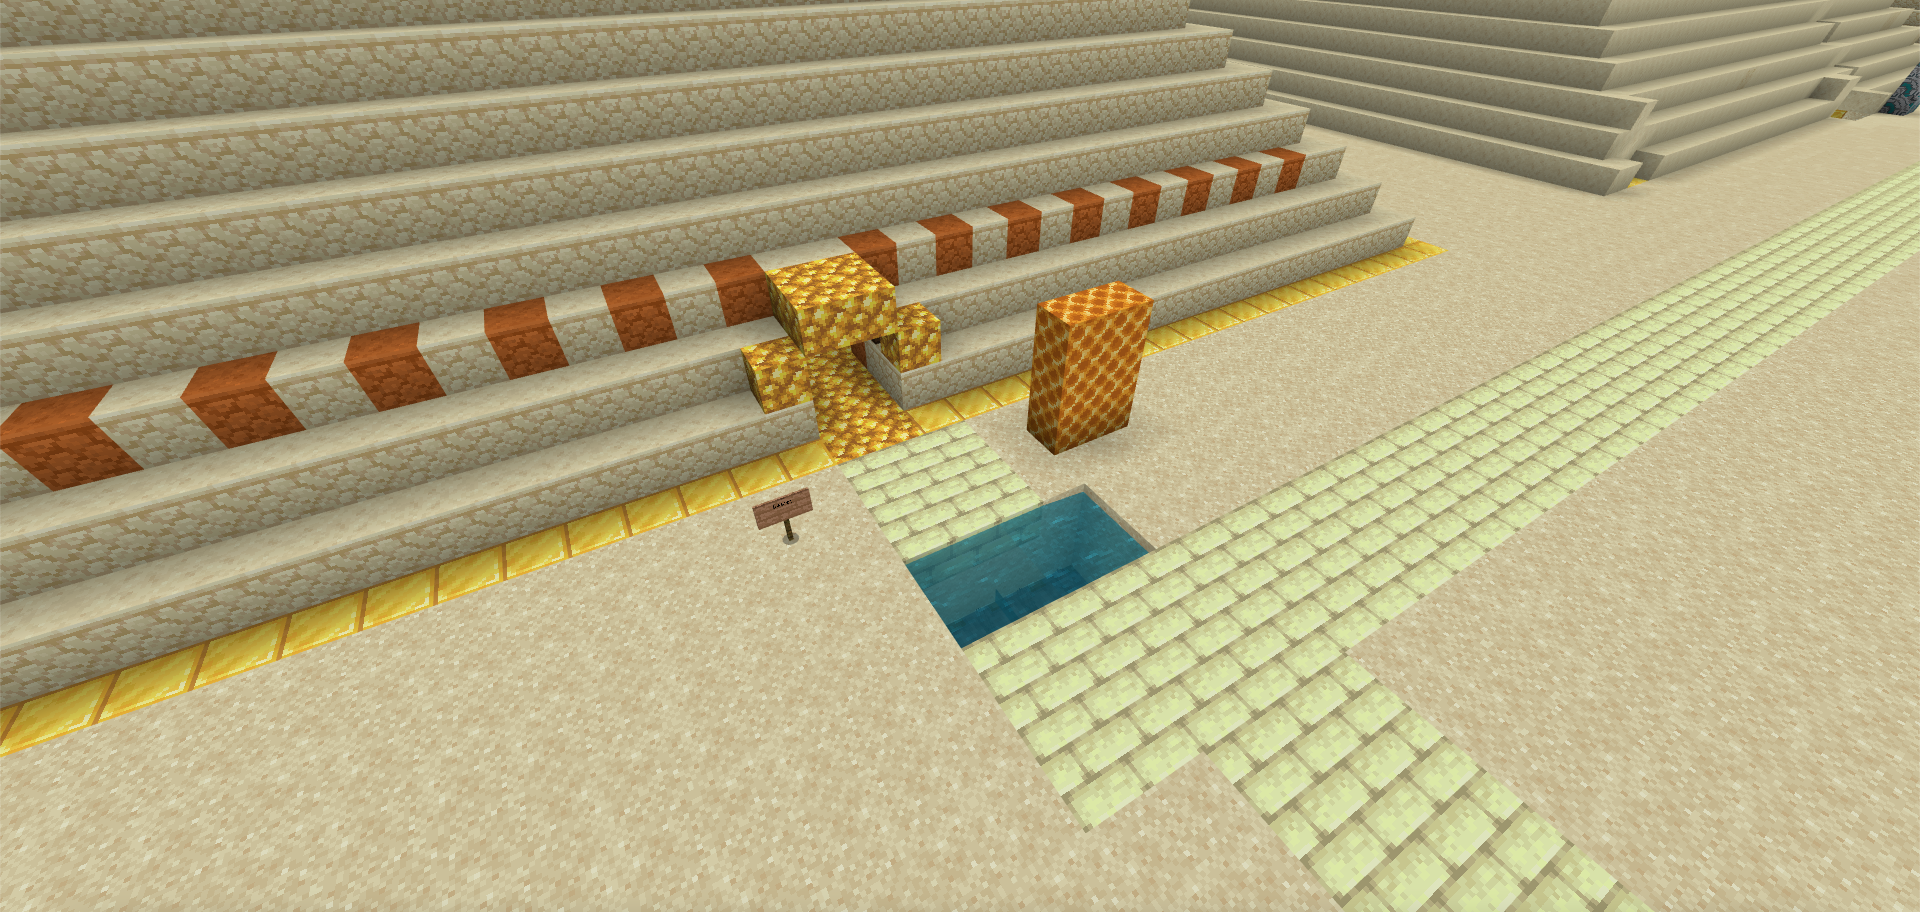
We really enjoyed making the pyramid! We thought “what would an ancient Egyptian think about when the pyramids was created?” We thought the answer would be glory, cool secret stuff and valuable treasure. On the top of our building there’s loads of gold and I made the Egyptian symbol of life out of gold! We also really enjoyed making the secret entrances behind the hieroglyphics.
Zak, Pearl, Isaiah and Ethan
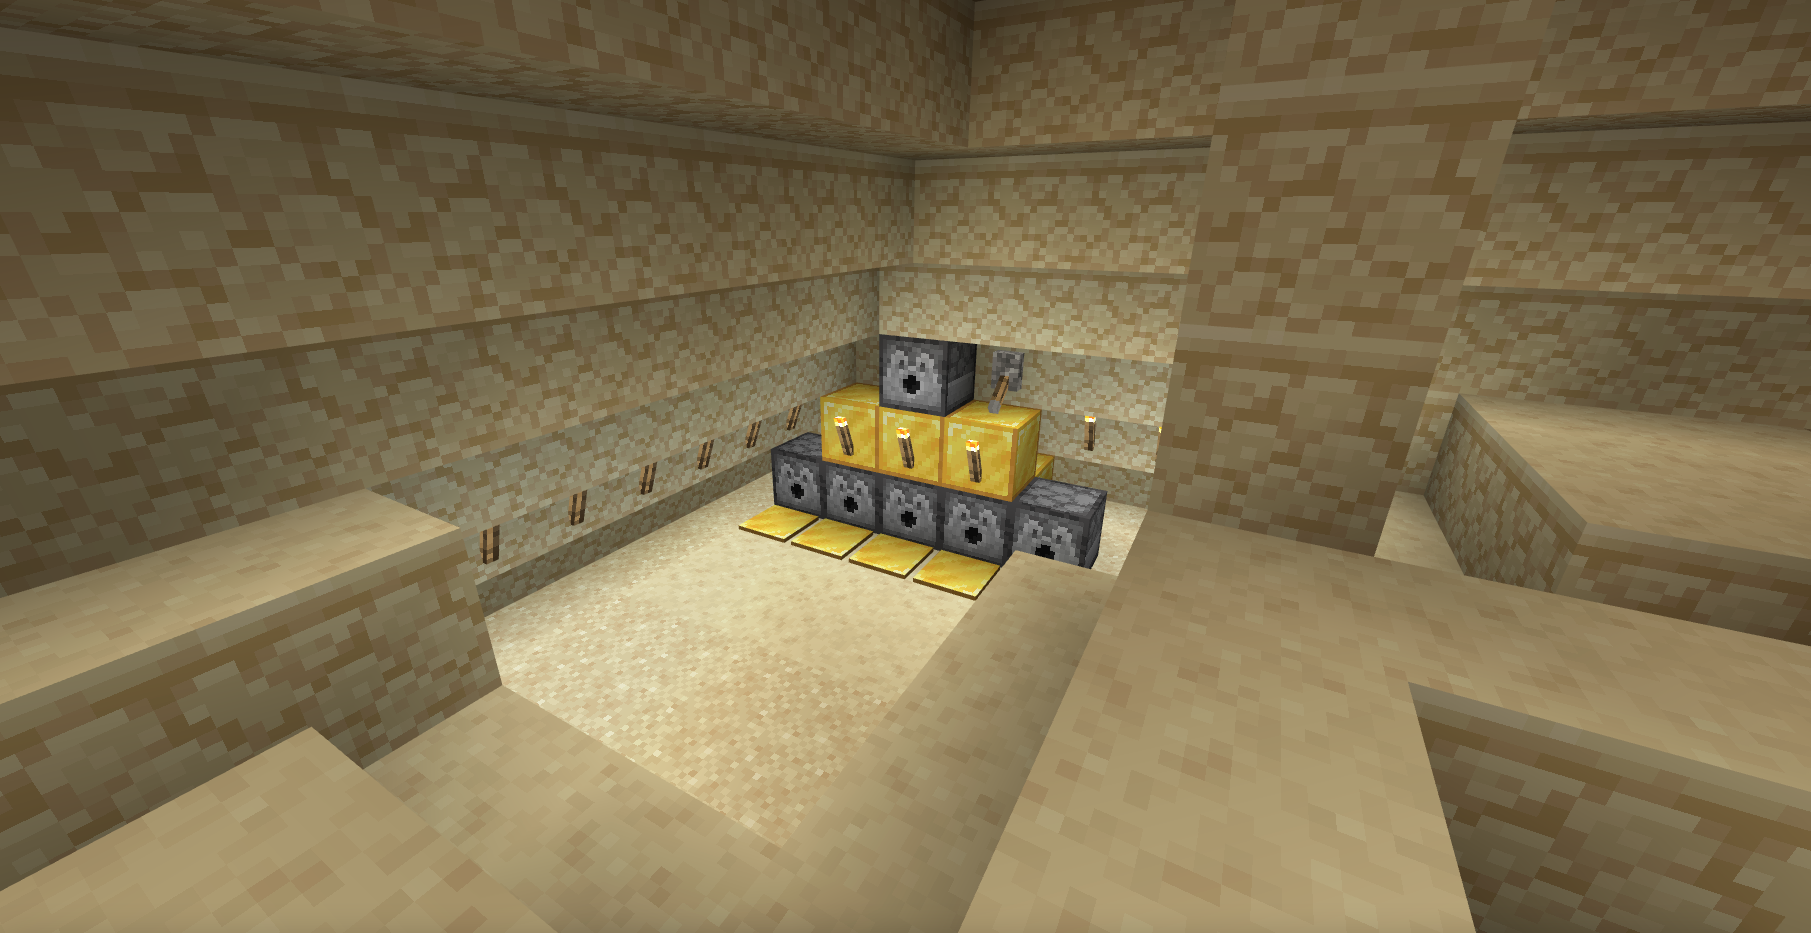
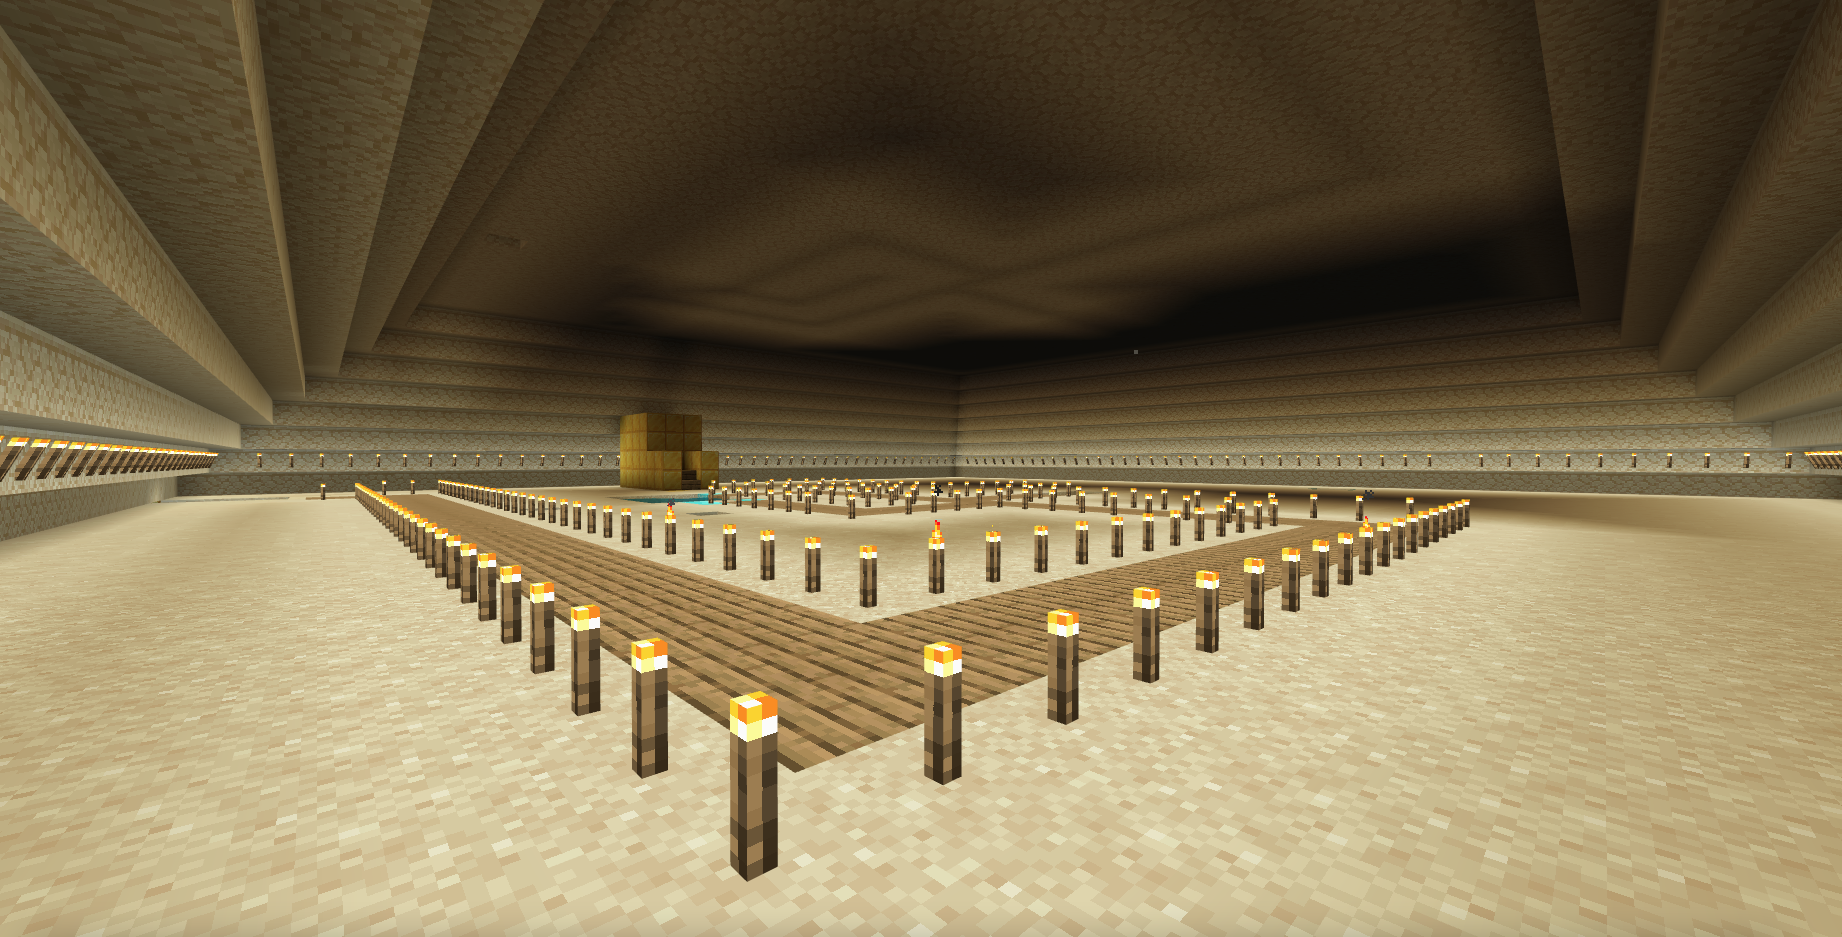
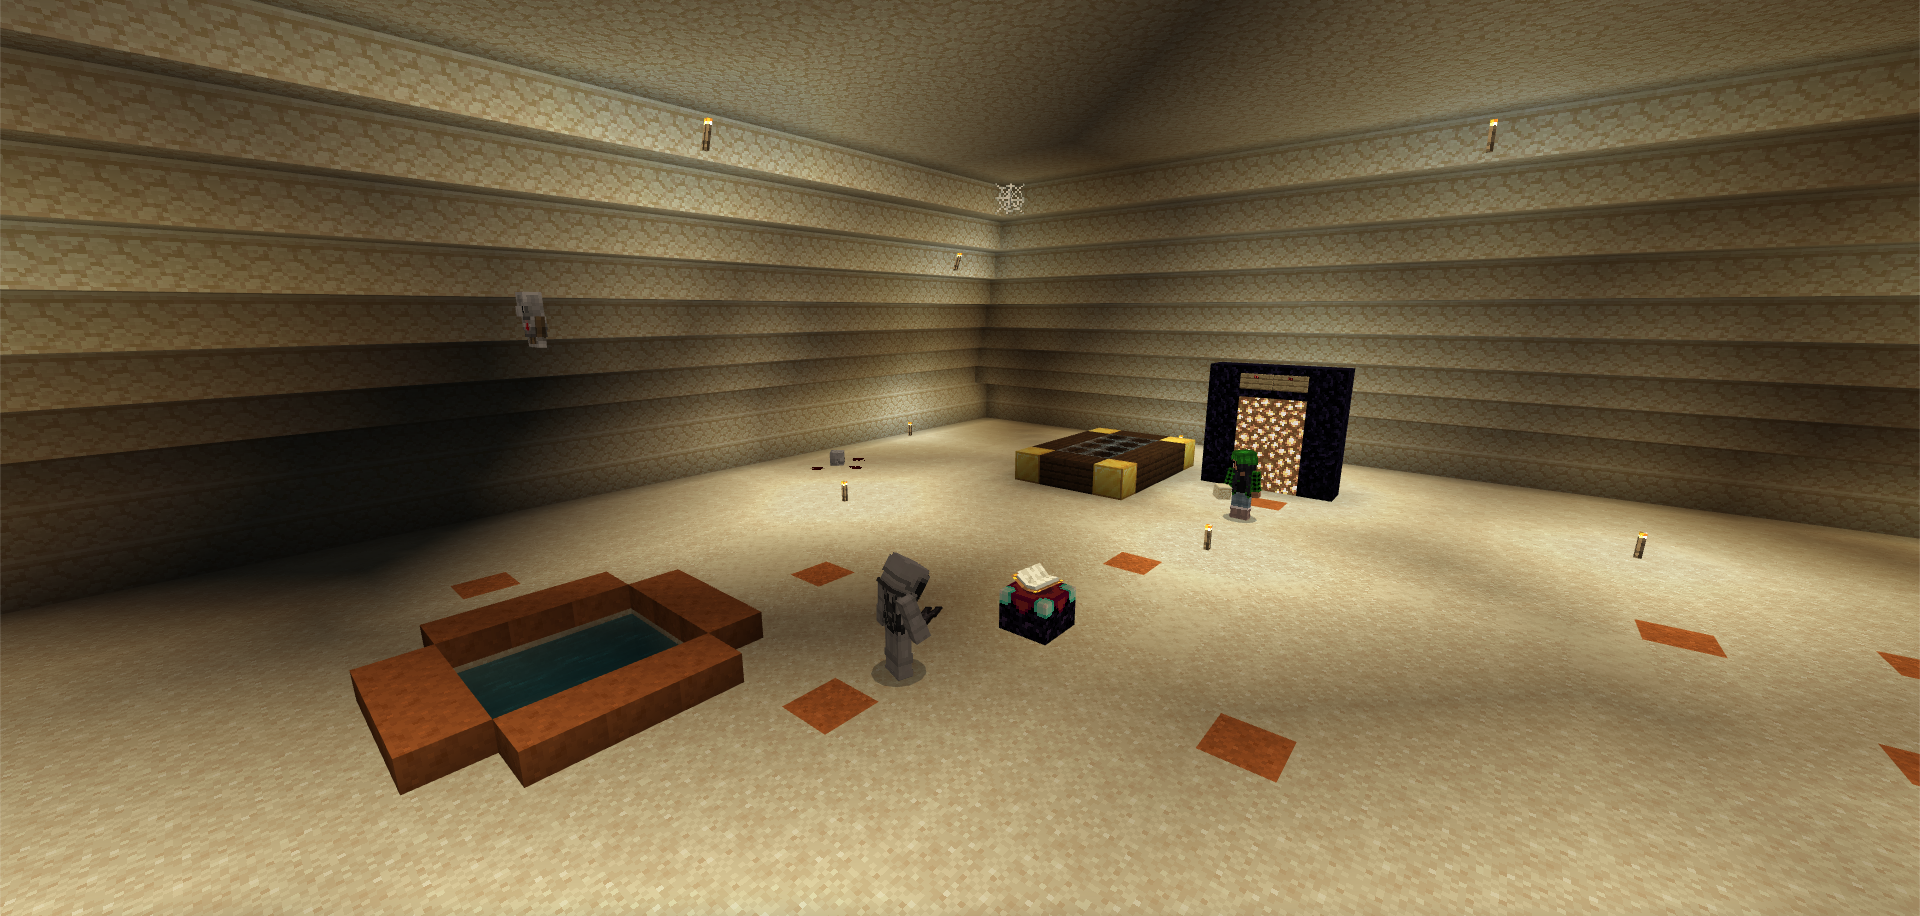
The trap in our pyramid has a little hole in the middle of it, so if anyone is silly enough to walk in the middle they’ll fall through! Our little room is really important because you can only fit really special things inside it. There is a secret treasure chest hiding under our bridge!


