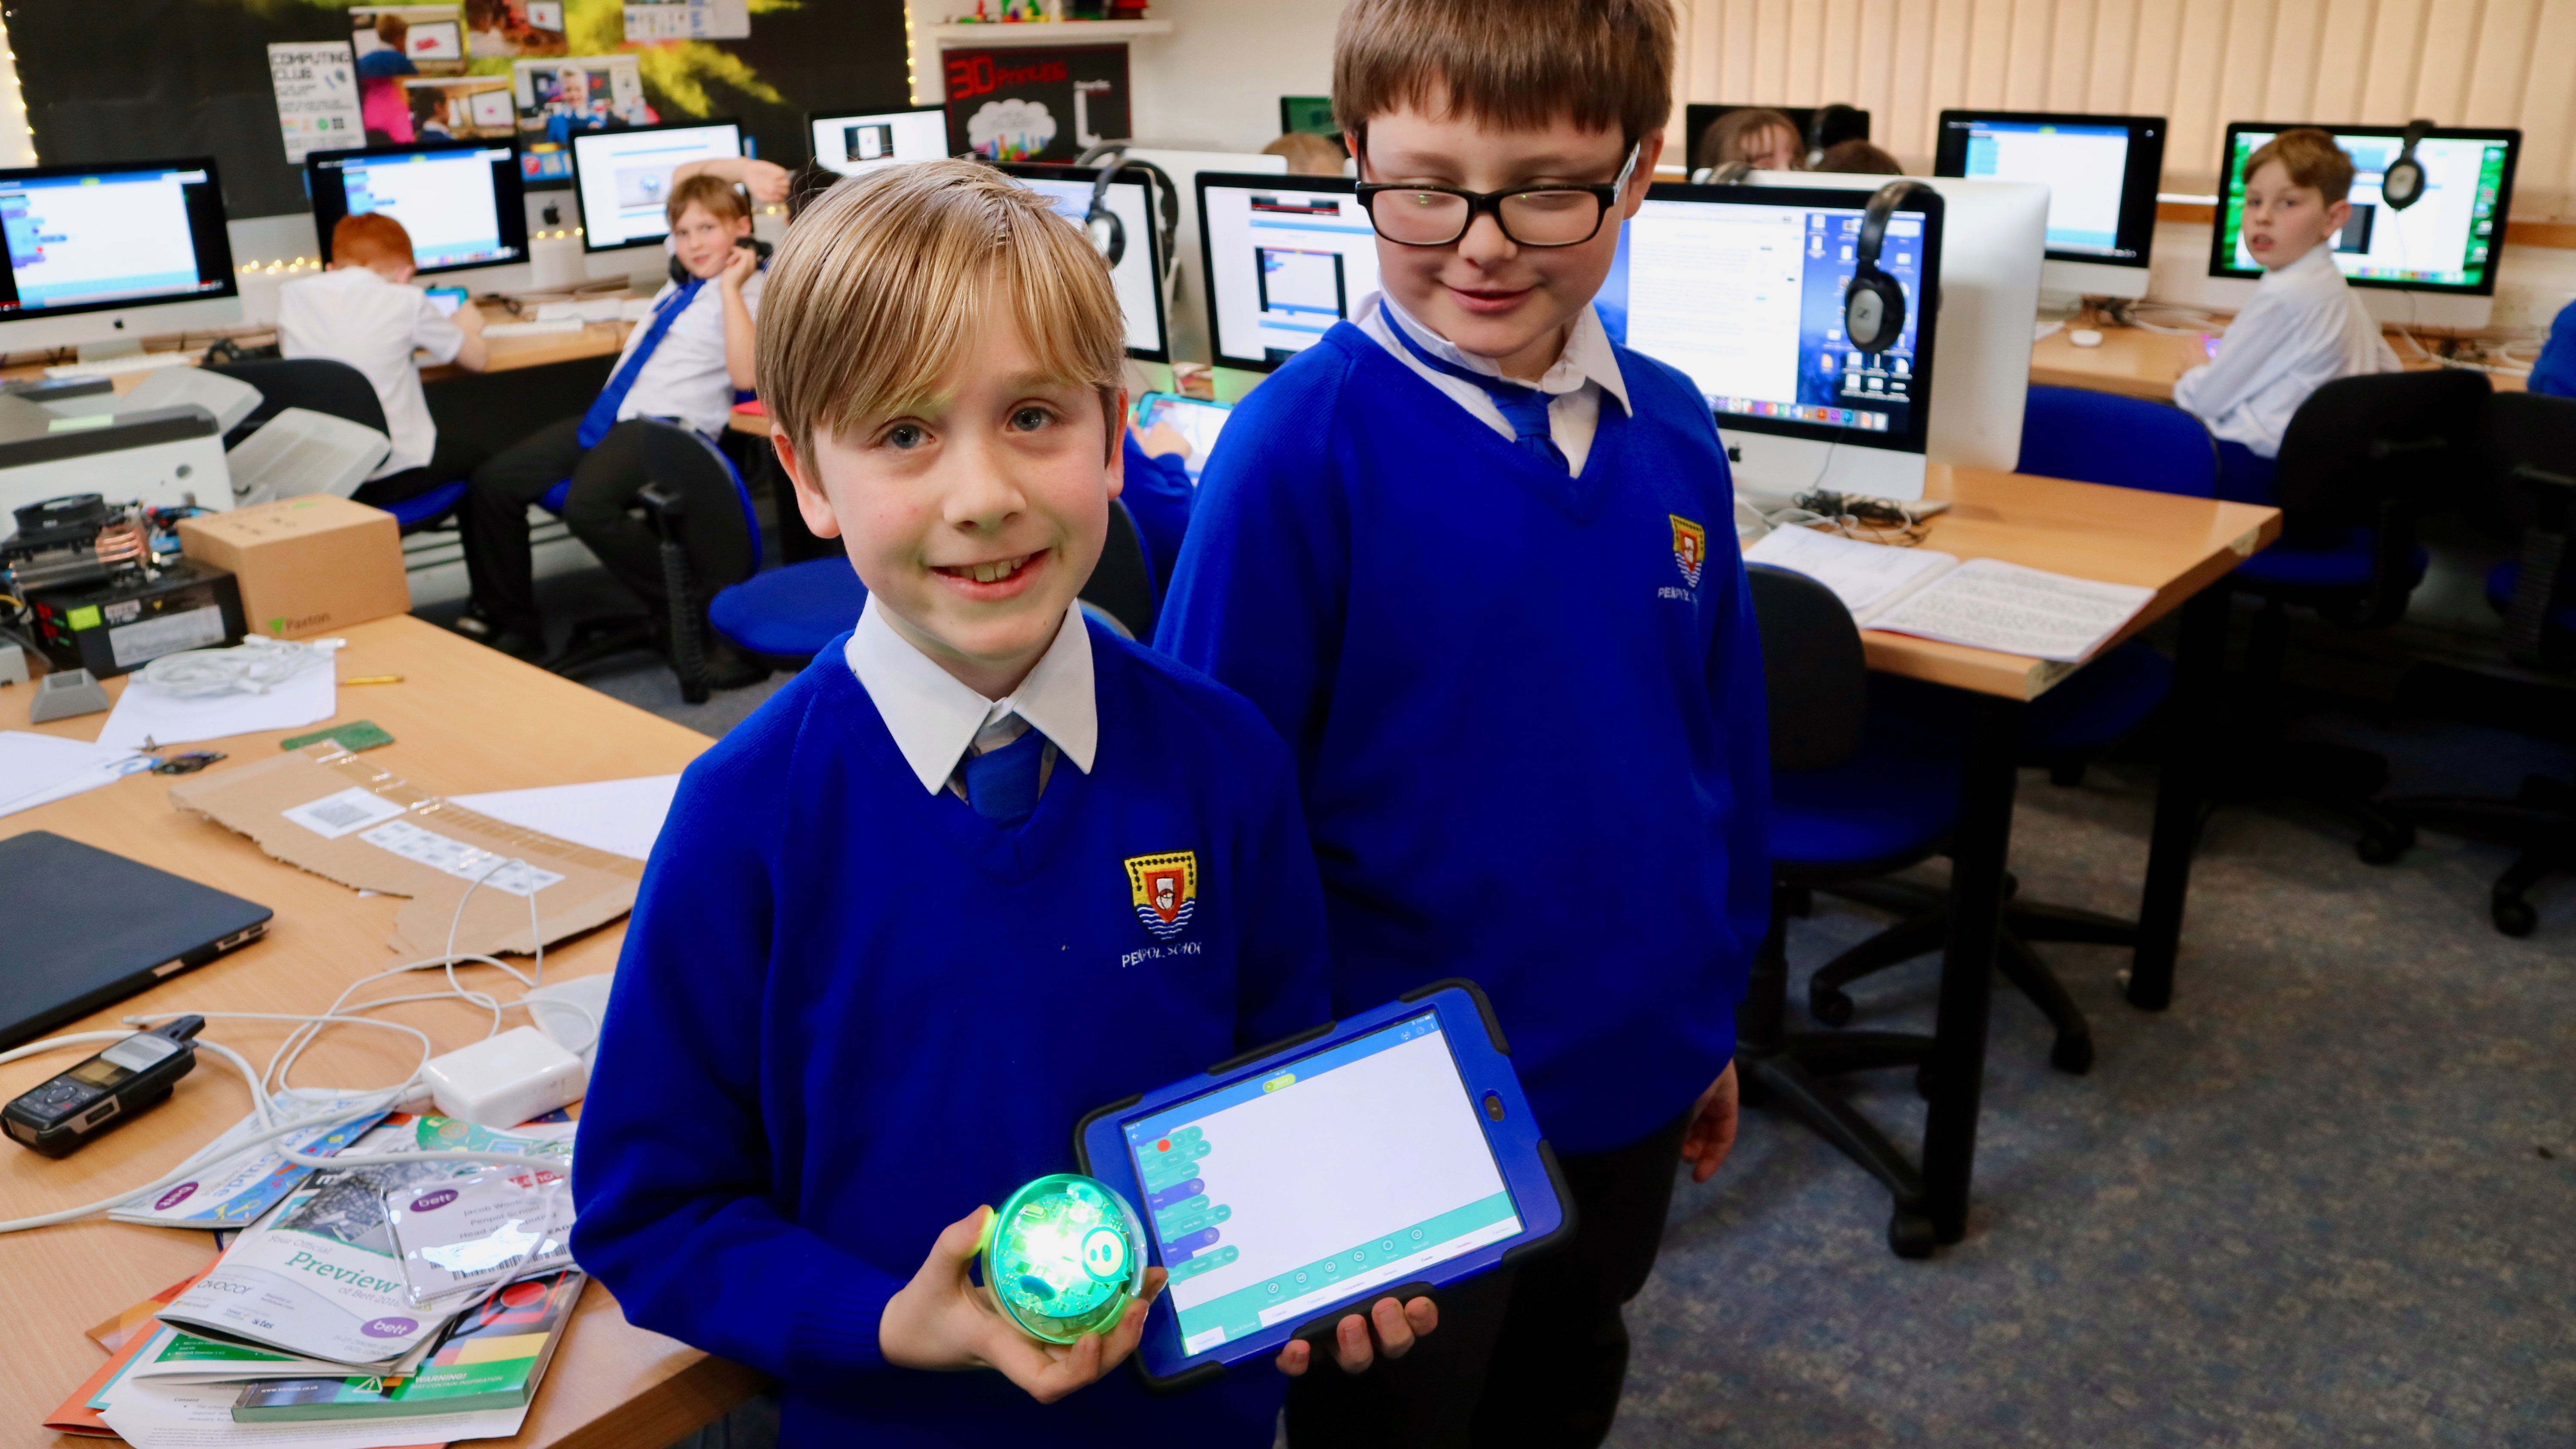
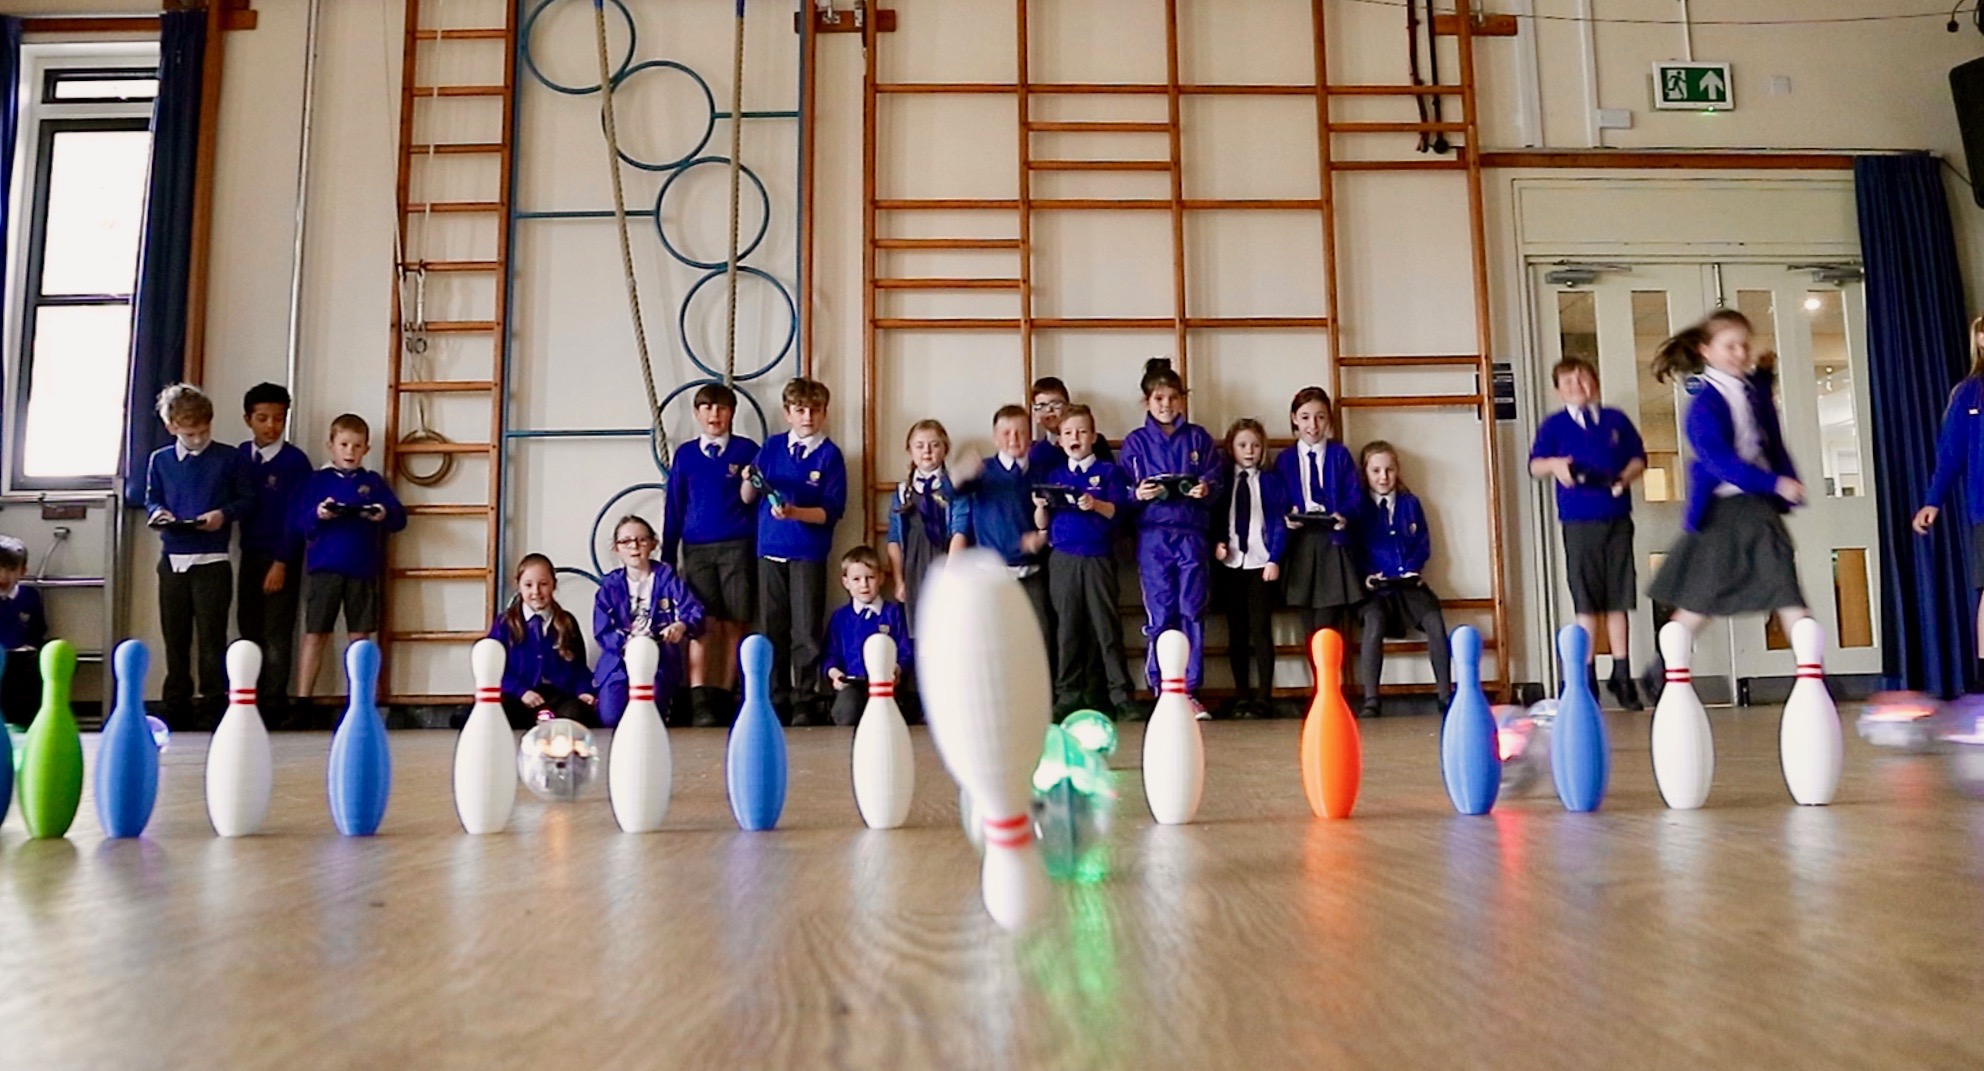
One of the reasons we visit the BETT Show in London each January is to try and find exciting and innovative ideas to bring back into the classroom at Penpol. This year we’ve returned with a dozen brand new Sphero SPRK+ Robots for the children to get to grips with.
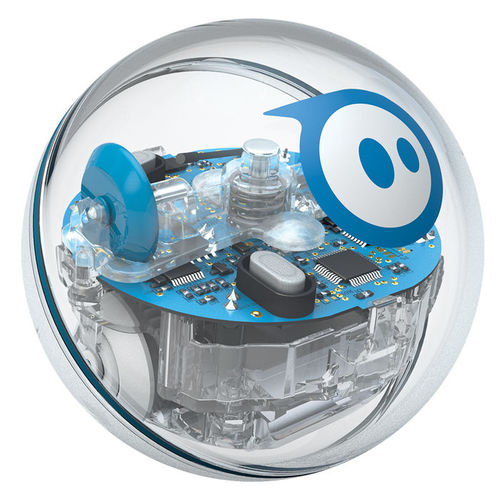
These small plastic robots are pretty clever, despite their simple appearance. Each robot can move at up to two meters a second, controlled remotely via iPad and can run complex sequences of code written by the children.
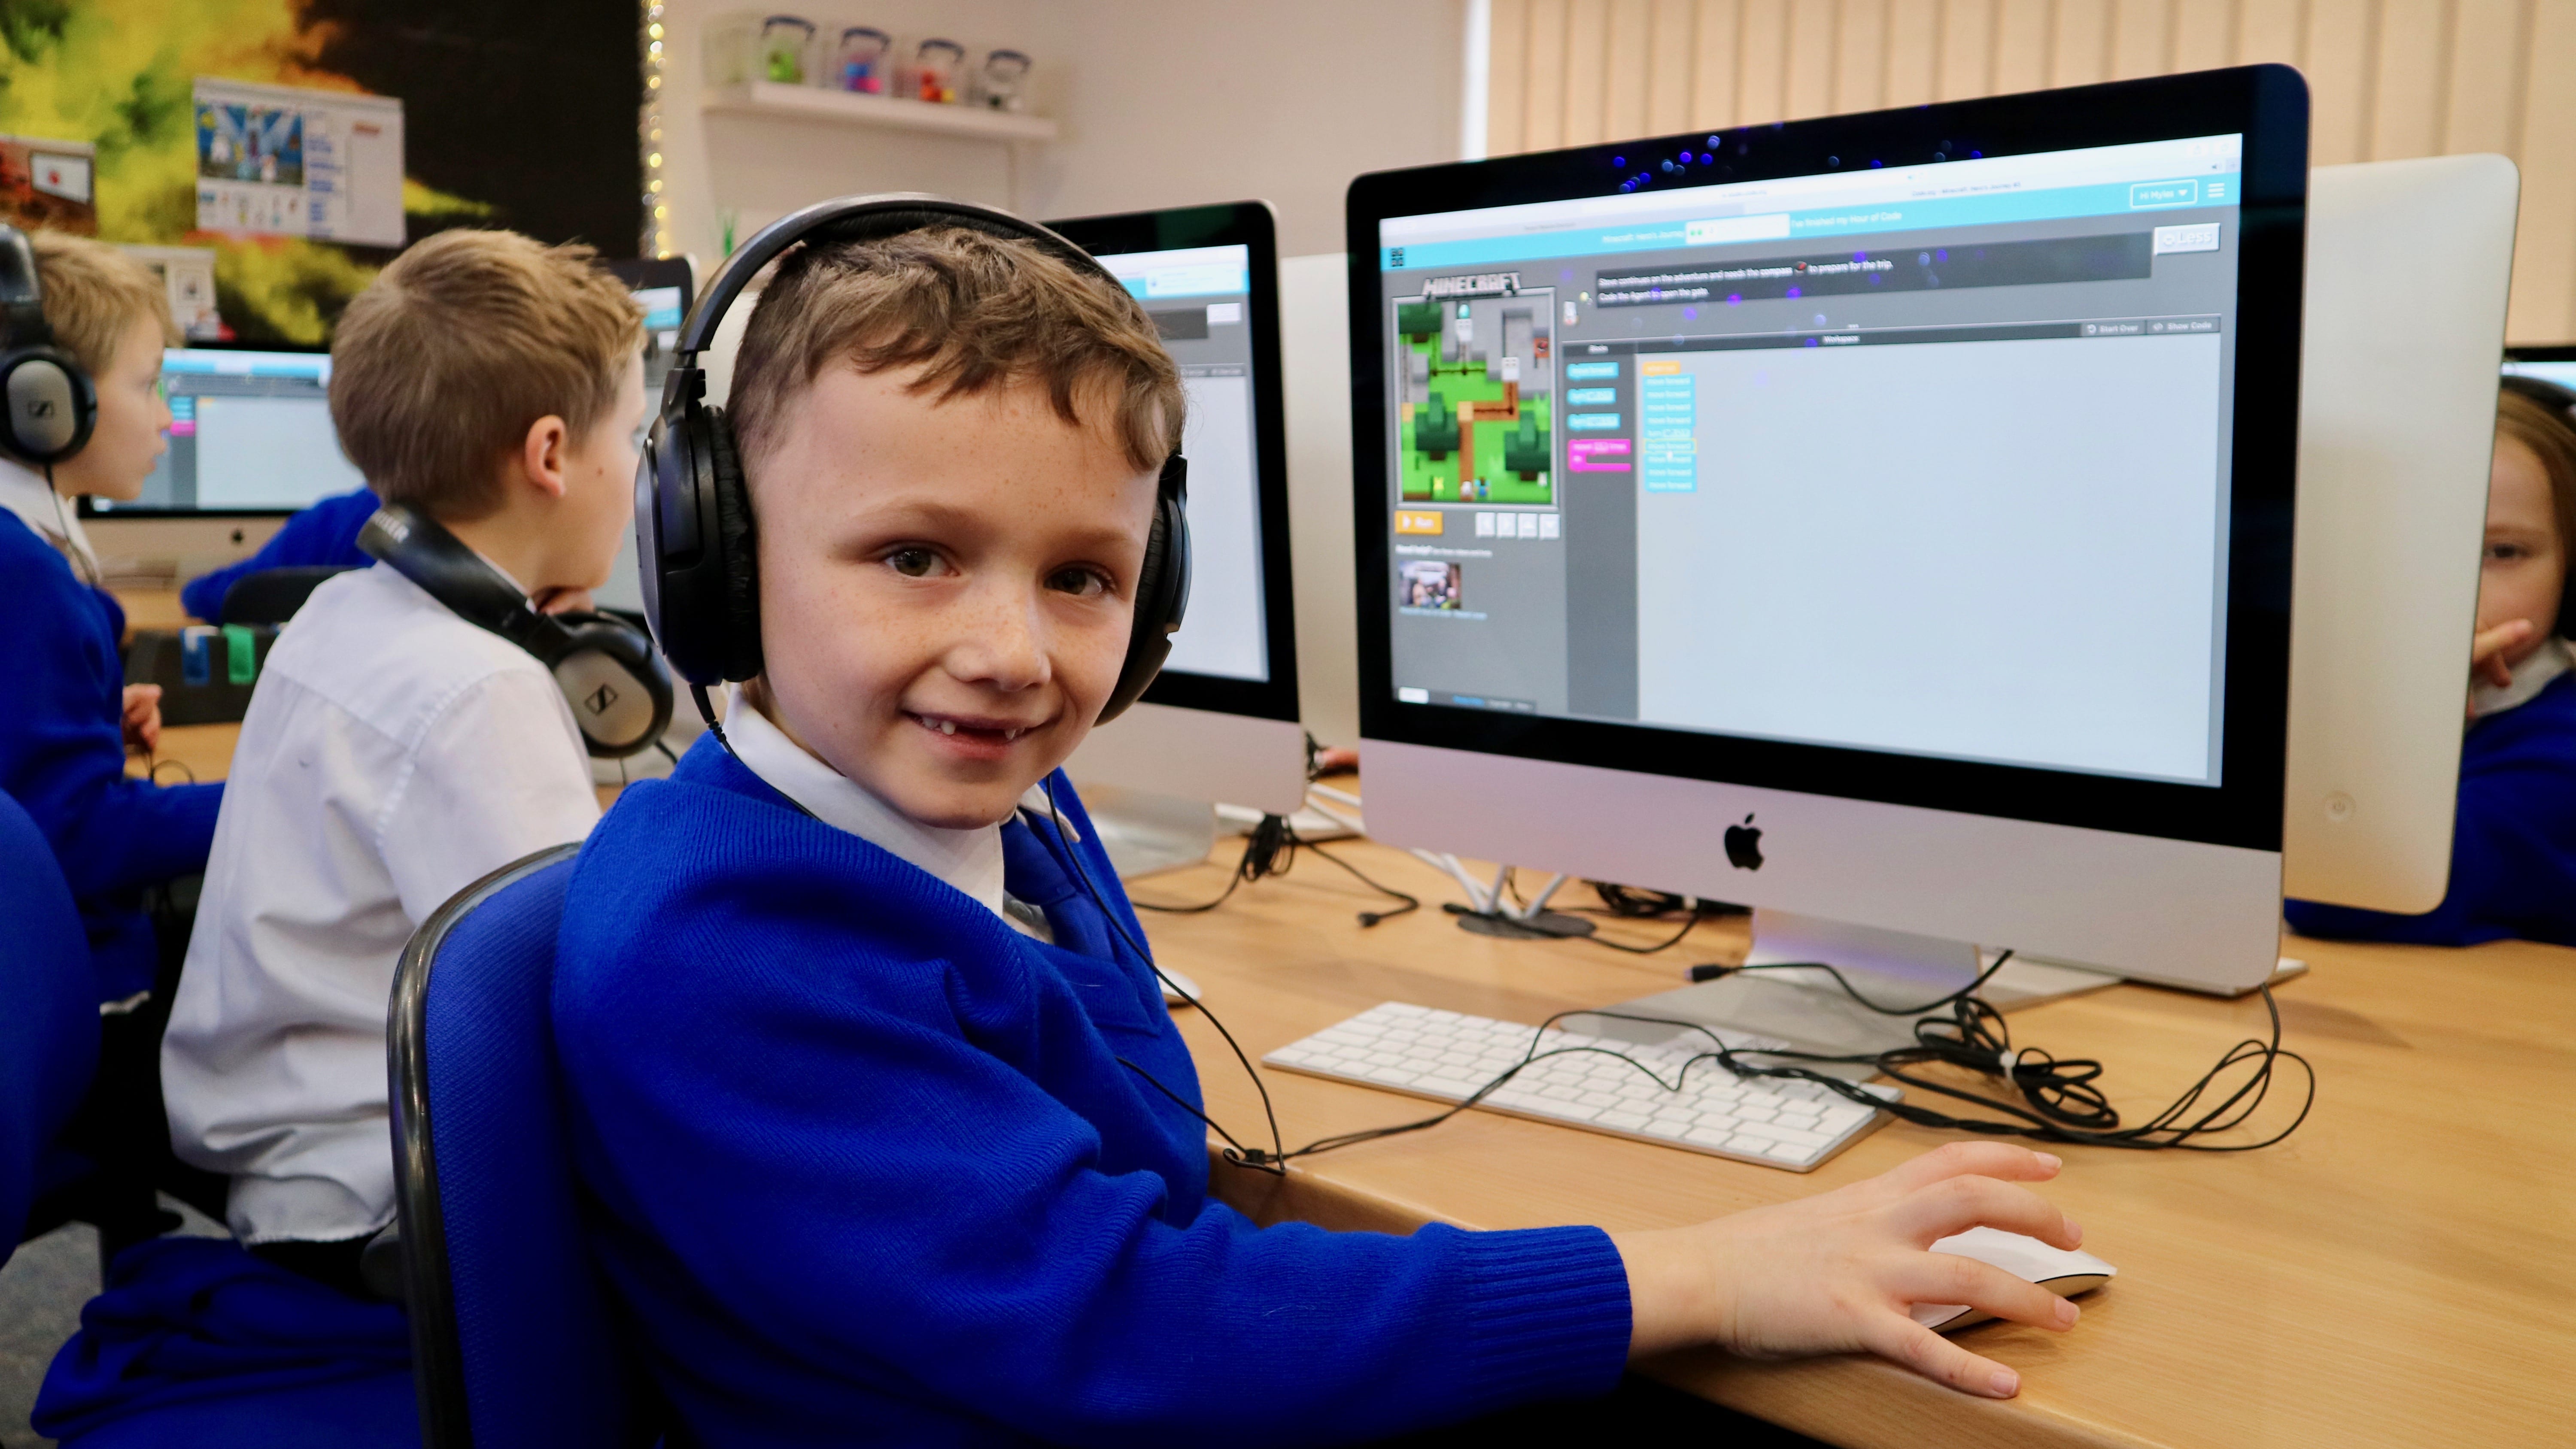
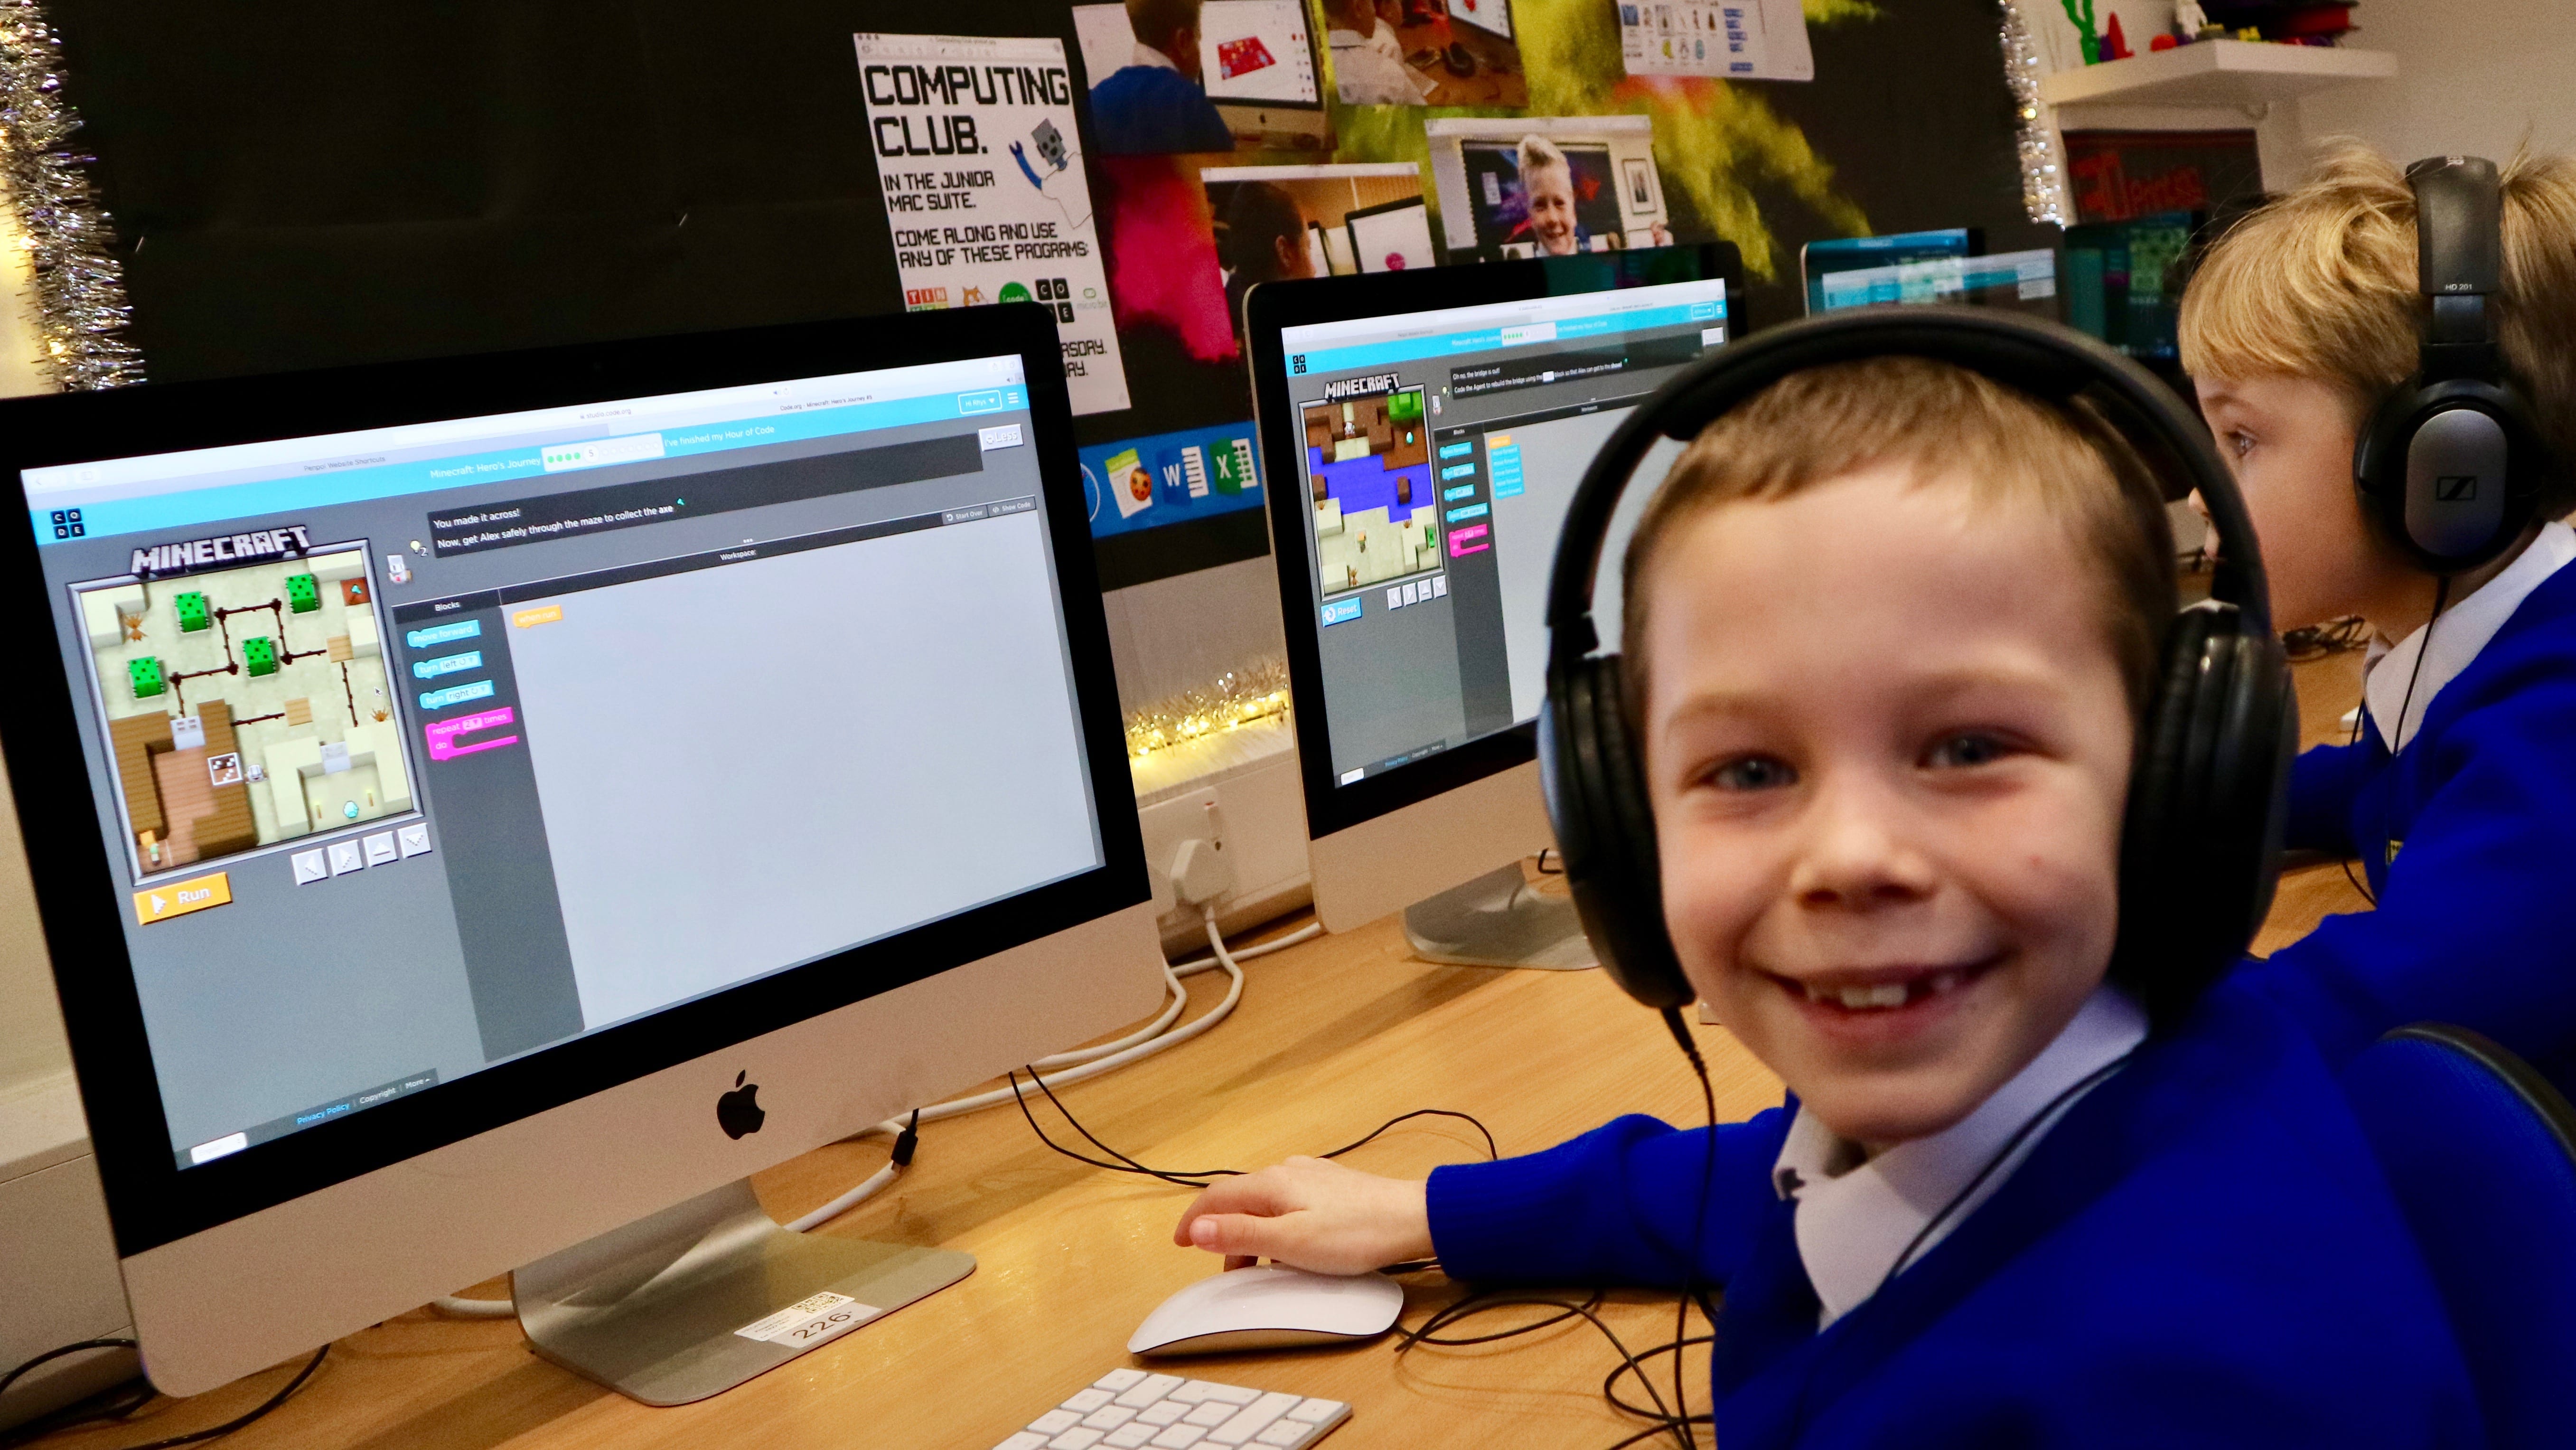
To get to grips with these new resources the children in Key Stage 2 have been spending time learning how to connect to the devices, how to steer and drive them and of course, having a little bit of fun along the way. It’s pretty exciting to have a Computing lesson without being sat in front of a computer!
“It’s a great thing to have races with, if you watch the video we did in the hall it was educational to learn how to code but also fun to race them.” – Phoenix, Class 13
“They’re very fun to play with and they’re great to have races with.” – Jake, Class 13
“I like the Spheros’ because they’re fun and great to learn with and I can’t wait to tell my mum that we had a really fun day in Computing with Mr Woolcock!” – Jowan, Class 13
I think it’s safe to say we’re looking forward to writing lots of interesting programs for the Sphero in the future.
“The Spheros’ are really fun and educational at the same time, I’d recommend them to anyone!” – Joe, Class 13