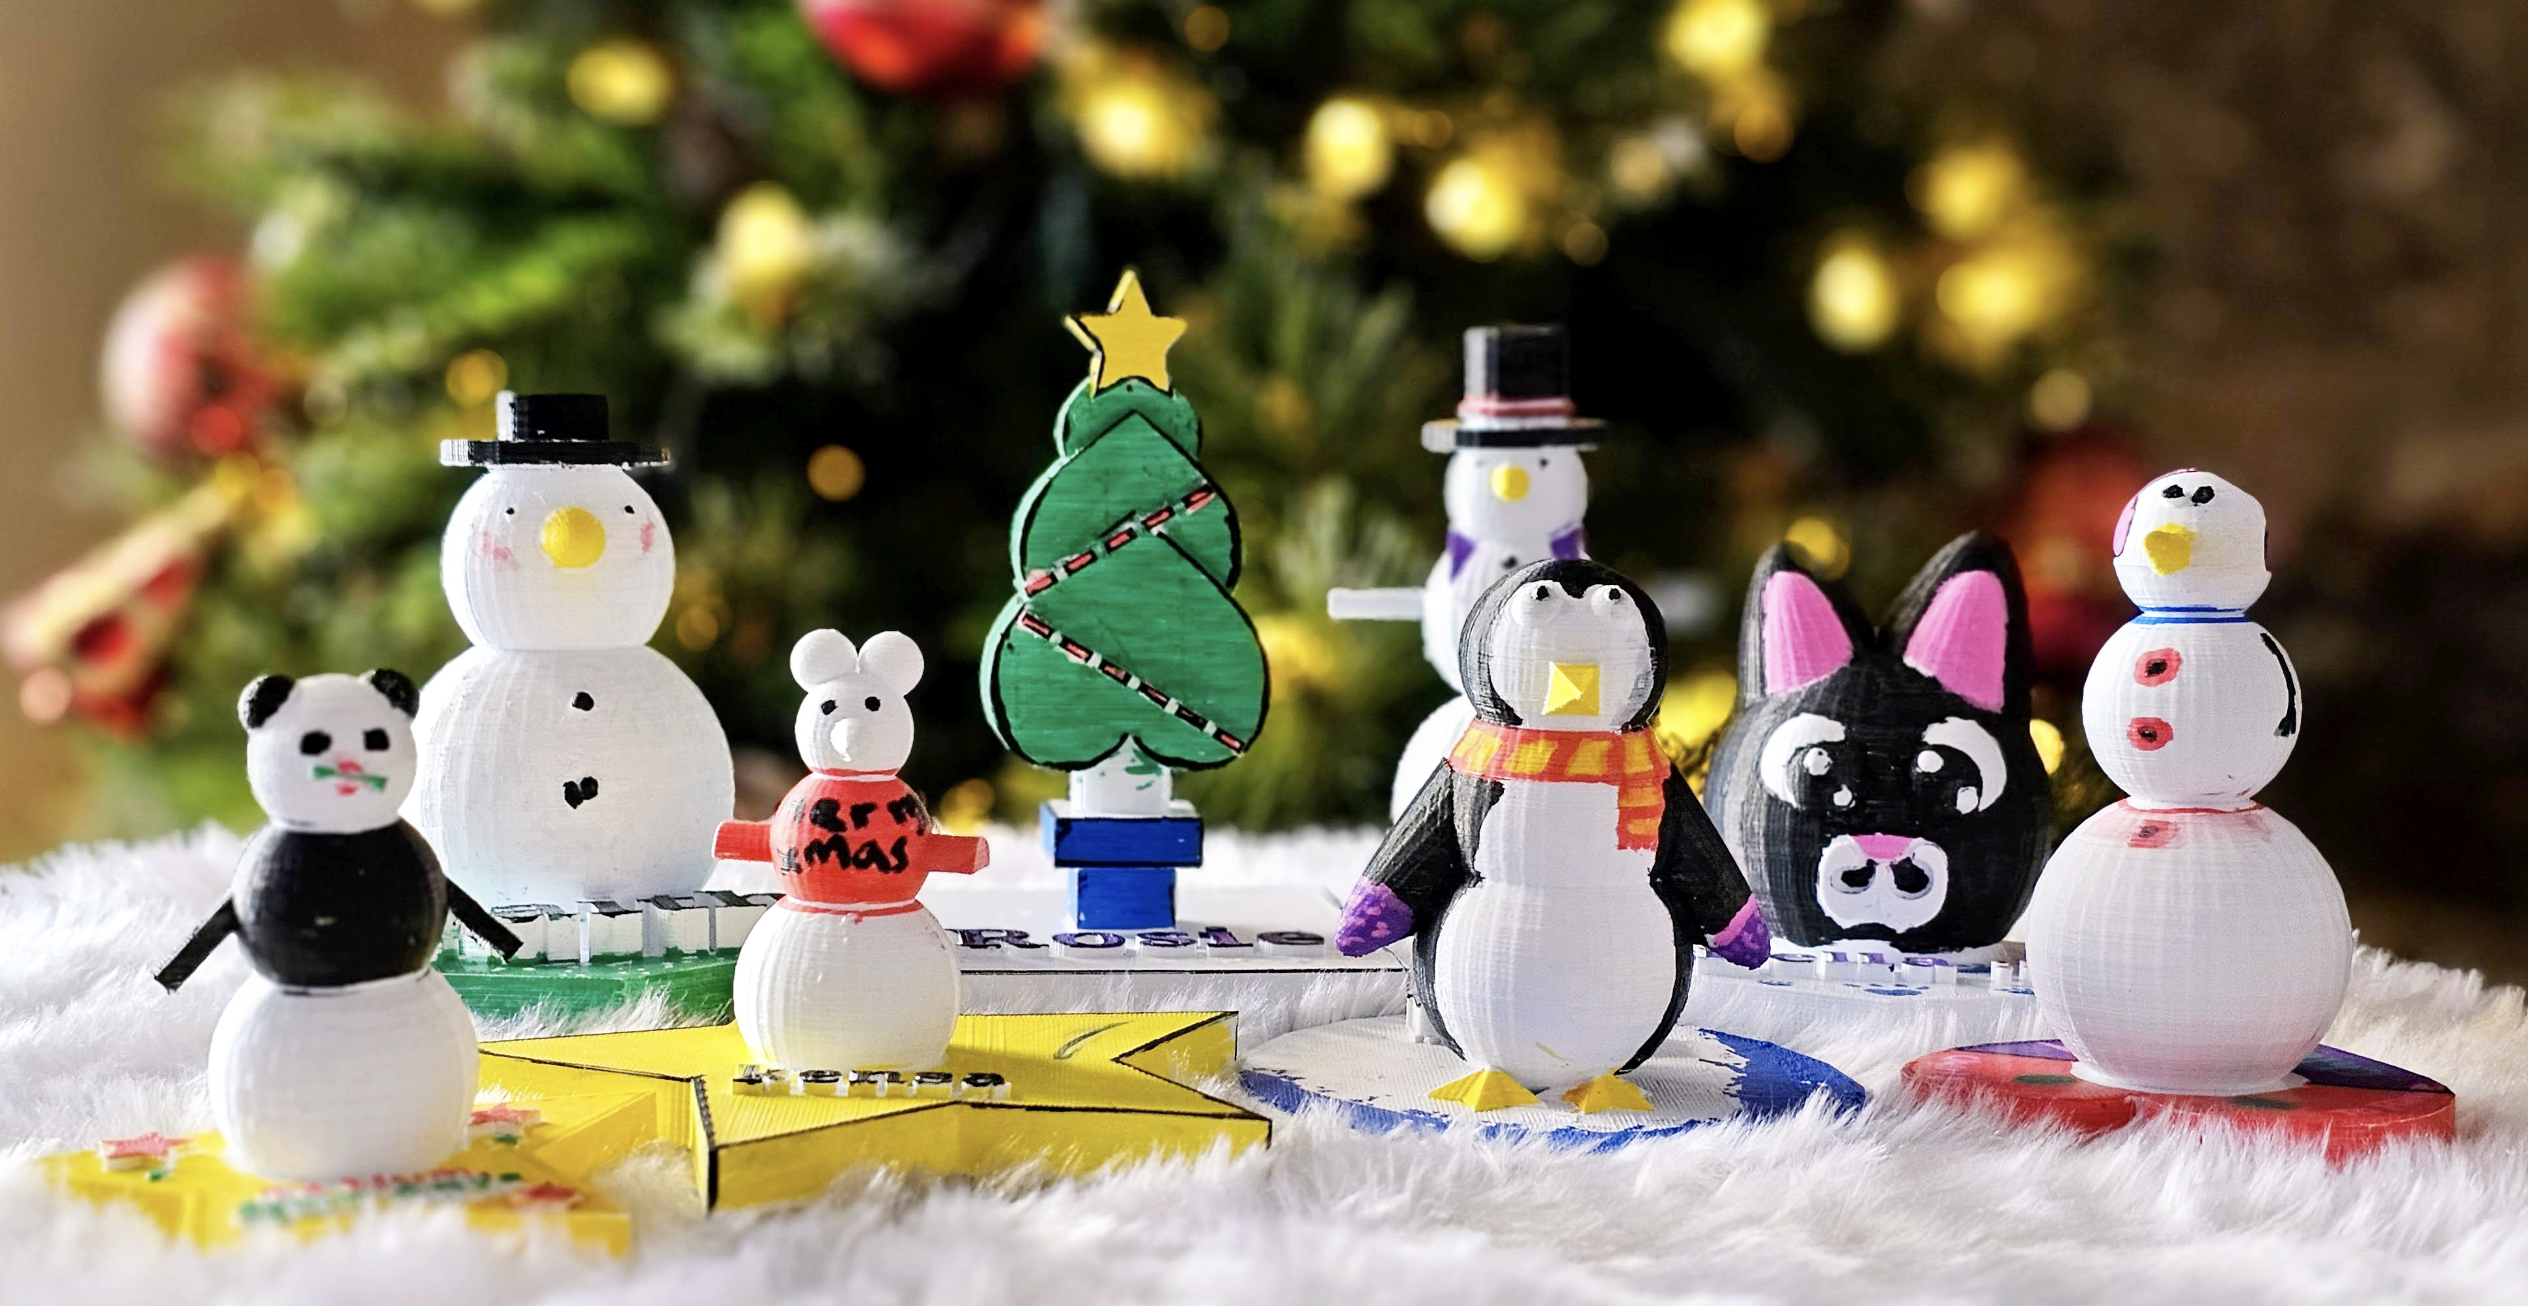
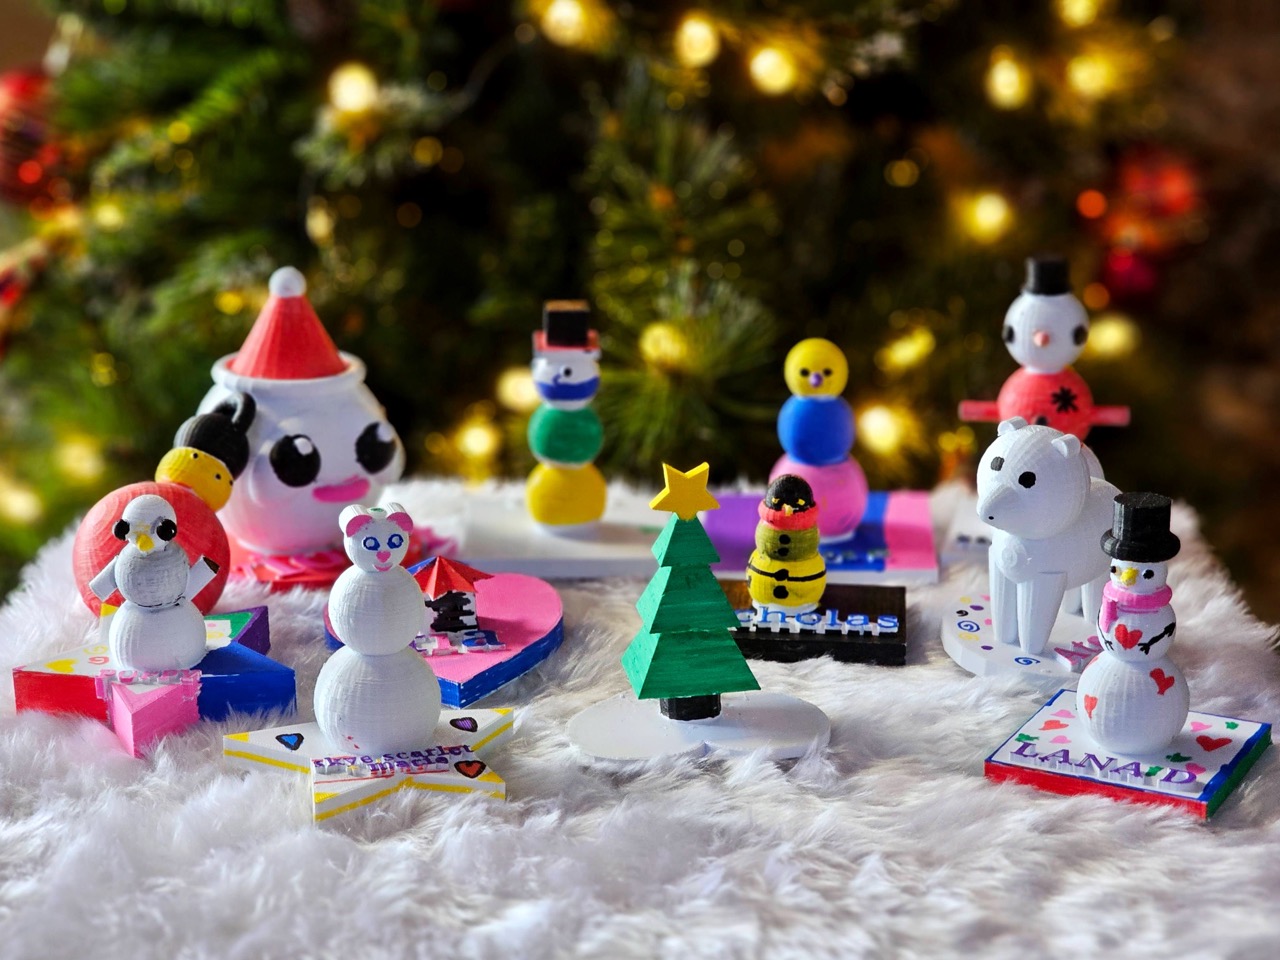
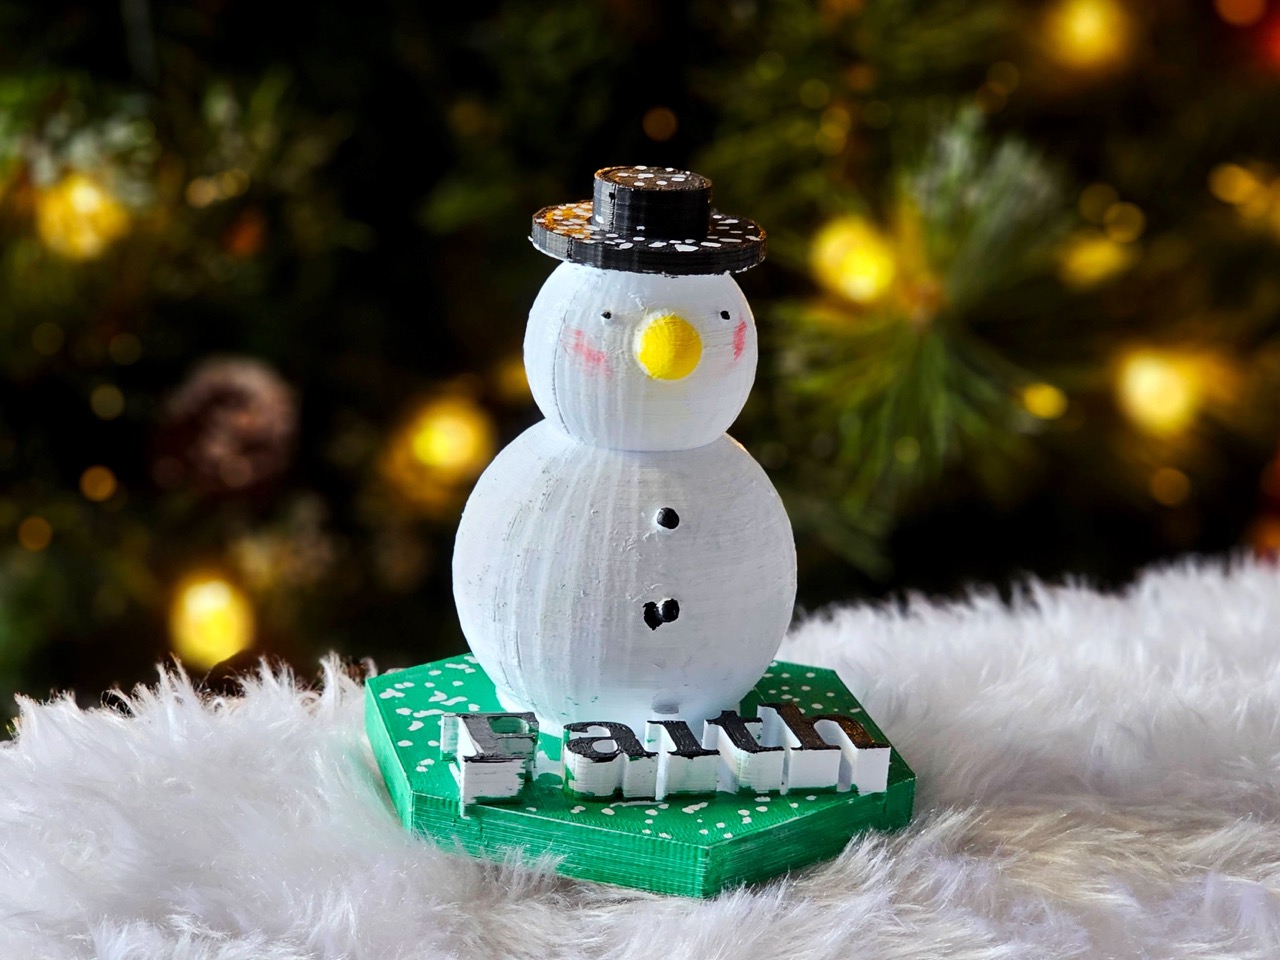
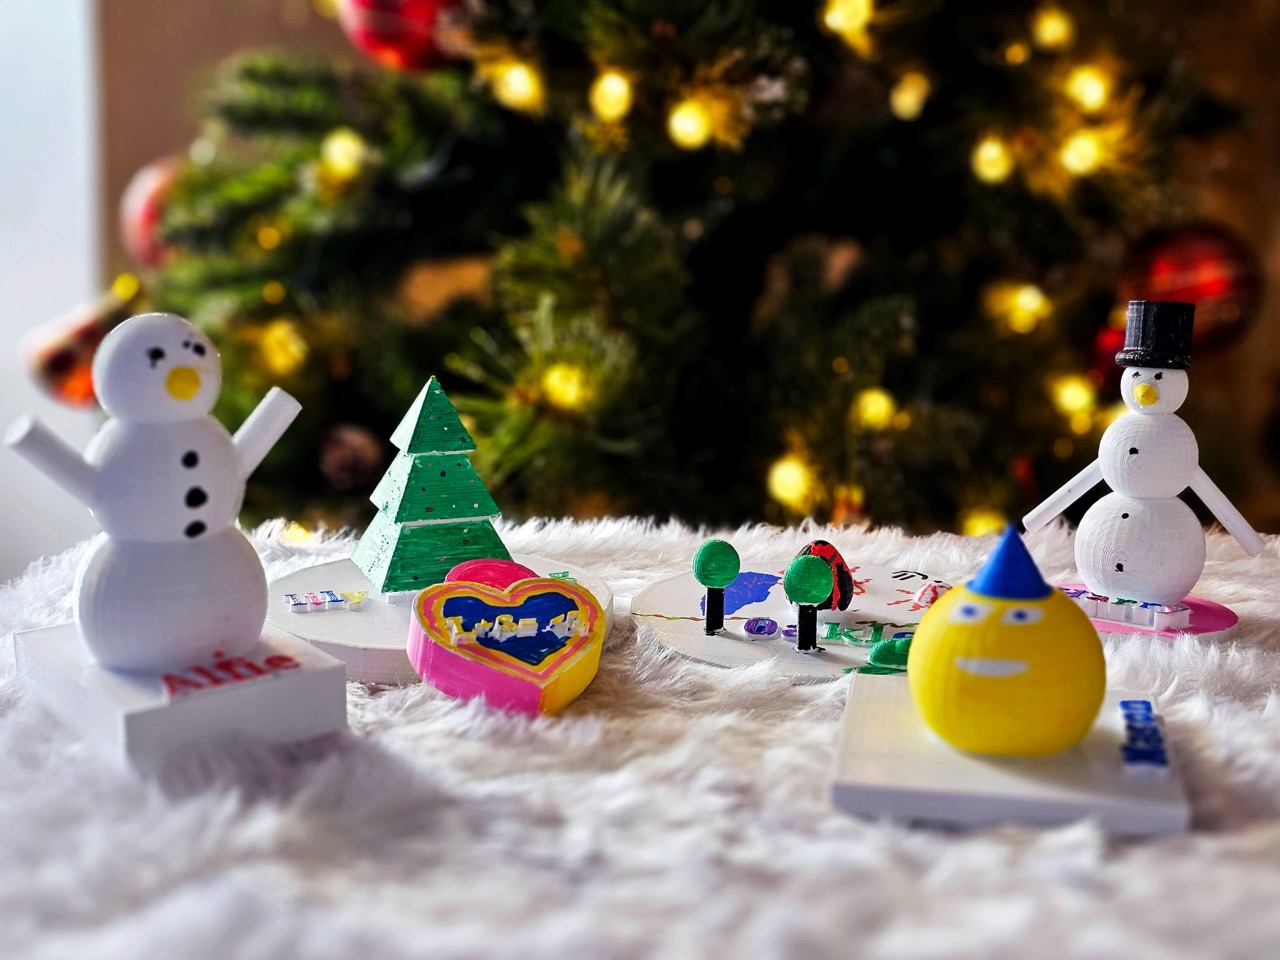
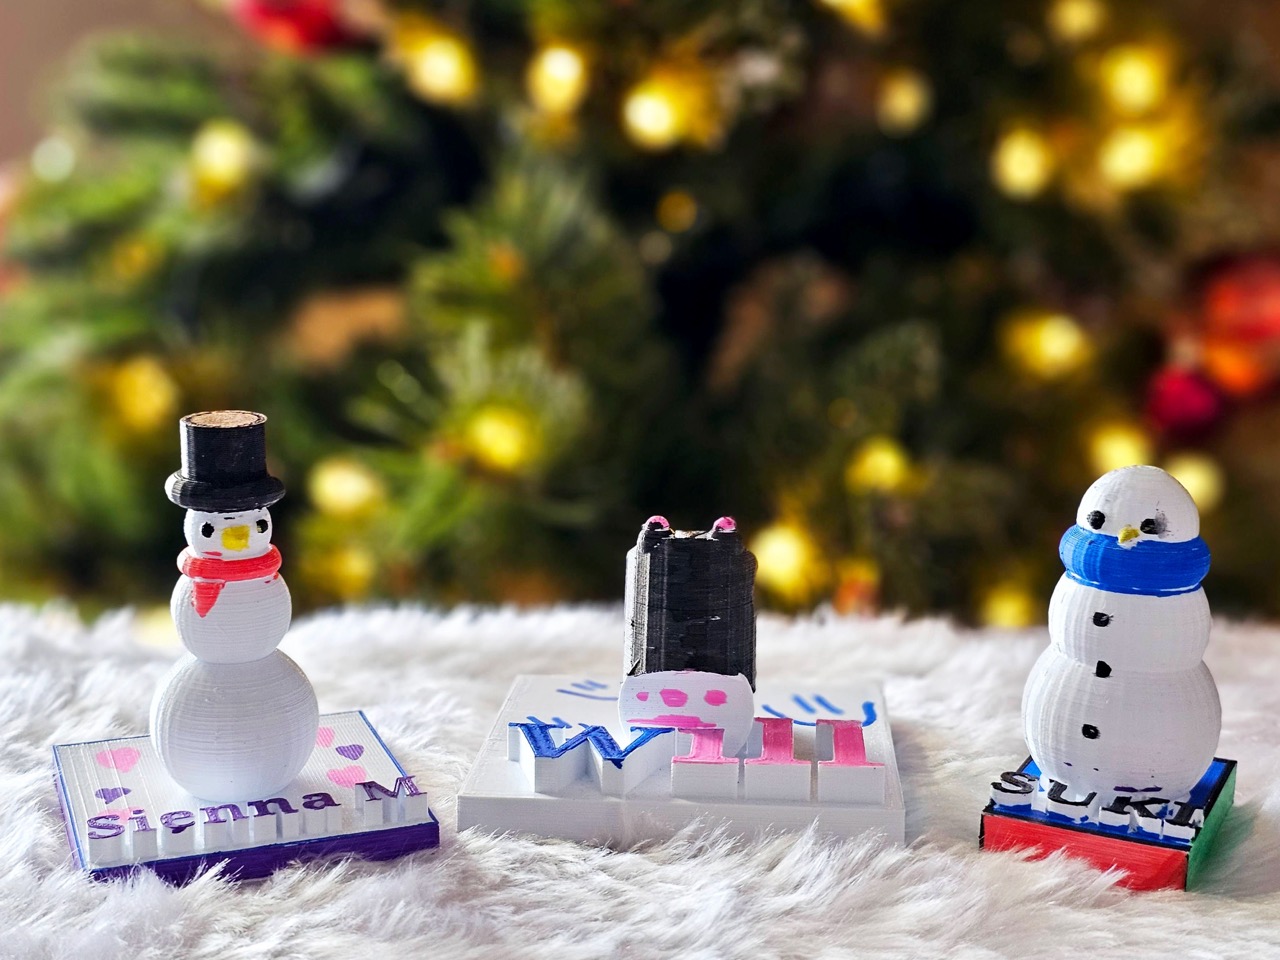
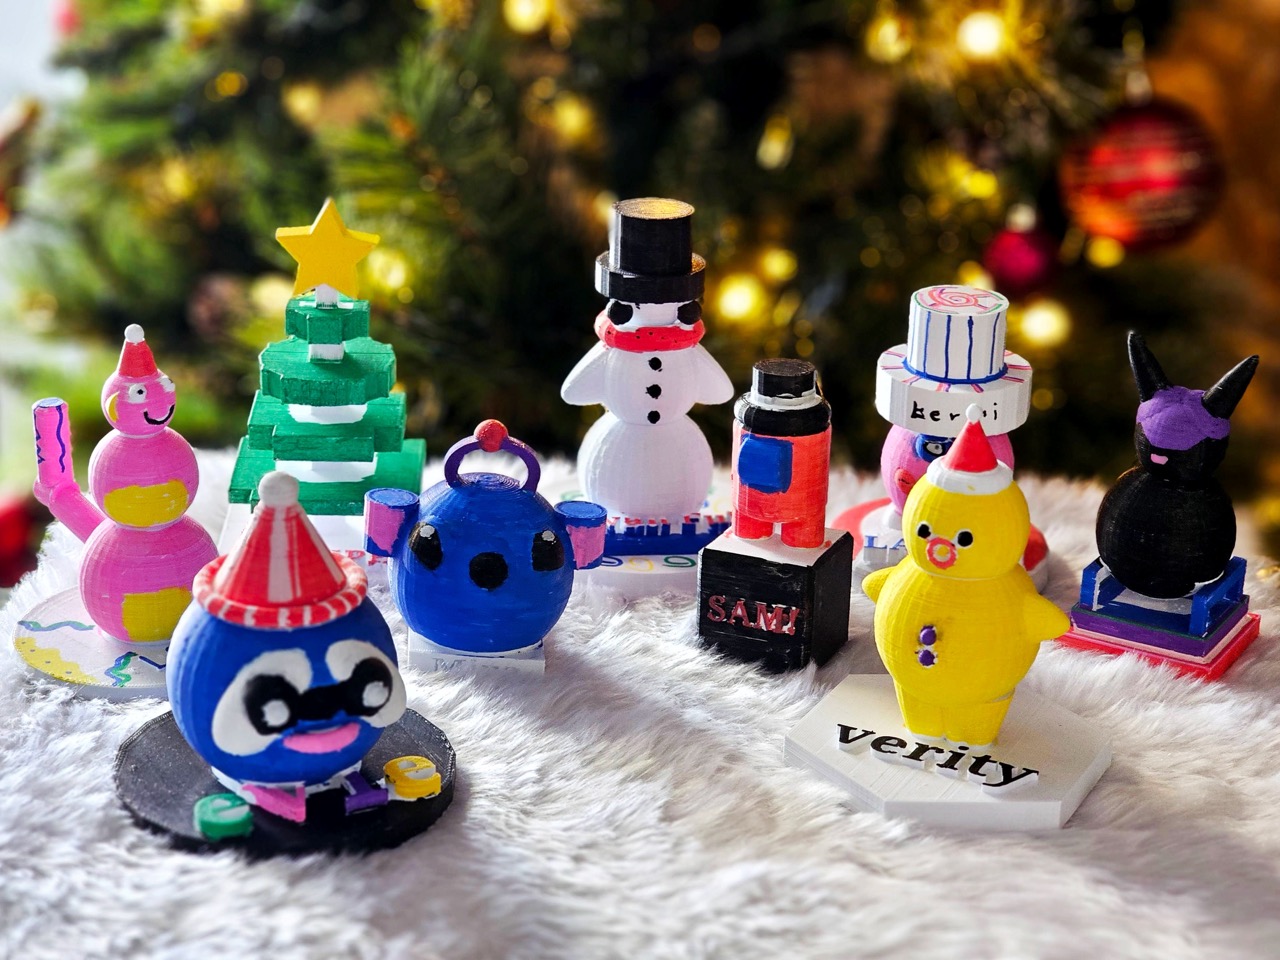
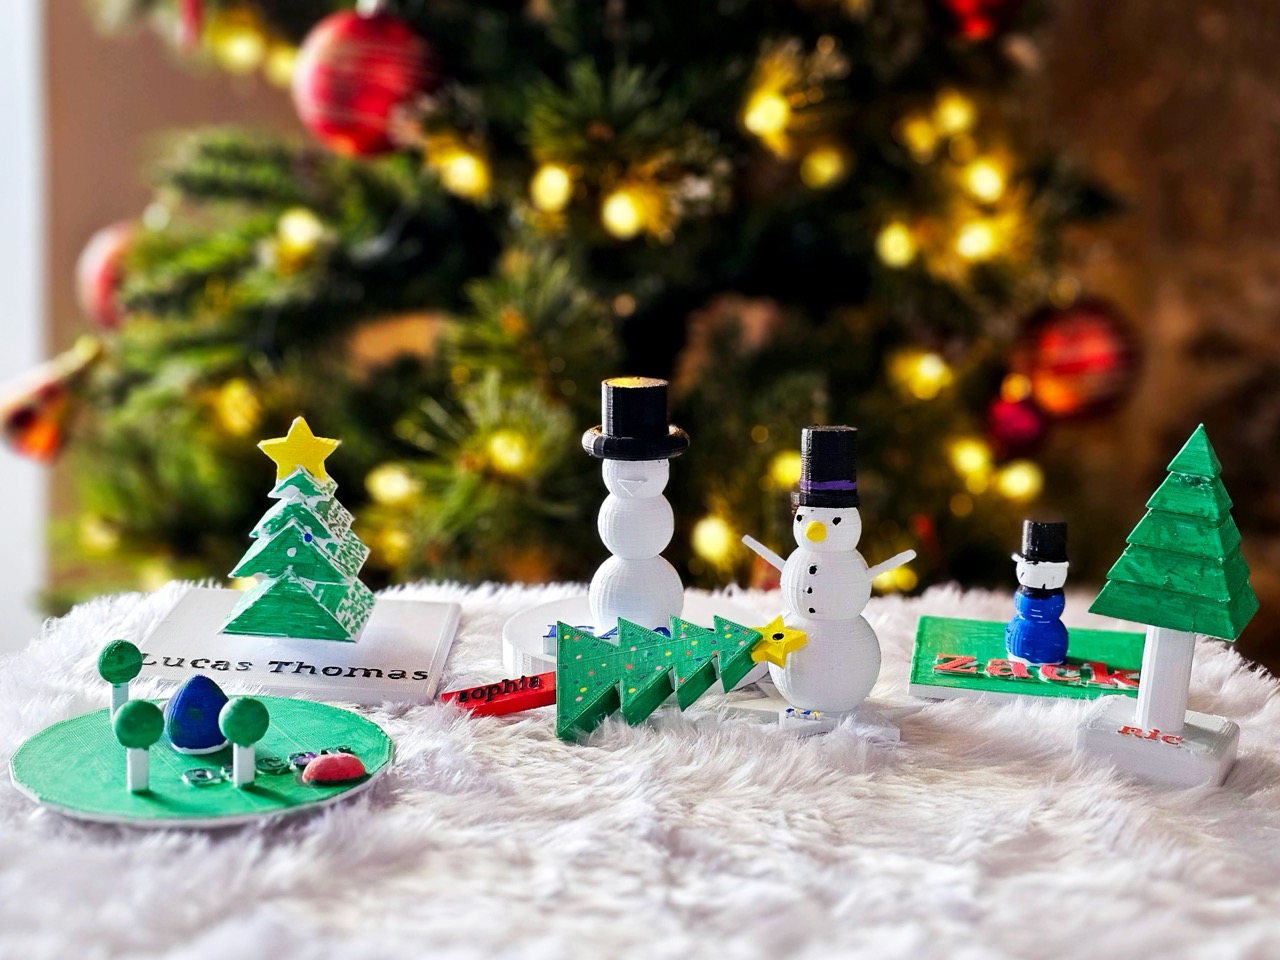
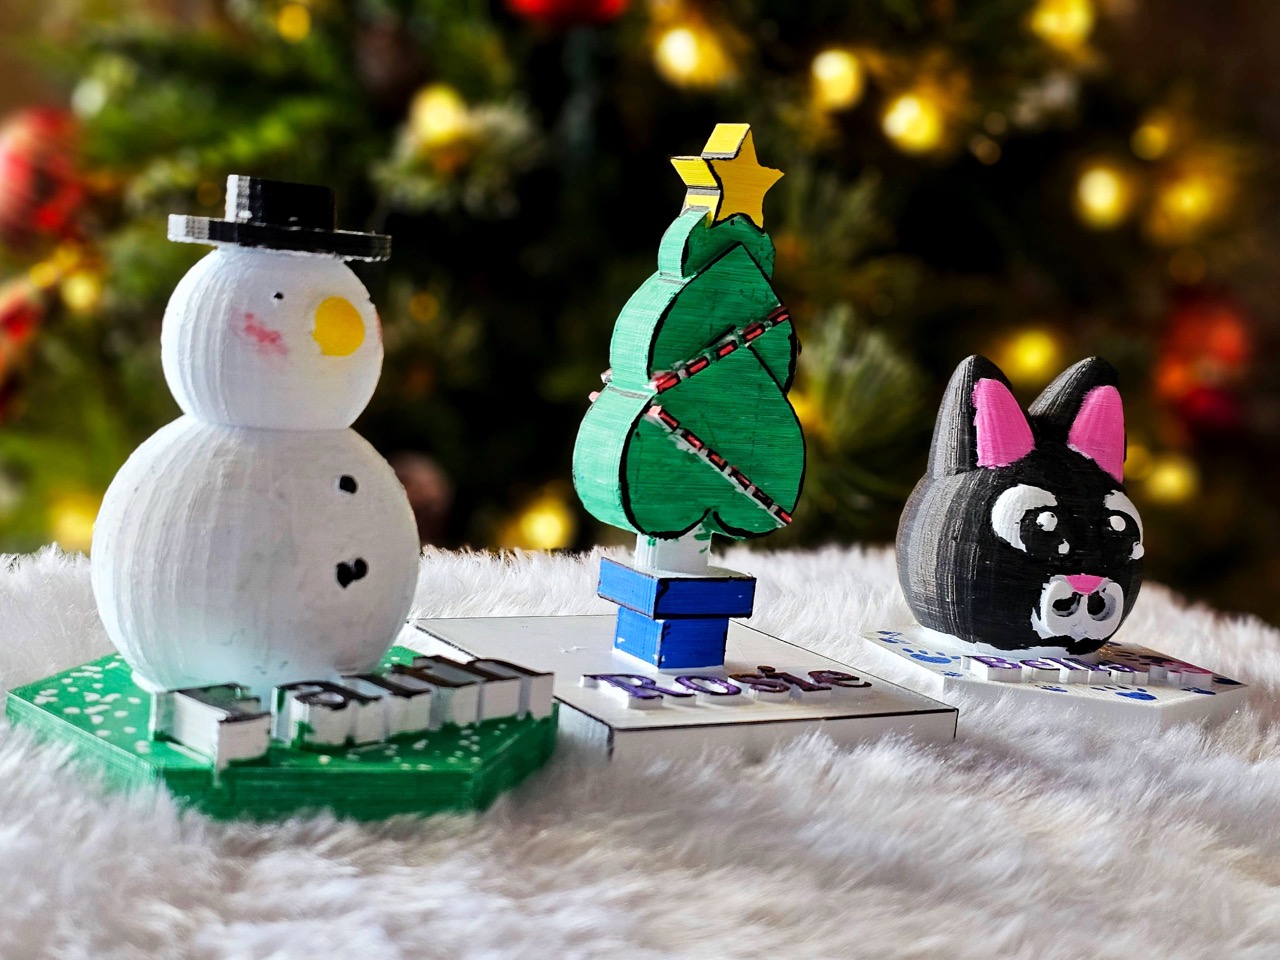
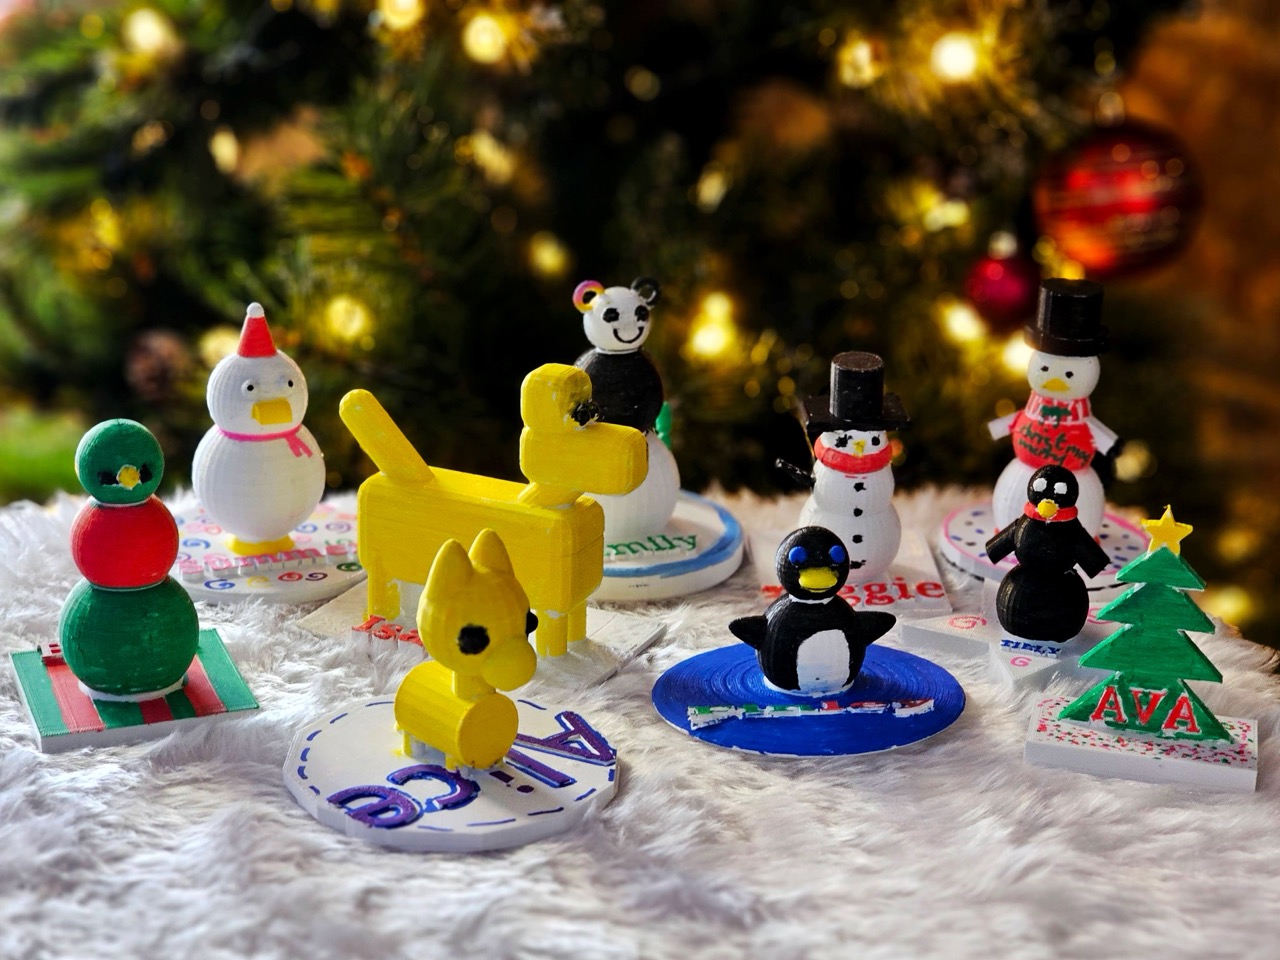
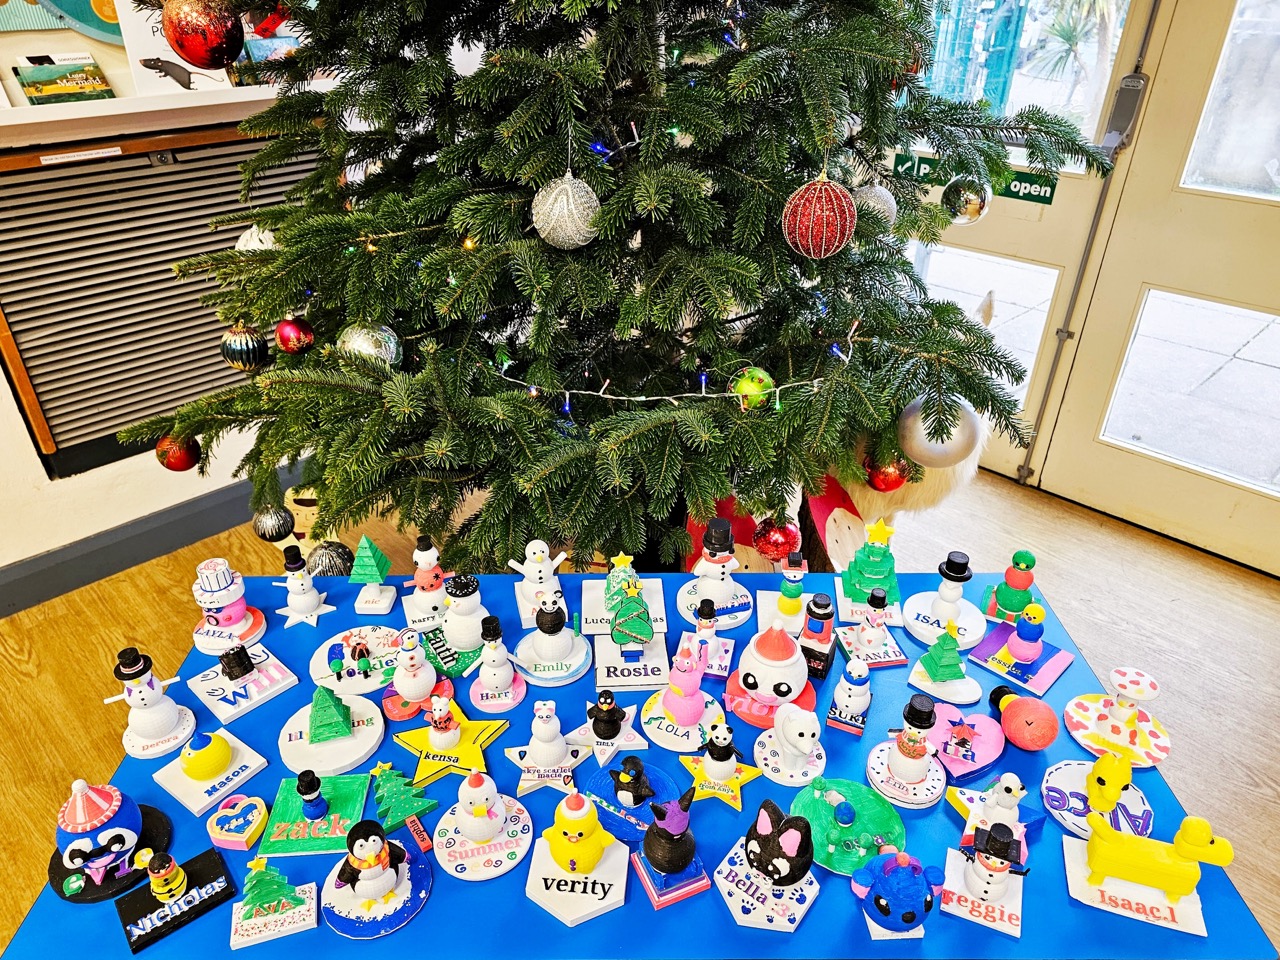
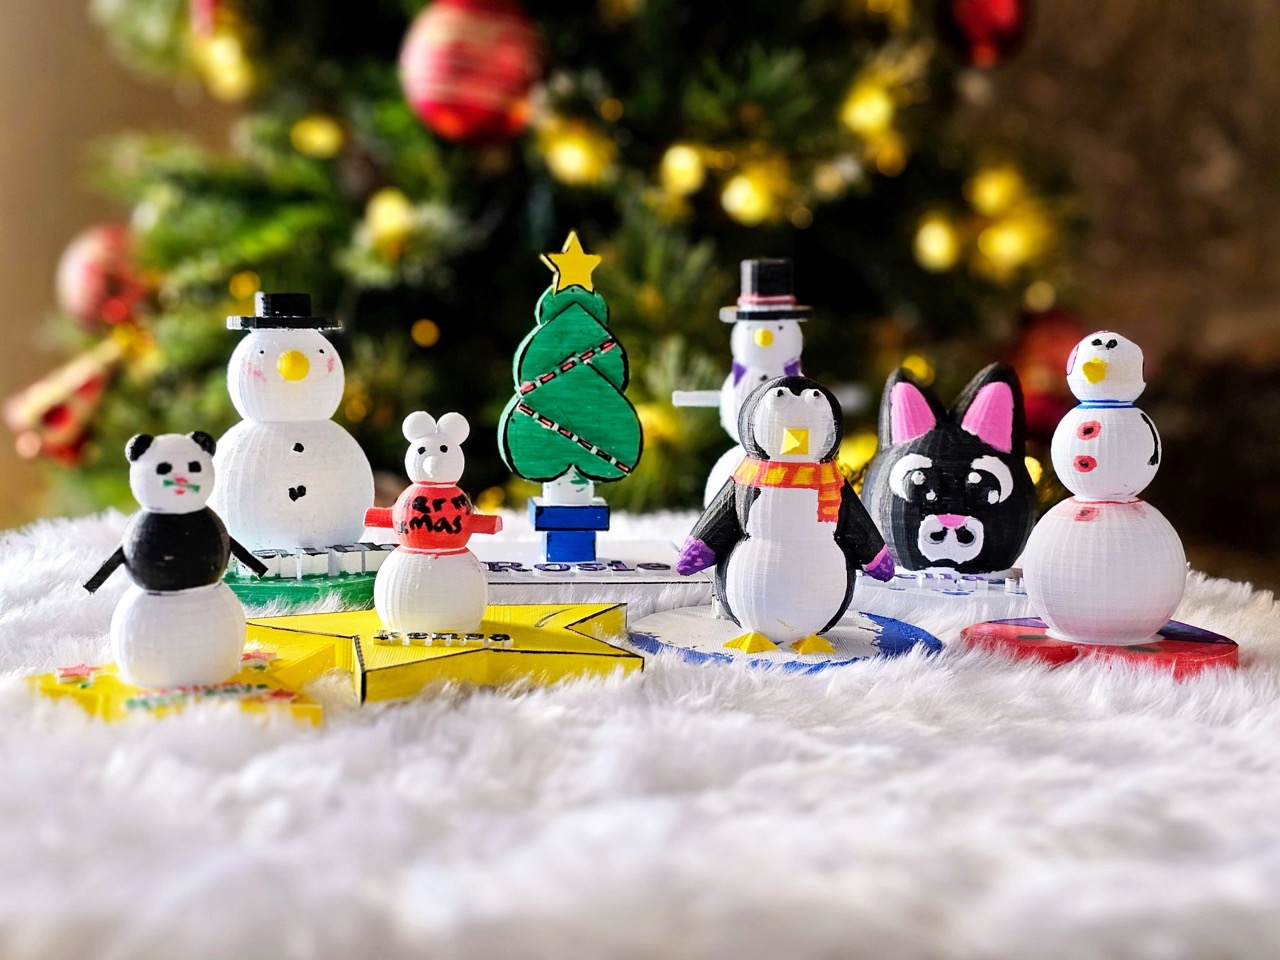
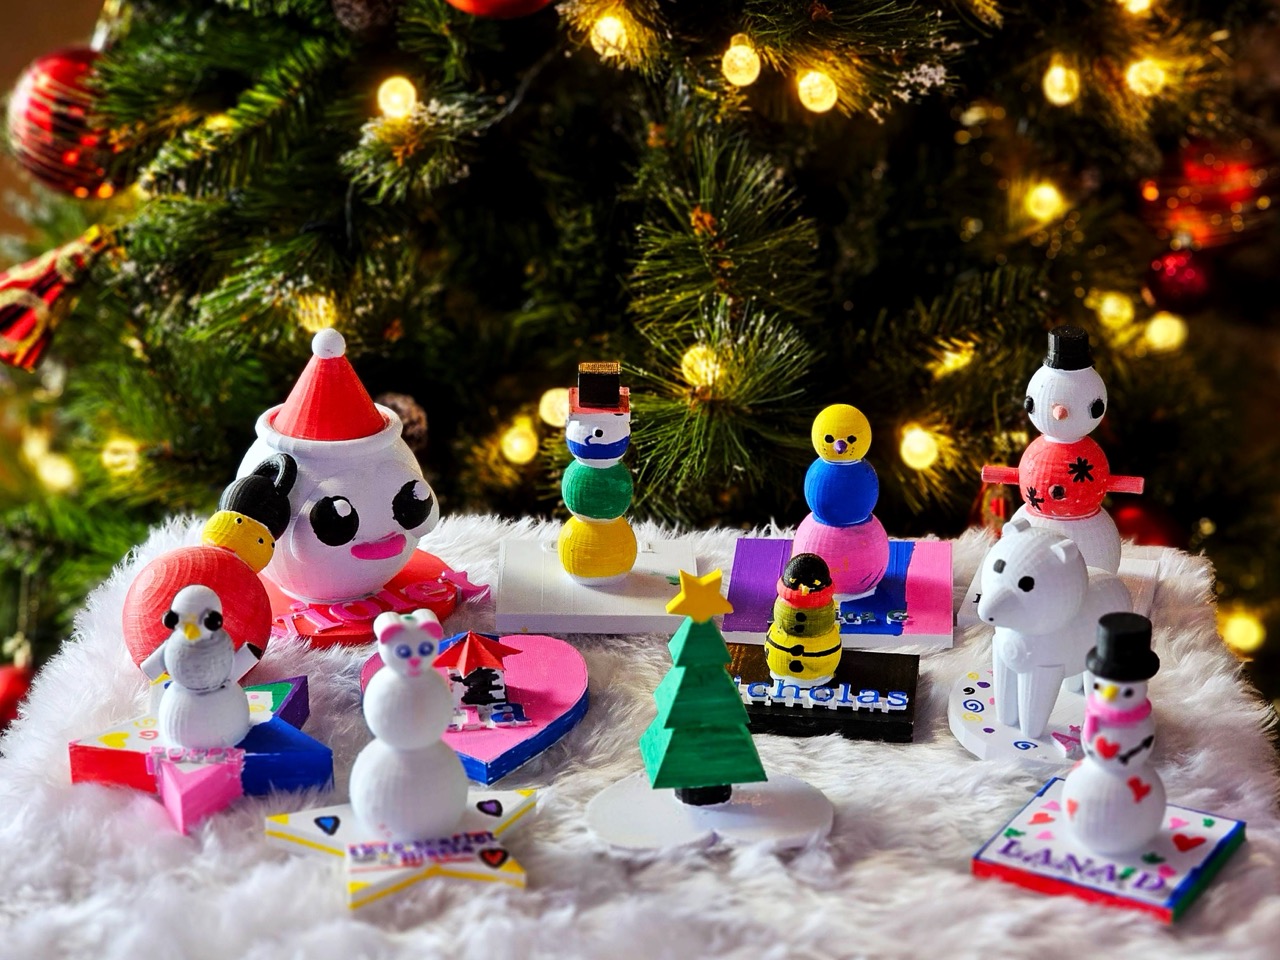
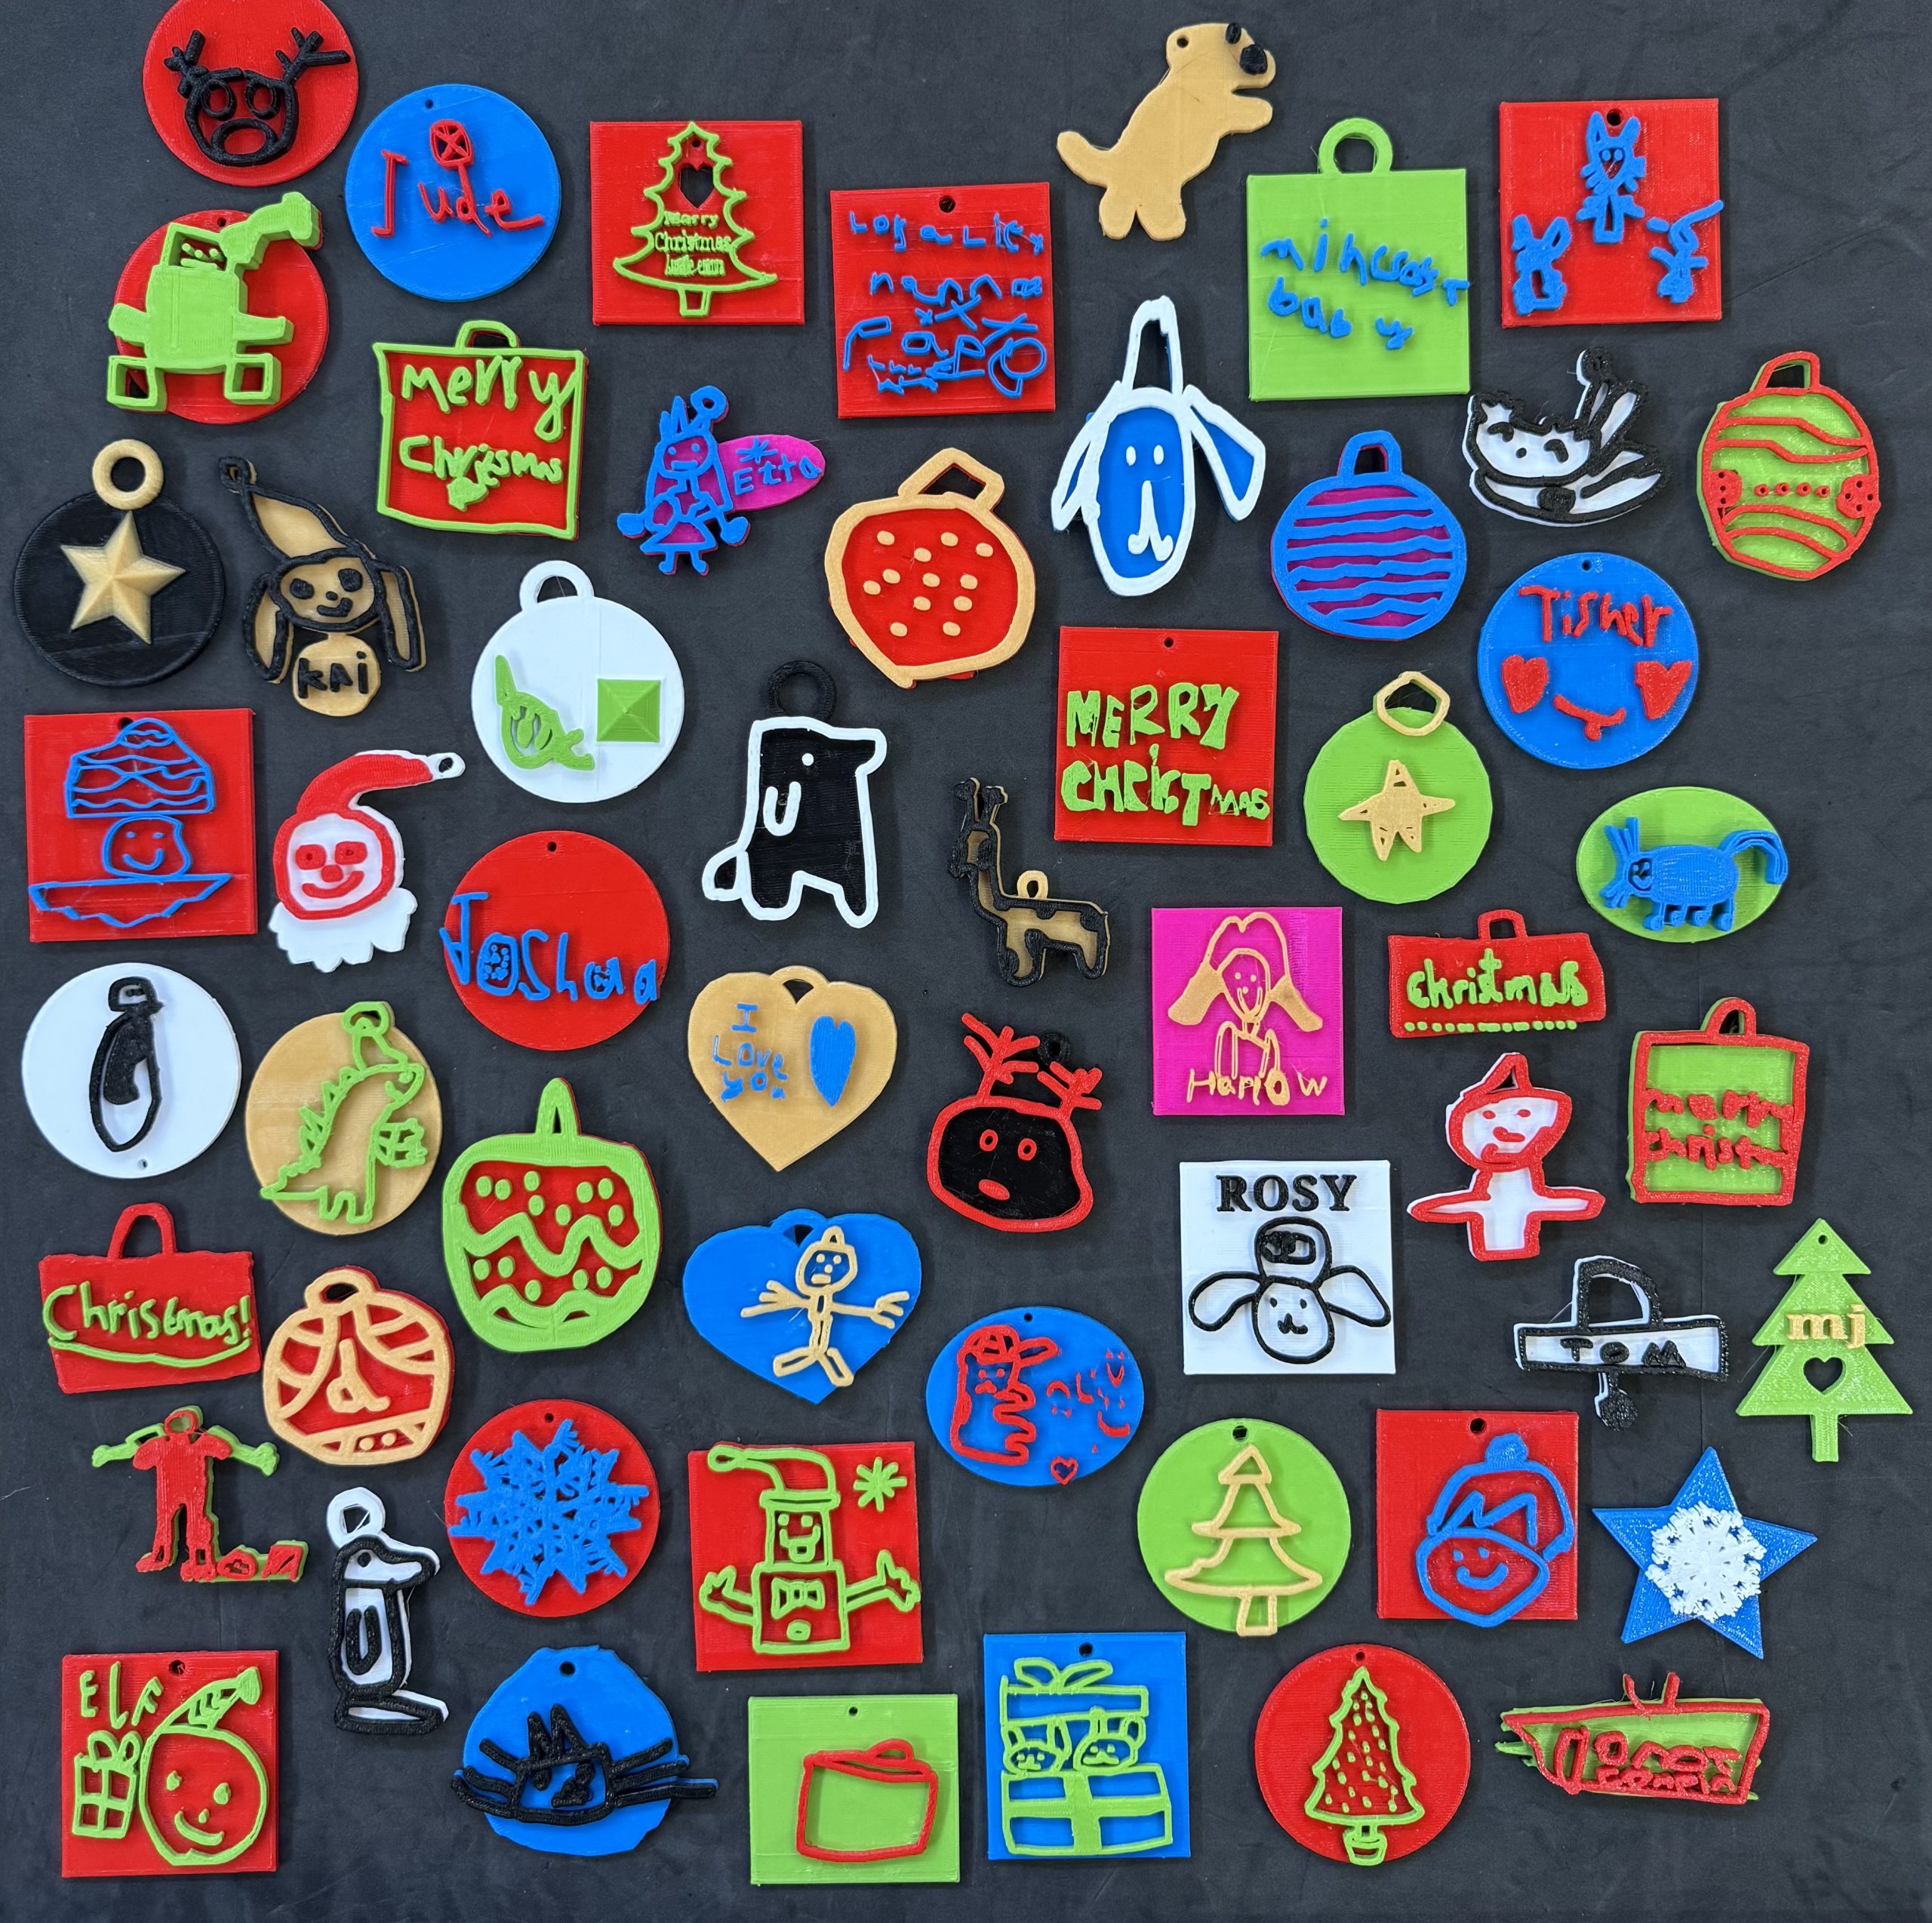
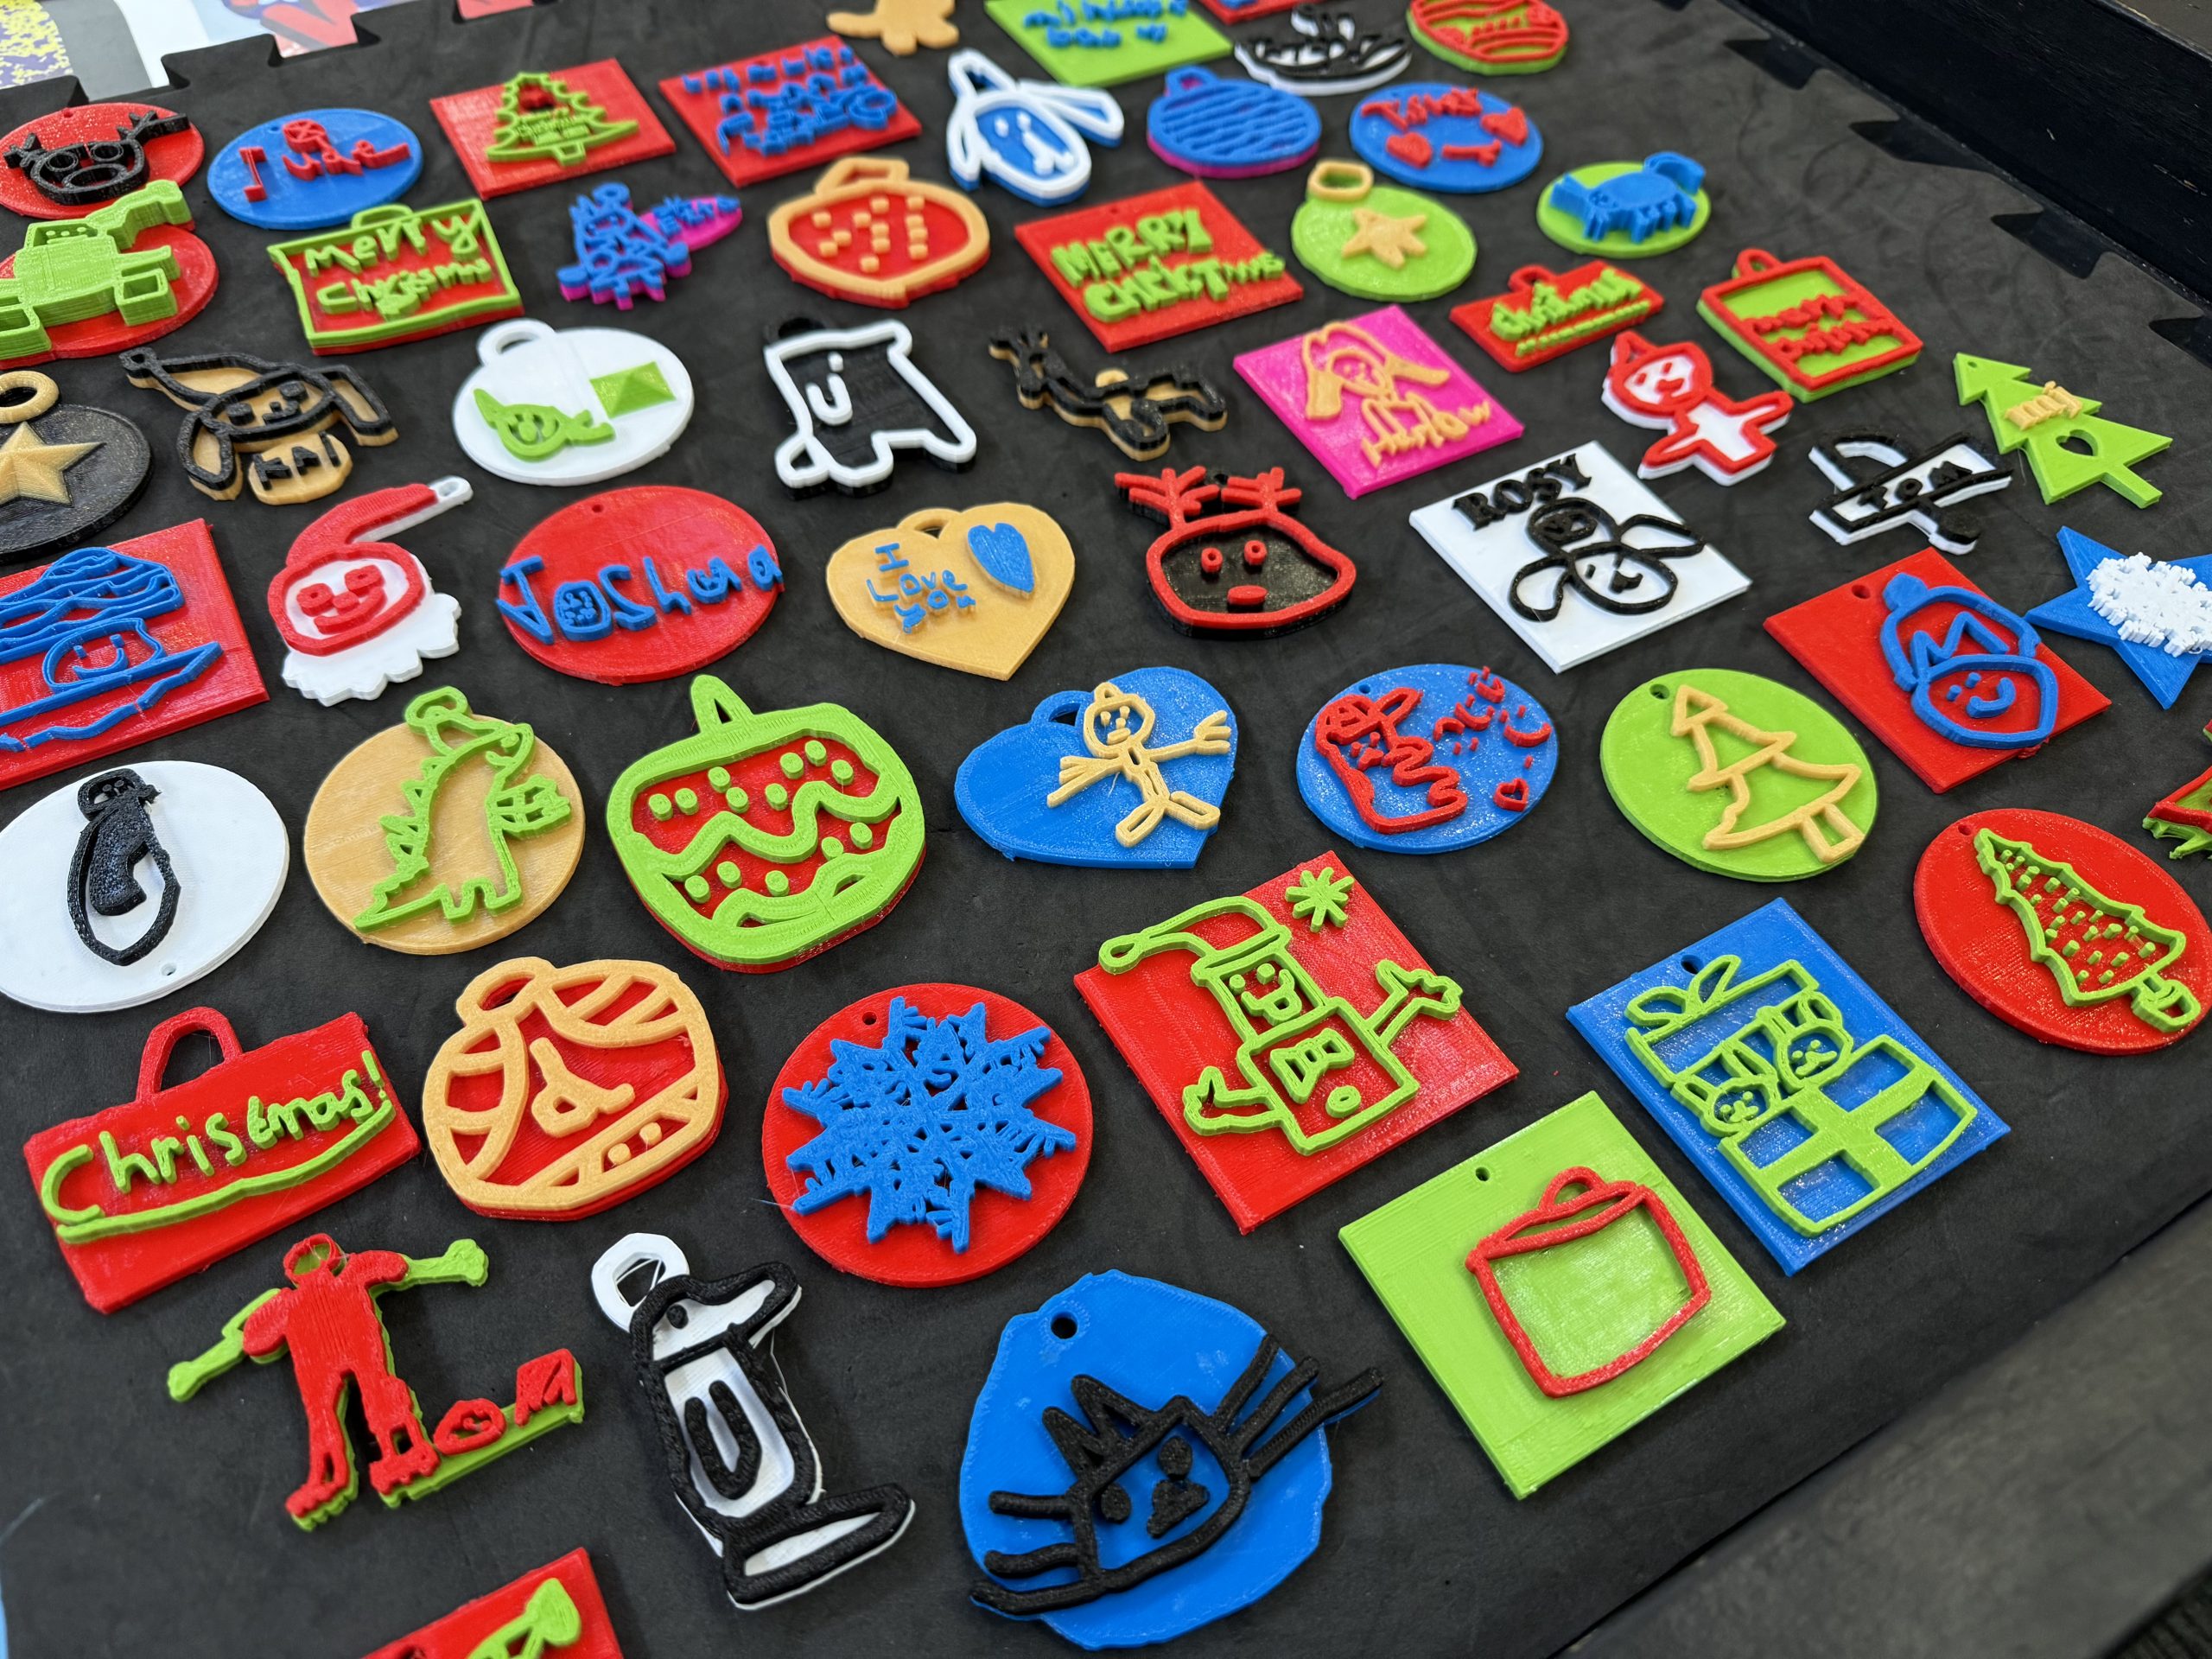
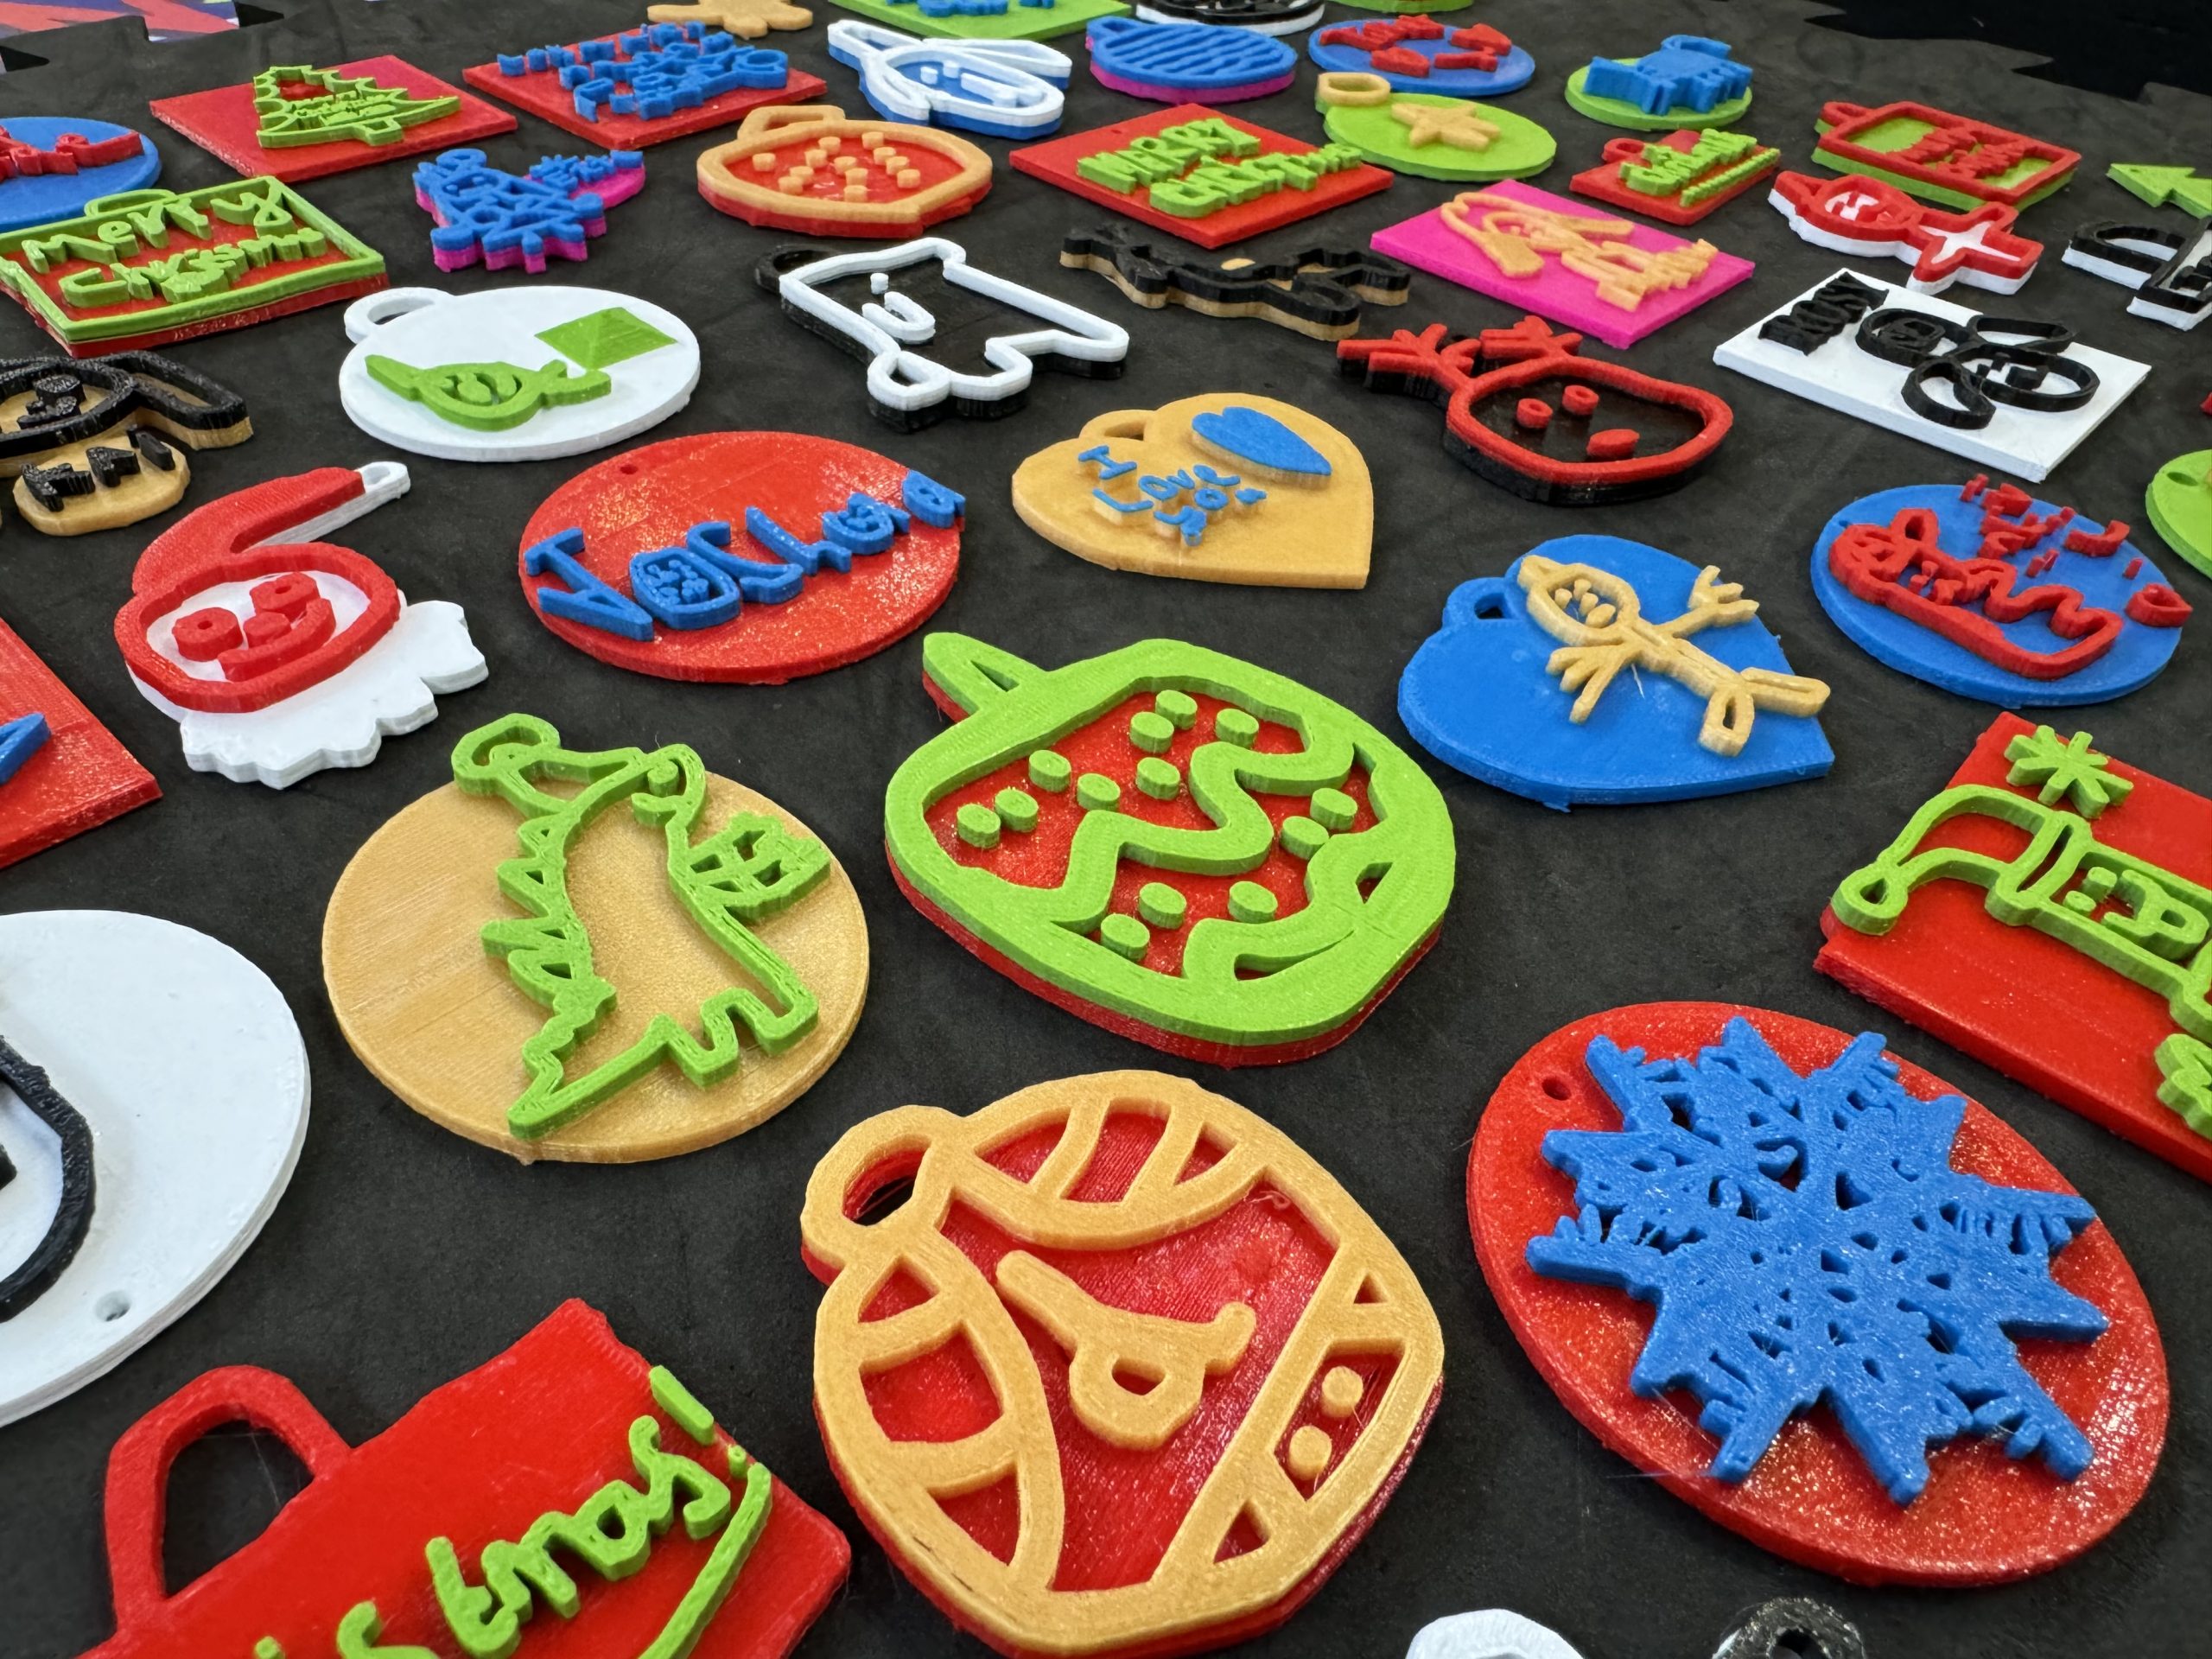
This term the students in Years 3 and 6 have been creating their own 3D Winter Ornaments using the Tinkercad program.
The Year 3’s have been learning all about 3D modelling and how to adjust, combine and create using different 3D shapes, while the Year 6’s have been putting their coding skills to the test by creating their own 3D decorations using nothing but blocks of code!
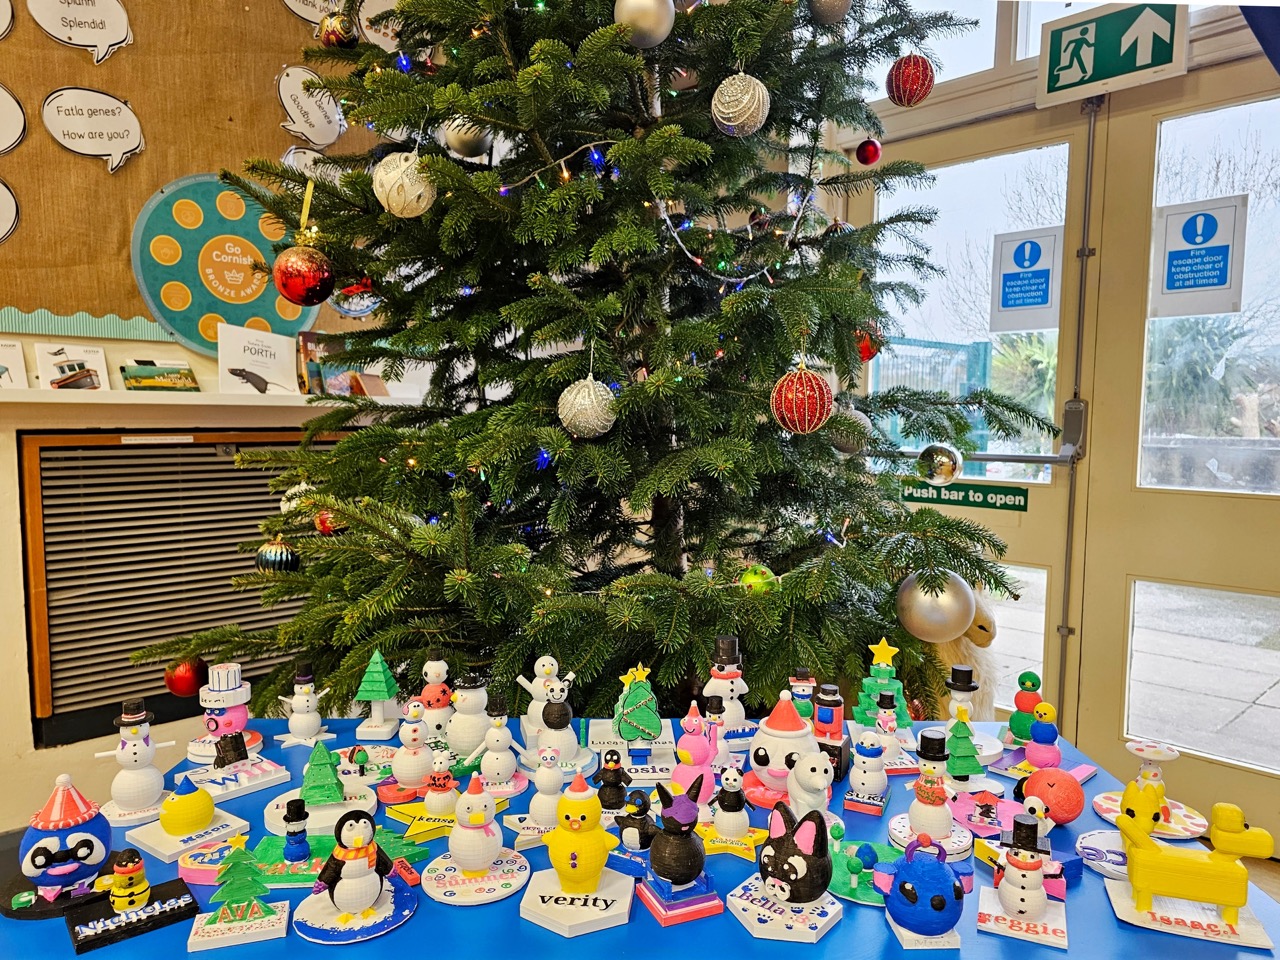
This week, as one hundred and twenty 3D decorations go home, we wanted to share some of the behind-the-scenes of how these wintery treats were made…
Year 6
Isaac
Class: 14
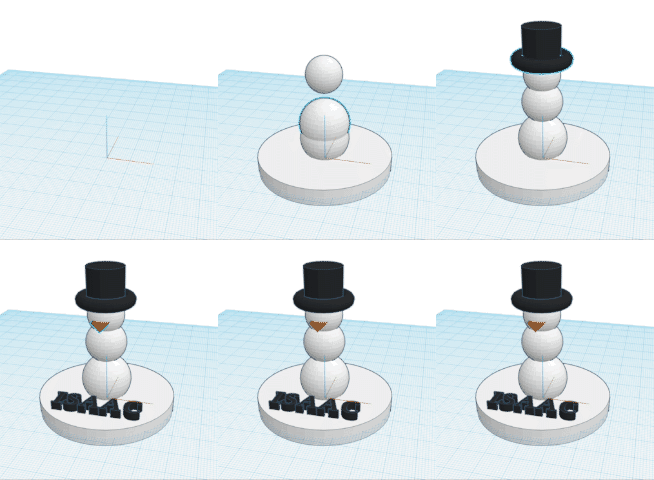
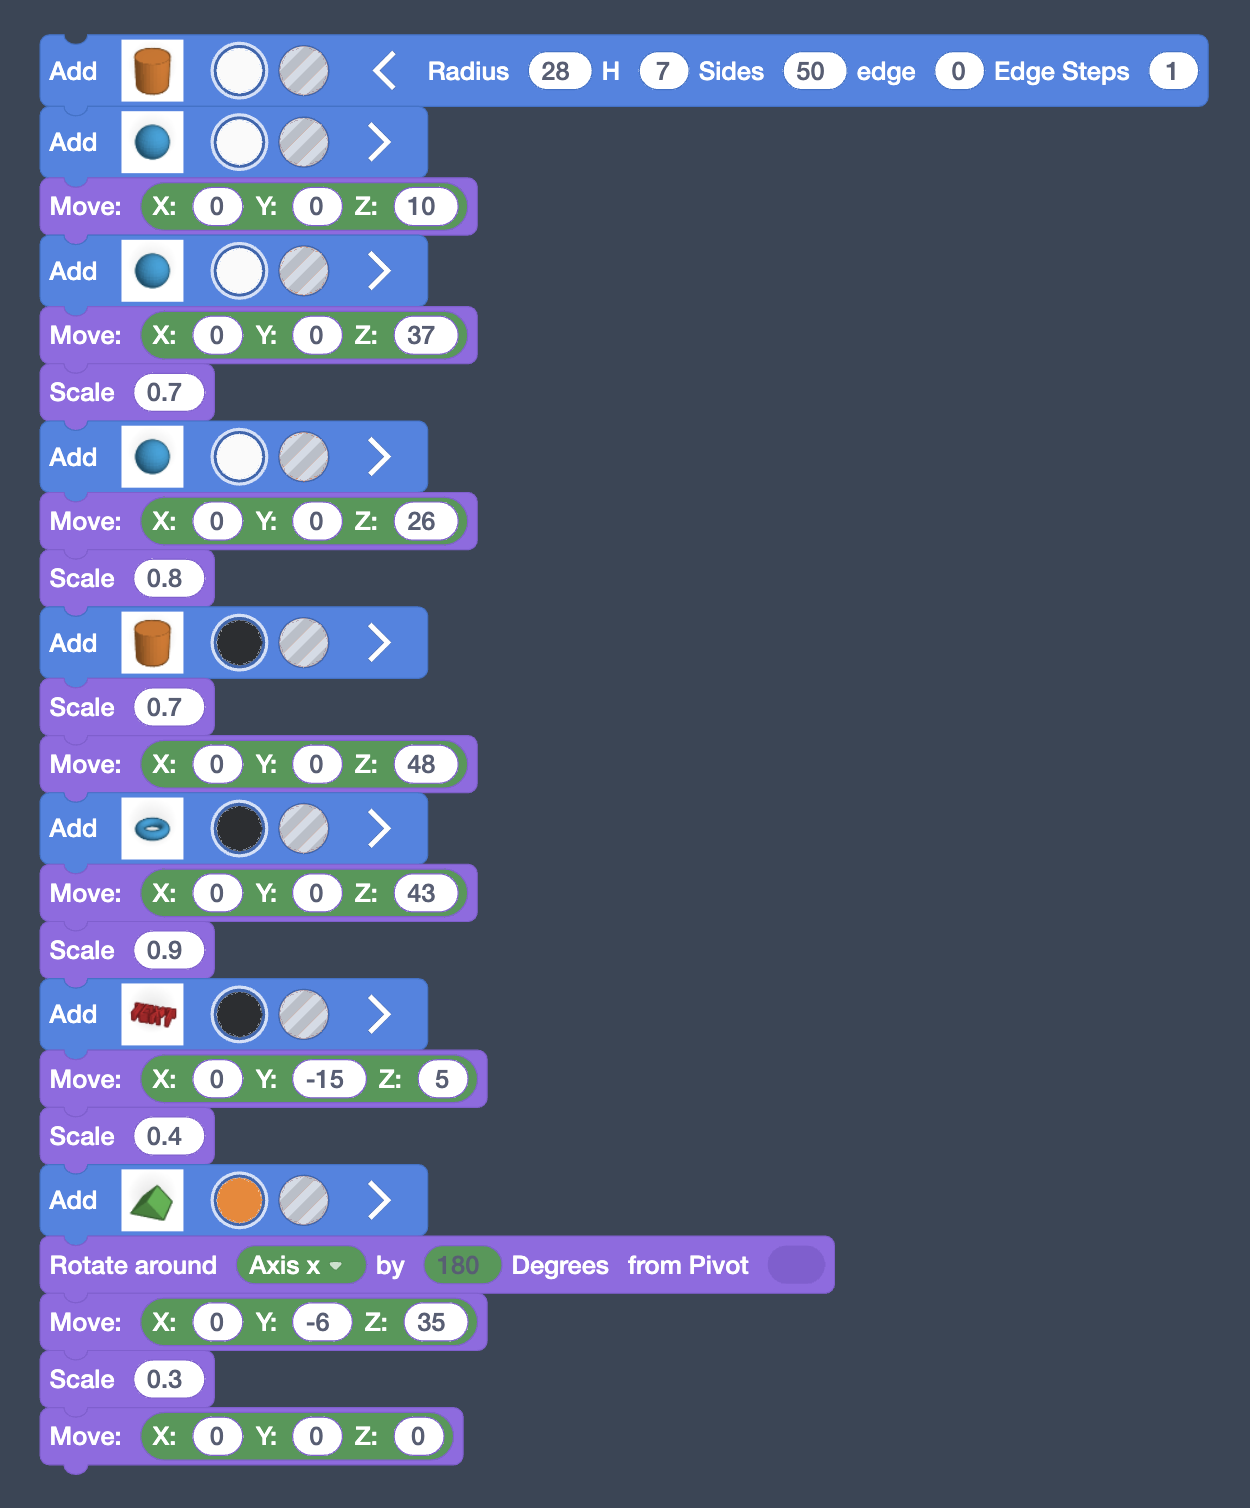
I used three spheres for the body. I used the move block and changed the z axis. I then squashed a cynlinder for the base and I used the text block for my name and the size block to change the size.
For the hat I used a torus shape and a cynlinder, which I moved using the Z axis.
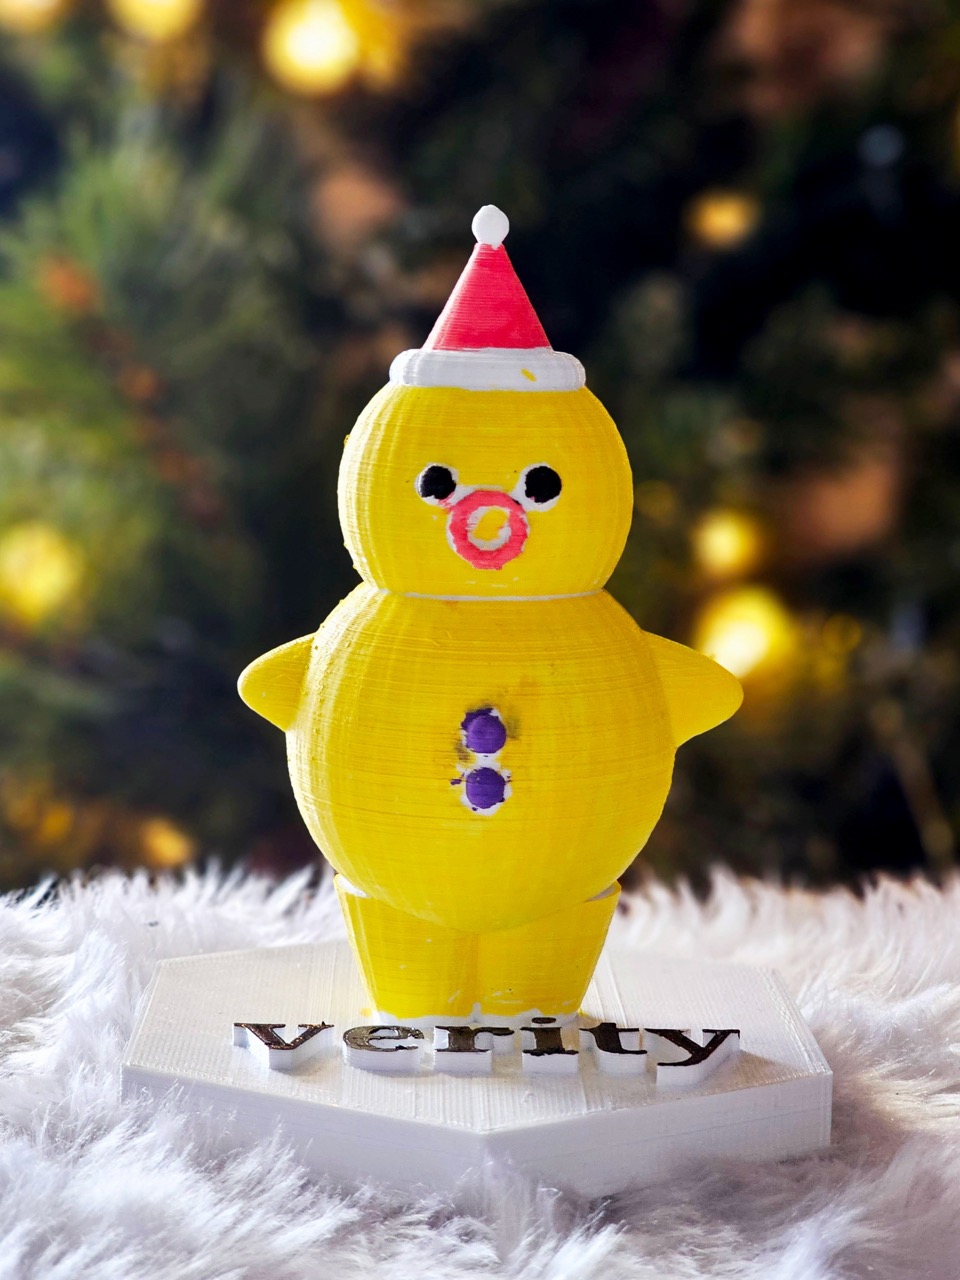
Verity
Class: 14
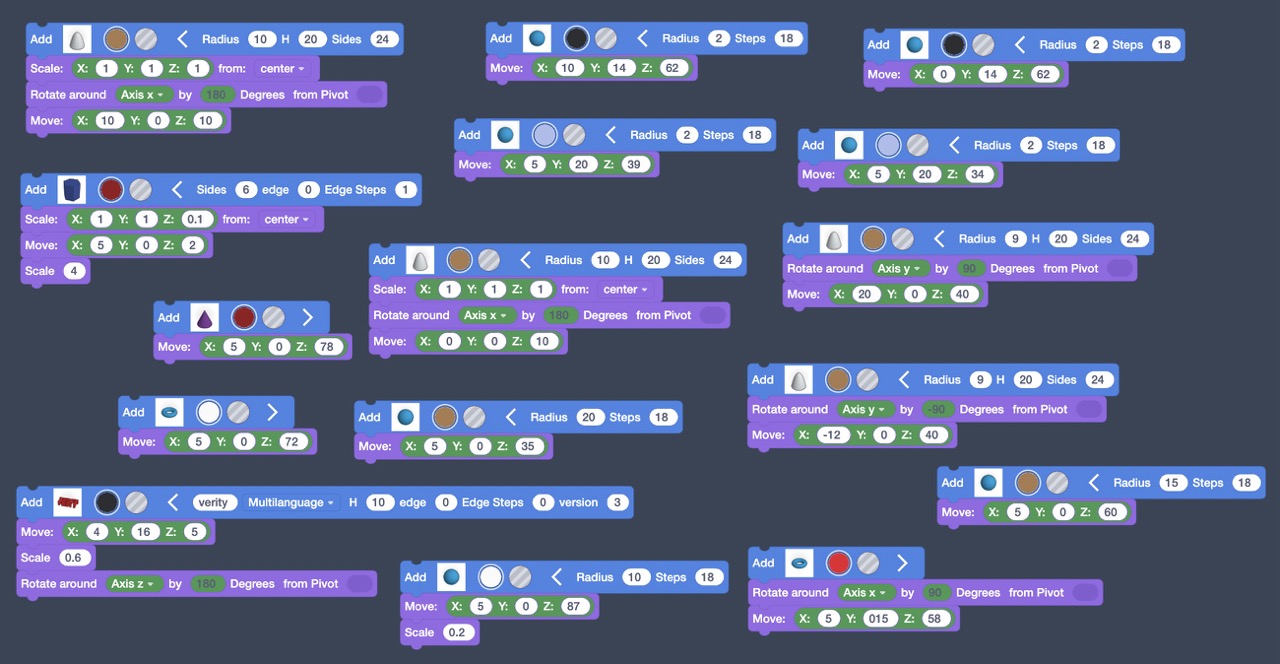
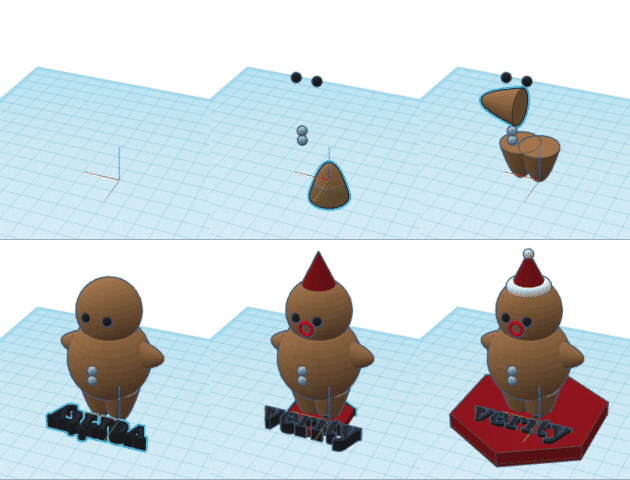
For my Christmas decoration I made a gingerbread man, it was very fun to make! At first I was quite confused, but then I got the hang of it and created this!
Hana
Class: 14

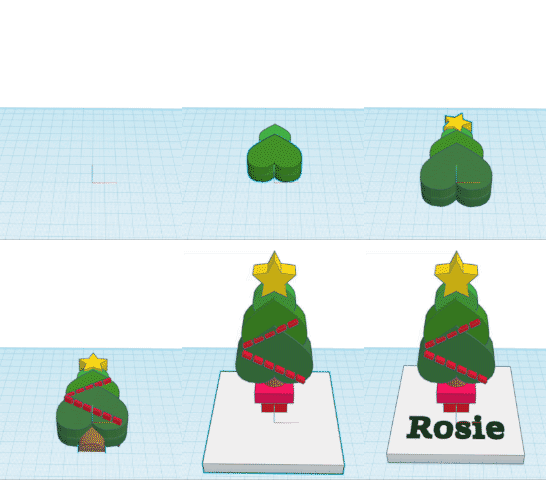
Rosie
Class 13
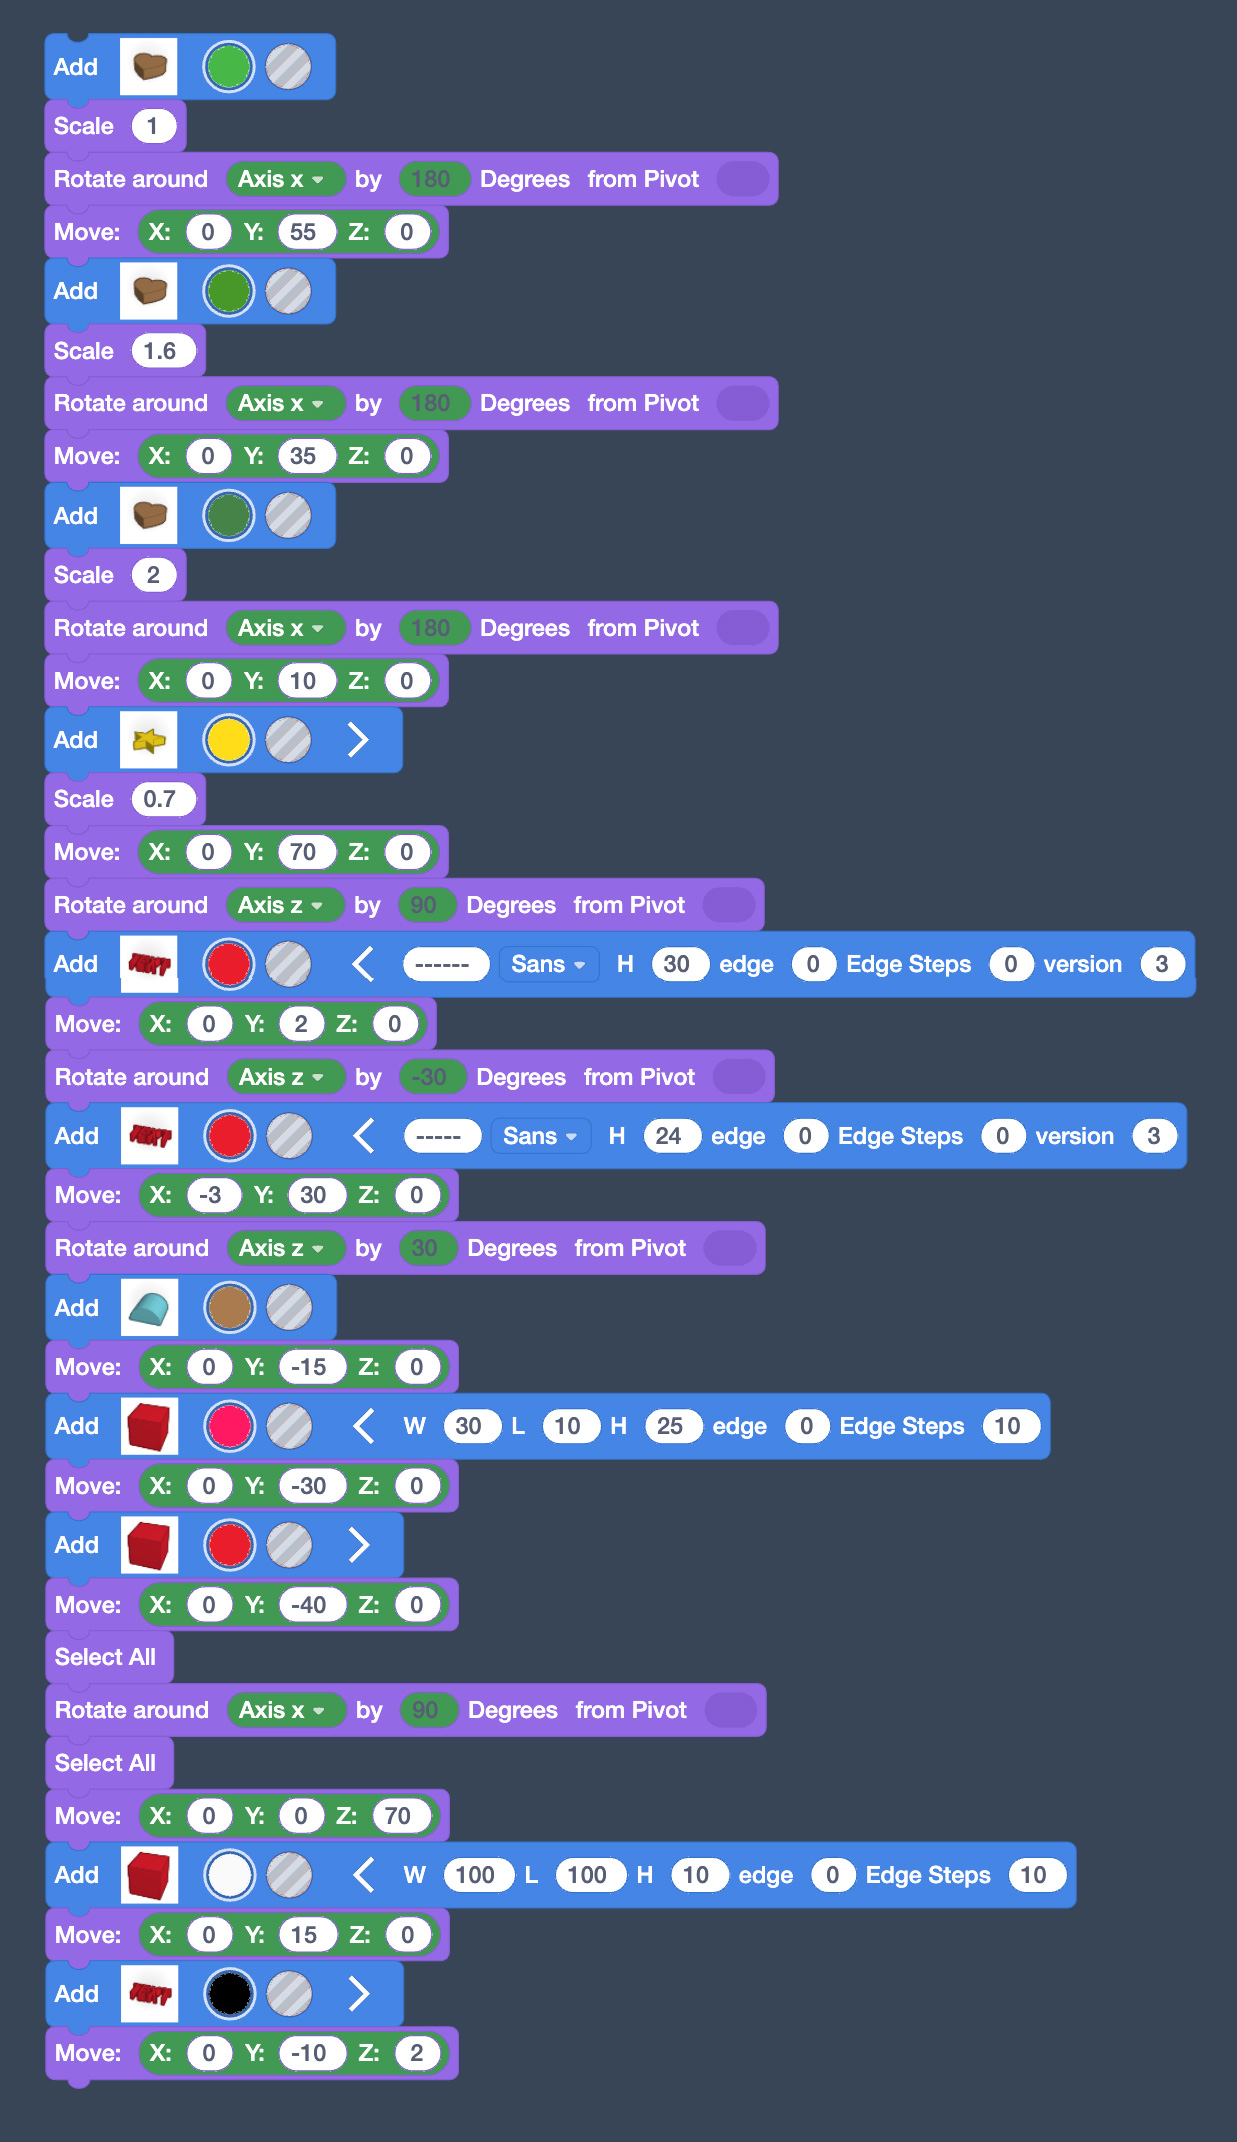
I used hearts instead of triangles to make the tree segments unique. I also did a green gradient. Then we were told that our designs are going to be printed in white and that we would haft to paint it. For the tinsel I used dashes in text because there was no shape that would mimic tinsel very well.
This is where I got stuck on how to flip it upwards. This is where Harry told me I just needed to place a ‘select all’ block at the bottom.
I used two squares and moved it by the z axis (up) to create the pot top and I used a semicircle to make the tree stump.
Jowan
Class: 13
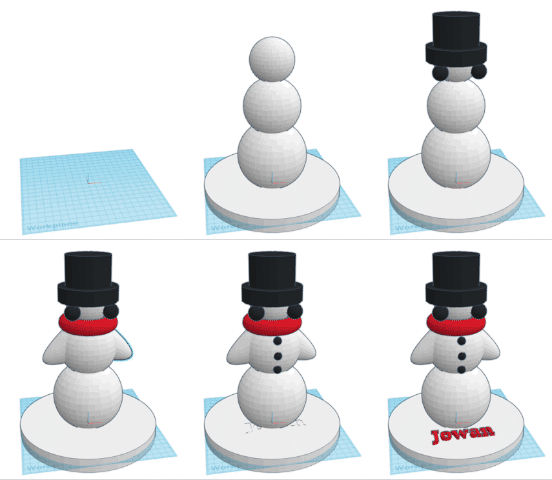
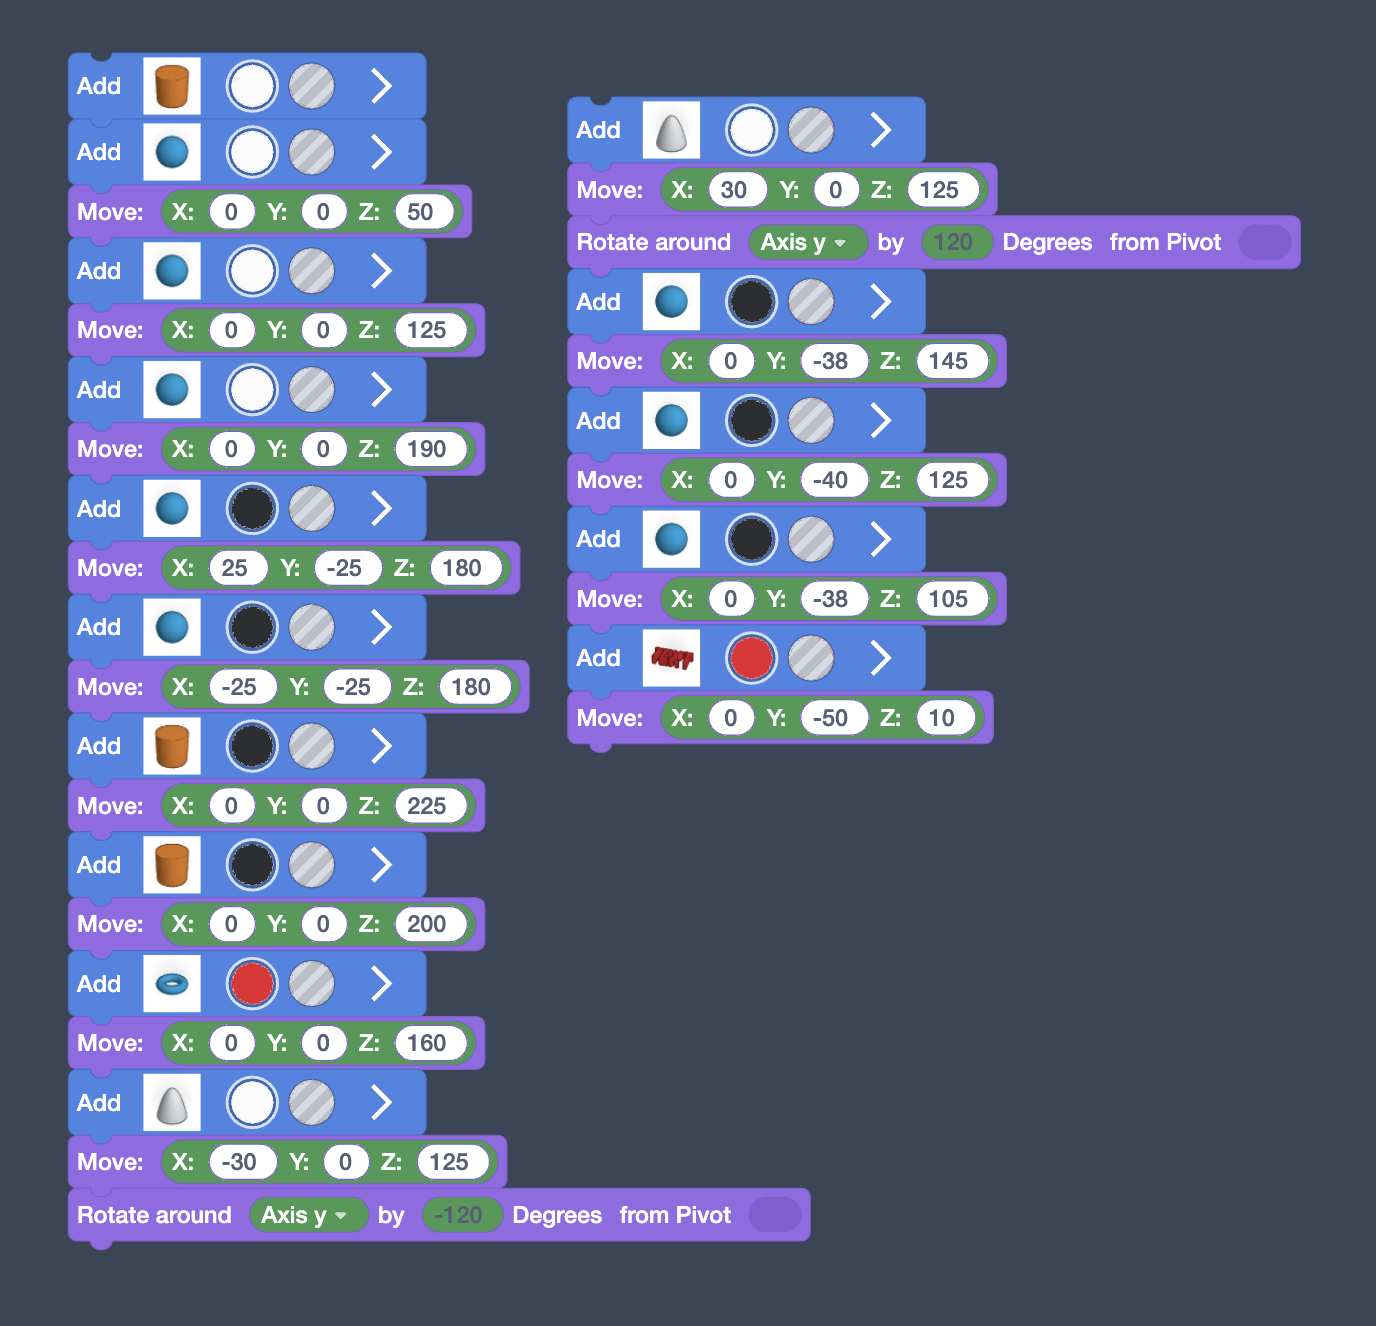
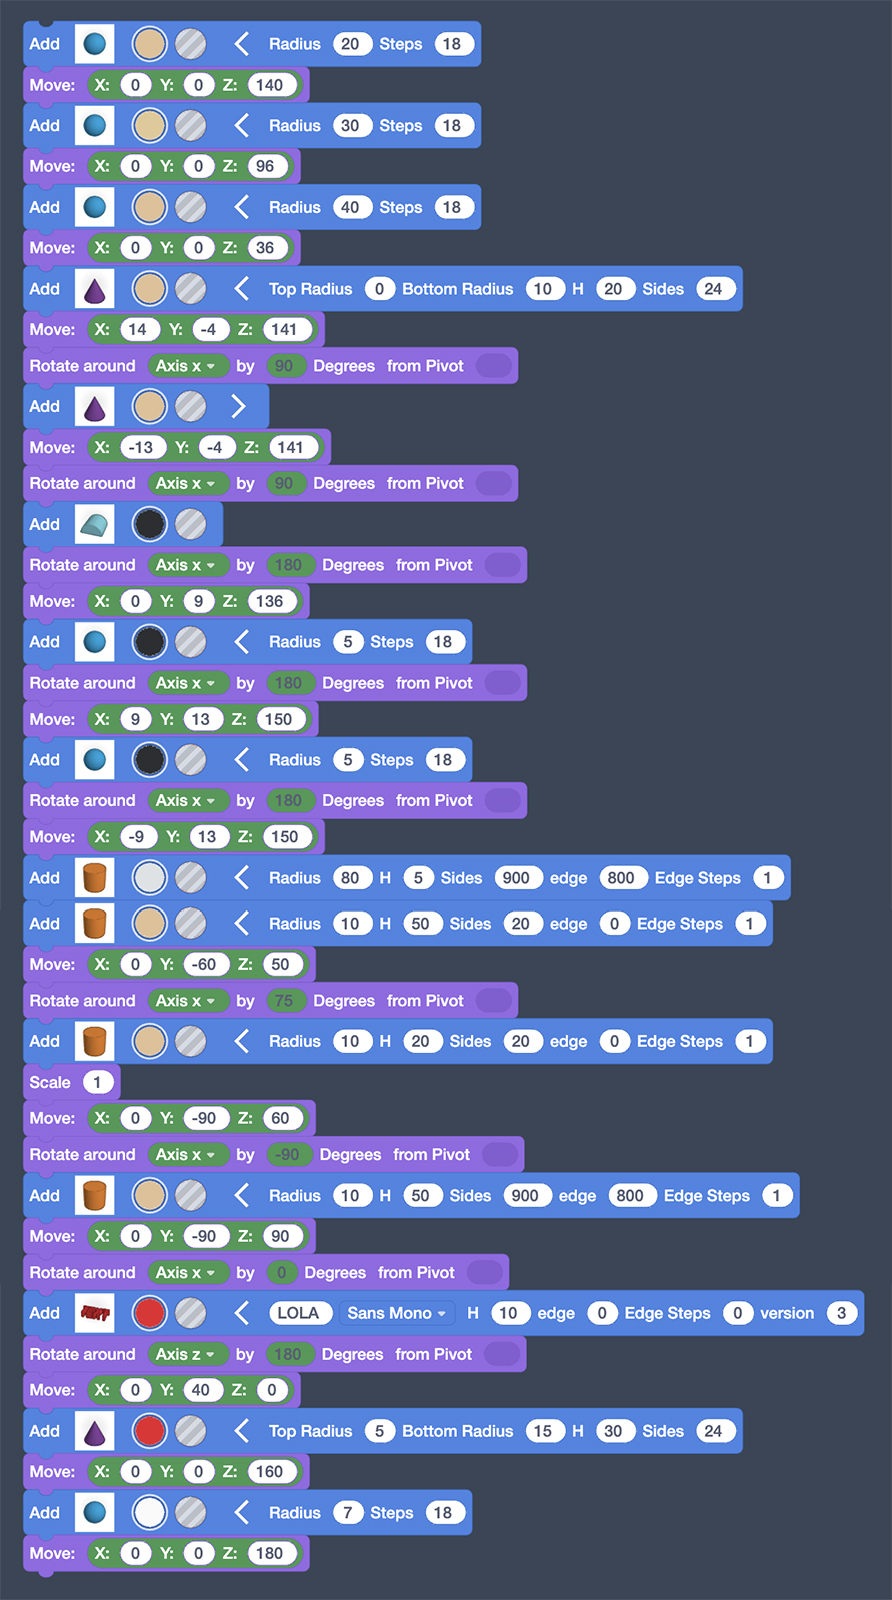
Blue blocks make the shapes – if we didn’t have these we wouldn’t have anything on this page.
Purple blocks are vital if you want the objects to be in the right place to make something cool or cute.
Top tip: If you open the Blue blocks you can change the size of each block individually.
Lola
Class: 13
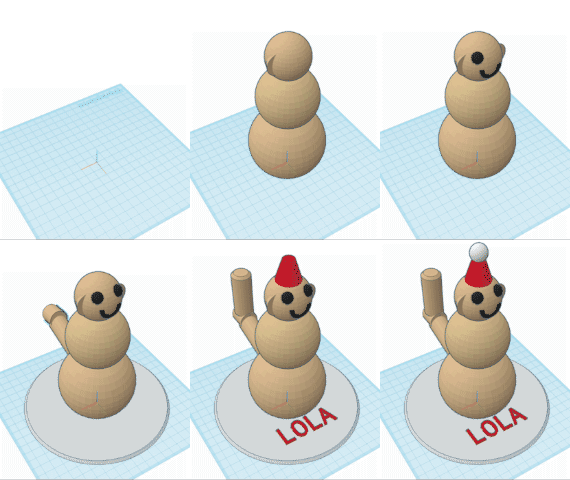
To make my snow monkey,I first had to place the body by using spheres all lined up on top of each other. Next I did the ears to do that I used cones and adjusted the sizes. Then I started doing the mouth because I want my monkey to be happy. After that, I started doing the eyes with two spheres again it was quite hard at the start but then it got a bit easier.
On the next part of my code, I tried doing a tail it was really hard to do because you cant make it curve since we are coding it. I managed to do it by mixing up all the numbers and then it just turned out to look like a tail.
I think it’s safe to say the Year 6’s have truly outdone themselves this year, each taking home a beautiful and unique 3D winter ornament.
Year 3
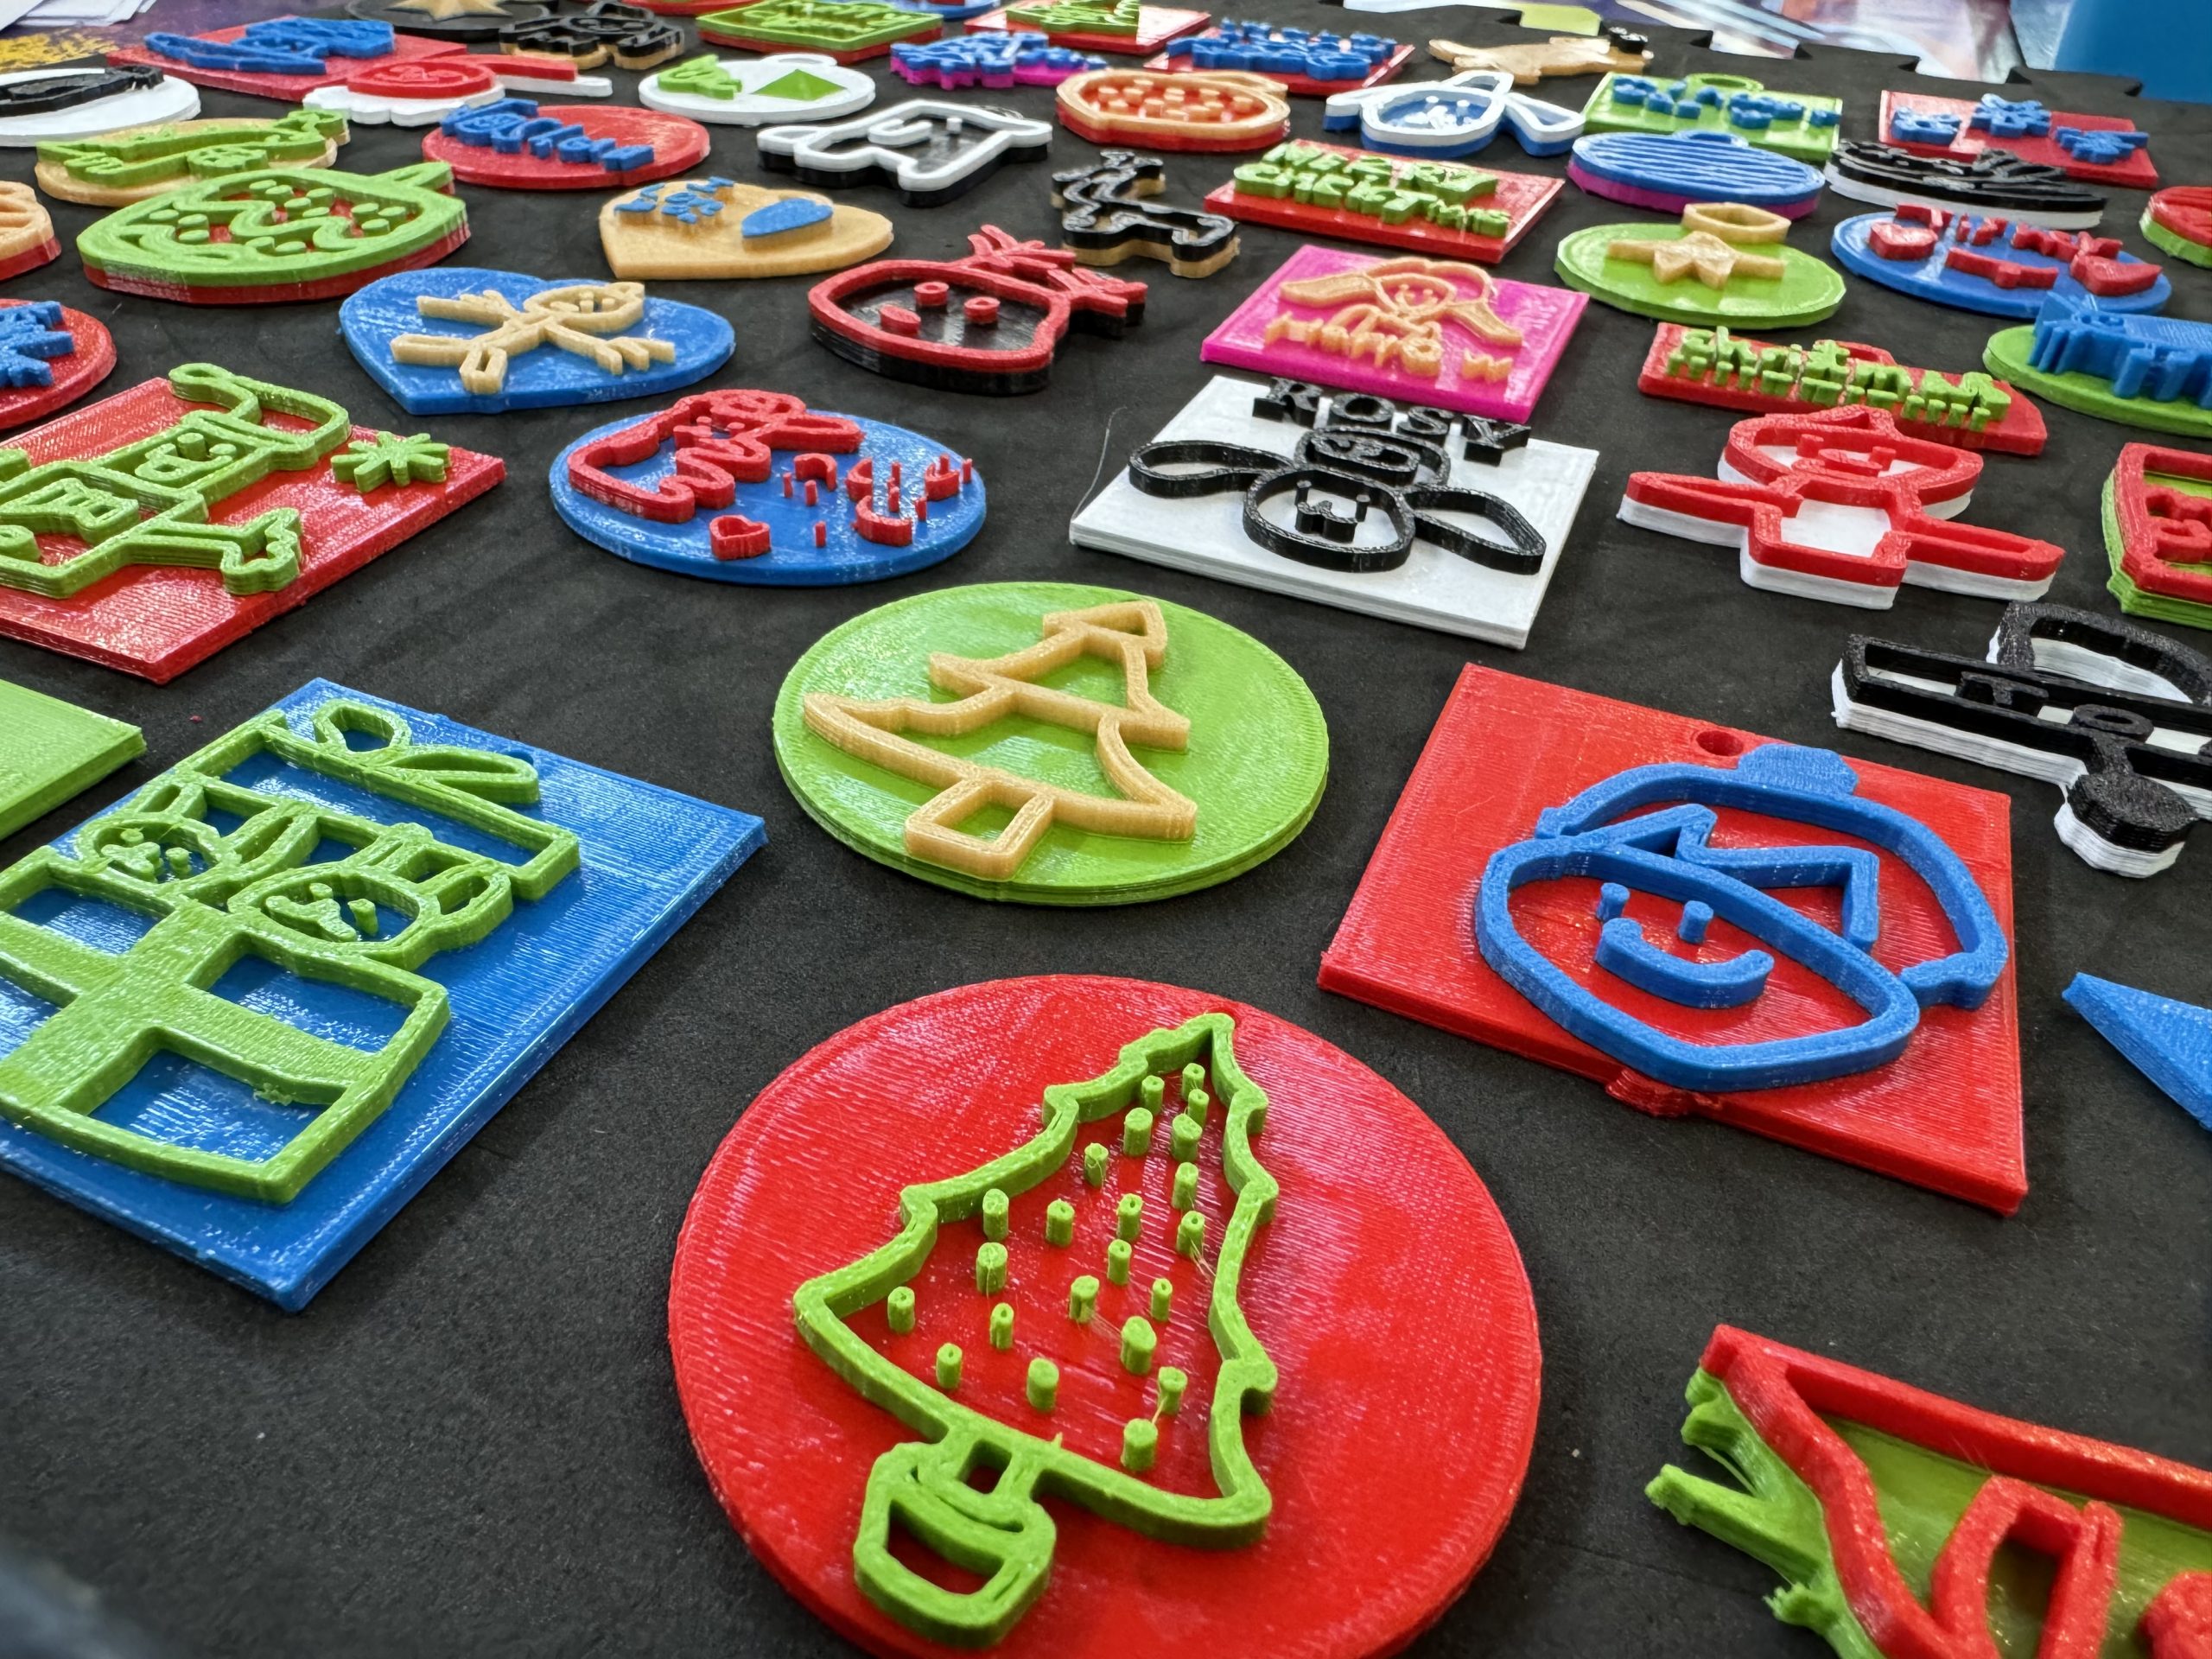
Our Year 3’s have also been exploring the world of 3D designing in Tinkercad whilst creating their own two-tone winter ornament.
They’ve learnt how to master the different tools and iterated on their designs to make each one the very best it can be before they got printed. How good do these look?!

