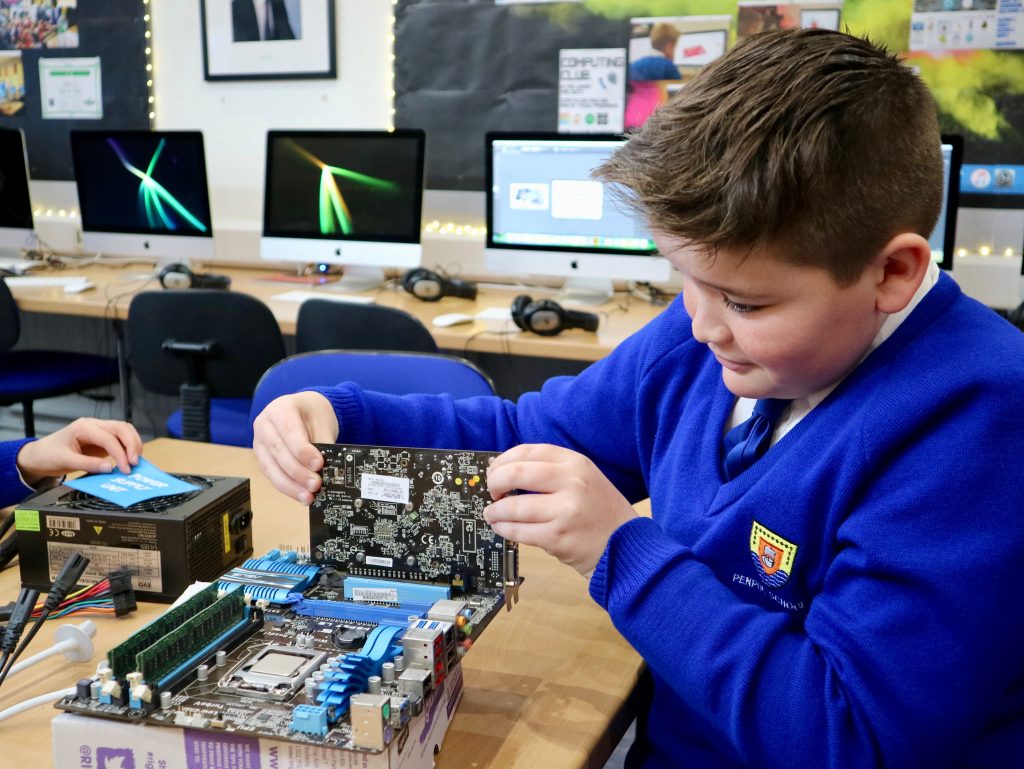
This week our Year 5 and Year 6 classes have all taken it in turns to build their own computers using the assortment of components that they learnt about last week. Working in small groups (and with the help of Mr Woolcock and Paul) each child learnt where the components went and what they do inside the computer.
Below is a step-by-step to understanding what goes inside a computer, written by our pupils. Enjoy!
Step 1: Motherboard
“This is the thing which everything else plugs into, for example the power cables and processor. The motherboard is big and it’s covered in circuits and interesting bits. You need a motherboard in order to build your own computer.” – Harry, Class 13


Step 2: RAM
“The RAM is a bit like the arms of a computer, it helps the computer to multitask and to juggle lots of things at once. You need to add the RAM in two slots (which have to be colour matching!) and it must be the right way around. Push it firmly into place and the clips keep it in.” – Taran, Class 13


Step 3: Processor
“The processor is like the brain of the computer, without it the computer wouldn’t work at all! We had to line the Processor up in its square holder and gently lower it into place. We then used the clip thing to lock it into place so it doesn’t go anywhere.” – Ben, Class 13


Step 4: Graphics Card
“It shows the screen what to display and they can be really expensive! It was quite easy to push it into the slot on the motherboard.” – Kian, Class 11


Step 5: Heatsink
“The heatsink cools the processor down because it gets really hot when it’s working. It looks like a big fan with a big metal grate on one side. You had to screw this into the motherboard so it sat firmly on top of the processor otherwise it won’t work.” – Meghan, Class 13


Step 6: Hard Drive and CD/DVD Drive
“It’s been really cool because I learnt how to put things into the computer and what everything was called. The hard drive was interesting because it’s where you save all the work and that means all of the work that we’ve done is saved on one of them.” – Melissa, Class 11


Step 7: Cables
“I liked putting together the computer and seeing how it worked. I found it amazing how everything could fit in a small computer and how the cables link everything together on the motherboard.” – Freya, Class 11
Step 8: Power Supply
“It’s important to a computer because it helps to run everything. You have to plug the power cables into the motherboard and the drives and that gives it power.” – Emma, Class 11


Step 9: Turn it on!
“When everything is plugged in and safe, we turned the power on and you could hear the fans start to spin up as the computer started working. It’s magic!” – Freya, Class 13